Intelligent Function Setting Tool
101
5
Admin Tools
If camera control privileges are not obtained, this
function is grayed out.
(10)[Detection Settings]
Show the [Detection Settings] dialog box (p. 108).
This dialog box allows you to reduce the effects of
lighting changes.
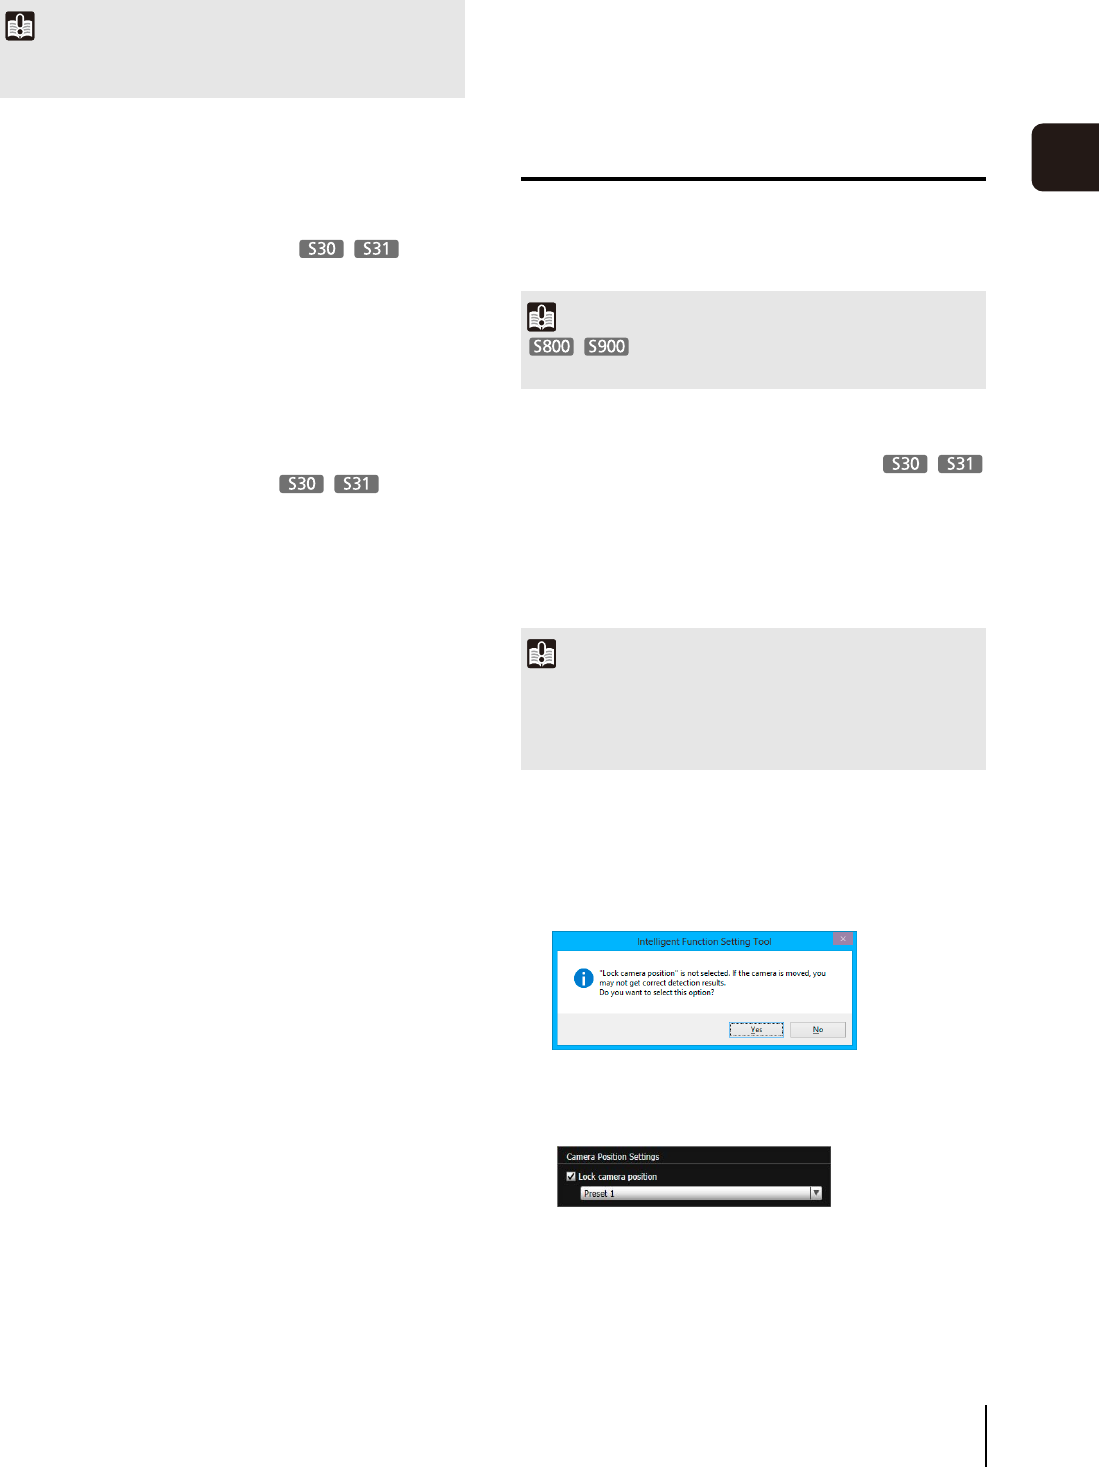
(11)[Lock camera position] checkbox
Select this checkbox to move the camera position to a
preset position selected from the preset selection box
and lock it there. Lock the camera position when
specifying detection settings to obtain a correct
detection result.
If camera control privileges are not obtained or if
preset positions are not set, this function is grayed
out.
(12)Camera position selection box
Select the camera position from the view restriction
presets or the home position. Use the Preset Setting
Tool to set presets or the home position (p. 90).
If camera control privileges are not obtained, the
[Lock camera position] checkbox is not selected, or if
the preset position is not set within the view restriction
area, this function is grayed out.
(13)[Detection Setting List]
A list with the specified detection settings is shown.
(14)[Add]
The [New Detection Settings] dialog box is shown and
detection settings can be added.
(15)[Delete]
Delete detection settings selected from the [Detection
Setting List].
(16)[Detection Setting Number], [Detection Type]
The detection setting numbers and detection types
selected from the [Detection Setting List] are shown.
(17)[Enable these detection settings] checkbox
Select this checkbox to enable the detection settings
that are selected in the [Detection Setting List].
(18)[Detection Criteria] tab, [Event] tab
Switch between the Detection Criteria and Event tabs.
• [Detection Criteria]
Specify detection settings name, detection area/line,
and detection criteria (p. 103).
•[Event]
Specify operations to be performed when events
occur (p. 104).
(19)[Restore settings]
Clear the settings you have specified on the screen of
the tool and restore the settings saved in the camera.
(20)[Save settings]
Save the edited detection settings in the camera.
After the detection settings have been specified, be
sure to save the settings in the camera by clicking
[Save settings].
Flow of Intelligent Function Setting
The intelligent functions are set according to the
procedure below. For details on the setting method, see
each setting page.
Camera Position Settings
For details on the preset setting method, see “Preset
Setting Tool” (p. 90).
This selects [Lock camera position] in the Intelligent
Function Setting Tool.
If [No] is clicked, select [Lock camera position].
Important
It takes tens of seconds for the intelligent function to restart. No
detection is performed while restarting.
Important
Presets that were set with the Preset Setting
Tool cannot be used for the settings of intelligent functions.
1
Register the camera angle as a preset using the
Preset Setting Tool.
Important
It is strongly recommended that you preset the camera angle in
advance and lock the camera at a preset position with the
Intelligent Function Setting Tool. An angle of view that captures
the target object up close is also recommended.
2
Launch the Intelligent Function Setting Tool.
3
Click [Yes].
4
Select a preset.


