


OTHER RECORDING FUNCTIONS
E-68
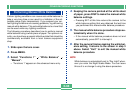
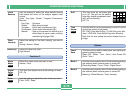
Performing Manual White Balance
Certain lighting conditions can cause auto white balance to
take a very long time or can result in a limitation of the ad-
justable range (color temperature). If you suspect your cur-
rent lighting conditions are causing problems, try performing
manual white balance. This sets white balance to a level that
can be used under any lighting conditions.
The following procedure describes how to perform manual
white balance using a white piece of paper. For optimum re-
sults, you should use a special reflective plate that should be
commercially available from a local camera equipment
shop.
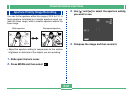
1.
Slide open the lens cover.
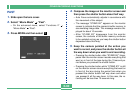
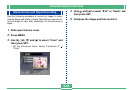
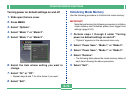
2.
Press MENU.
3.
Select “Functions 1” “White Balance”
“Manual”.
• “Functions 1” appears on the advanced menu only.
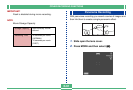
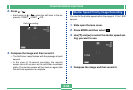
4.
Keeping the camera pointed at the white sheet
of paper, press DISP to make the manual white
balance settings.
• Pressing SET at this time returns the camera to the
white balance setting that was obtained the last time
you performed this manual white balance procedure.
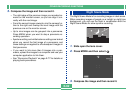
5.
The manual white balance procedure stops au-
tomatically when it is done.
• If the manual white balance procedure does not end
automatically, press SET to interrupt it.
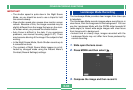
6.
After the camera finishes making the white bal-
ance setting, it returns to the screen in step 3
above. Select “Exit” to exit the manual white
balance procedure.
NOTE
White balance is automatically set to “Day Light” when-
ever you enter the Night Scene Mode. You can leave
this as it is or change it using the above procedure.