16
TAKING PICTURES
USING THE MAIN MENU IN CAMERA MODE
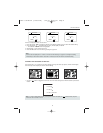
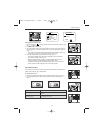
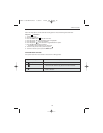
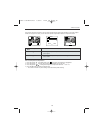
Follow the steps below to set the advanced shooting options in the camera through the Main Menu.
Using the ( ) Main Menu:
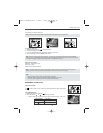
1. Turn the camera on.
2. Set the mode switch to ( ).
3. Press the MENU button to display the main menu.
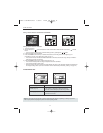
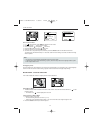
4. Press the joystick until the desired option is highlighted.
5. Press the joystick to enter the submenu.
6. Press the joystick in the submenu to toggle between the options.
7. Press the OK button to make a selection.
• All selections will be marked by a red check mark.
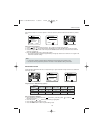
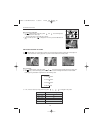
8. To return to the previous menu, press the joystick .
9. To exit the menu at any time, press the MENU button.
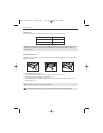
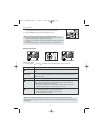
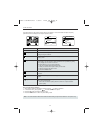
CAPTURE MODE OPTIONS
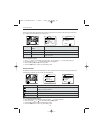
The capture mode menu has 3 features to choose from for taking pictures.
Capture Mode Option Description
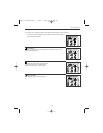
( ) Single Shot The camera will take 1 picture at a time.
( ) Continuous Shooting The camera will take 7 pictures (at 1600 x 1200 pixels) in a row
when the shutter button is fully pressed. The flash is disabled.
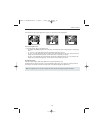
( ) Self-Timer The camera will take a picture 10 seconds after the shutter
button is released.
4060 U Guide-E/F/G 7/8/03 12:53 PM Page 16


