15
TAKING PICTURES
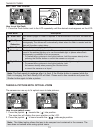
SETTING THE FLASH
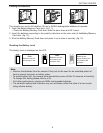
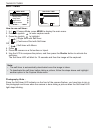
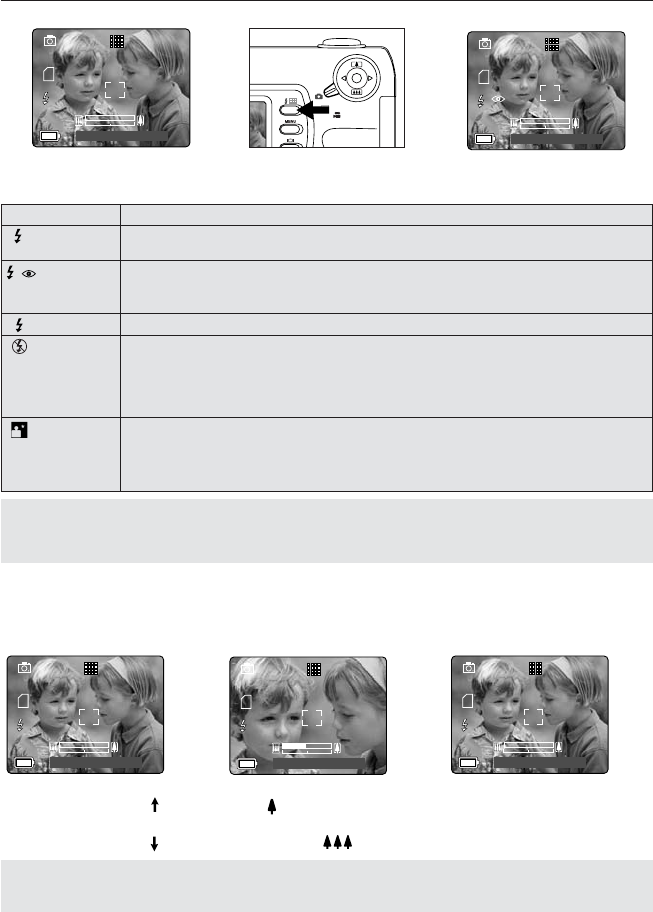
How to set the flash:
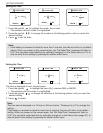
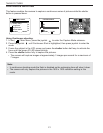
1. Press the Flash button next to the LCD repeatedly until the desired mode appears on the LCD.
Flash Mode Description
Auto Flash The camera judges if a flash is required. If the environment is too dark, the flash will
fire.
Red-Eye Use this mode to significantly reduce the occurrence of “red- eye” in flash
photography. The camera will automatically detect when the flash is needed and the
flash will fire after a short delay.
Fill-in Flash Flash will fire in any lighting condition.
Flash off The flash will not fire in this mode. Please use this mode if you want to capture the
mood of the ambient lighting or to use the available light in places where flash
photography is prohibited, such as museums.
• To prevent blurry pictures in low light situations, hold the camera steady when
pressing the Shutter button or mount the camera on a tripod.
Night Mode A slow shutter speed is used in this mode to capture the lights in night scenes.
• To prevent blurry pictures in low light situations, hold
the camera steady when pressing the Shutter button
or mount the camera on a tripod.
Note: The flash needs to recharge after it is fired. If the Shutter button is pressed while the
flash is charging, the Flash Ready LED will blink. Please wait a few moments and press the
Shutter button again to take a picture.
TAKING A PICTURE WITH OPTICAL ZOOM
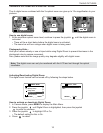
The camera can use up to 3x optical zoom to take pictures.
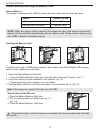
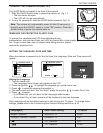
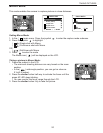
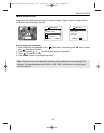
How to use optical zoom:
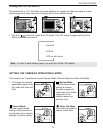
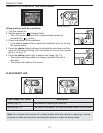
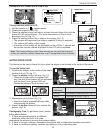
1. Press the joystick towards the ( ) tele position.
The zoom bar will display the zoom position on the LCD.
2. Press the joystick to zoom towards the ( ) wide-angle position.
Note: The folded optics allows the lens to be compact and contained in the camera. The
lens does not extend while using optical zoom.
O
K
A
AWB
2048
07 ⁄ 04⁄ 2003 02:40
00000000 0000
A
AWB
2048
07 ⁄ 04⁄ 2003 02:40
00000000 0000
A
A
Reduction
A
AWB
2048
07 ⁄ 04⁄ 2003 02:40
00000000 0000
A
AWB
2048
07 ⁄ 04⁄ 2003 02:40
00000000 0000
A
AWB
2048
07 ⁄ 04⁄ 2003 02:40
00000000 0000


