21
Right button
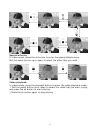
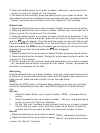
Before taking photos,you can configure your camera options by pressing
the menu button.
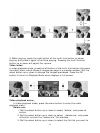
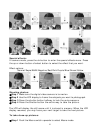
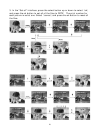
Select image size:
1. Roll the select button up or down to select「Size」and press the ok button.
2. Roll the select button up or down to select the size that you want to
record and press ok the button. Size options: 2976X2232, 2048X1536,
1600X1200, 640X480
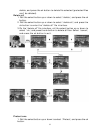
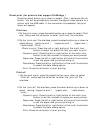
Select the white balance:
1. Roll the select button up or down to select「White balance」and press the
ok button.
2. Roll the select button up or down to select the means that you want to
record and press the ok button.
White balance options: Auto, Sunny, Tungsten, Fluorescent, Cloudy
Select image quality:
1. Roll the select button up or down to select「Quality」and press the ok
button.
2. Roll the select button up or down to select the quality that you want to
record and press the ok button.
Quality options: Fine, Normal, Basic
Select the date stamp option:
1. Roll the select button up or down to select 「Date stamp」and press the
ok button.
2. Roll the select button up or down to select the option you want and press
ok button.
Date stamp options: Date & Time, Date, Off
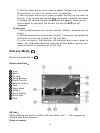
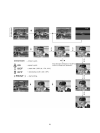
Flash function:
The flash function is active only in camera mode and has two options. Pressing
the right button of the multi –func
button, can place it in auto or off status.
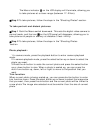
EV value adjust:
In camera mode, press the multi-func button up or down to adjust the
exposure value.
EV value range:-2.0~+2.0
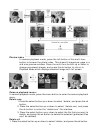
Taking a photo with self-timer:
1. Press left button of multi-func button to enter the self-timer setup interface.
2. On the self-timer setup interface, press the select button up or down to
select the wait time of the self-timer and press ok button.
3. Press the shutter button to start the countdown. After the countdown
reaches zero, the digital video camera will take the picture. During
countdown, pressing the ok button will cancel countdown.
Off
Auto


