9-12
Printing Directly From the Camera
This section provides an overview of how to print cards. See
the previous section for detailed instructions on using most
of the menus. Load your card(s) in the printer, then follow
these steps to print:
1 From the Print menu, select Layout and then select
Card. (See page 9-7.)
2 Go to the Photo menu and select All to print all your
photos, or select which photos you want to print. (See
page 9-7.)
3 Go to the Paper menu and select the correct paper type.
(See page 9-8.) The paper size is automatically set to
A6.
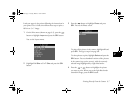
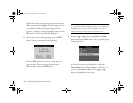
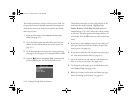
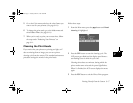
4 Press the button to highlight Posi. (position) and
press the
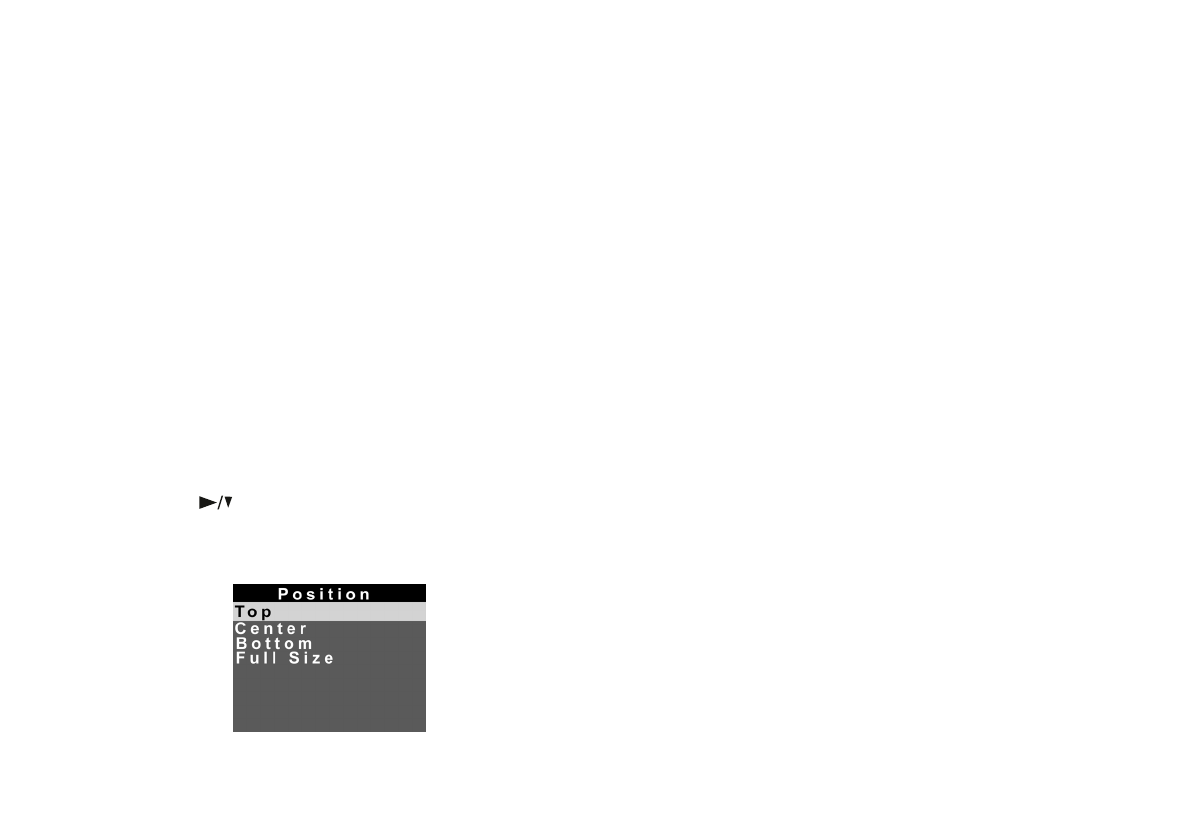
SEL button. You see the Position screen:
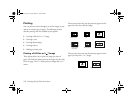
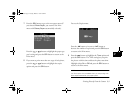
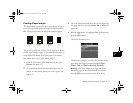
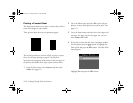
The Position setting lets you select the position on the
card where the image is printed. Highlight
Top,
Center
, Bottom or Full Size. Full Size prints the
maximum area (3.25 × 4.25 inches) that can be printed
on the card. The other options print images that are 2.1
× 2.8 inches. Press the
SEL button to return to the Print
menu.
5 If you want to print multiple copies of your card, go to
the Copies menu and select the number of copies you
want to print. (See page 9-9.)
6 If you want to print the time the photo was taken, go to
the Time menu and select
On. (See page 9-9.)
7 Go to the Color menu and select the color format you
want to use for your printout. (See page 9-10.)
8 To change the print mode, go to the Mode menu and
select
Fast or Fine. (See page 9-10.)
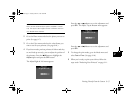
9 When you’re ready to print your card, follow the steps
under “Producing Your Printout” on page 9-11.
Lily.book Page 12 Tuesday, March 2, 1999 4:06 PM


