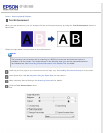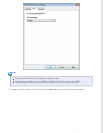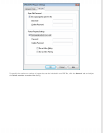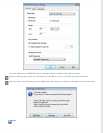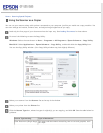
If you deselect the Show Add Page dialog after scanning check box in the File Save Settings window,
this window does not appear and Epson Scan automatically saves your document.
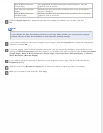
Select one of the following options.
Add page: Click this button to scan the next page of your document. Replace the first page with the next
page, and click Scan. Repeat this step for each page in your document. When you are finished, click Edit
page and go to step 14.
Edit page: Click this button if you have scanned all the necessary pages so you can edit the scanned pages
before saving them in one PDF file. Then go to step 14.
Save File: Click this button when you are ready to finish scanning and save the scanned pages into one PDF
without editing them. Then go to step 16.
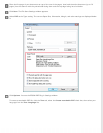
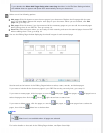
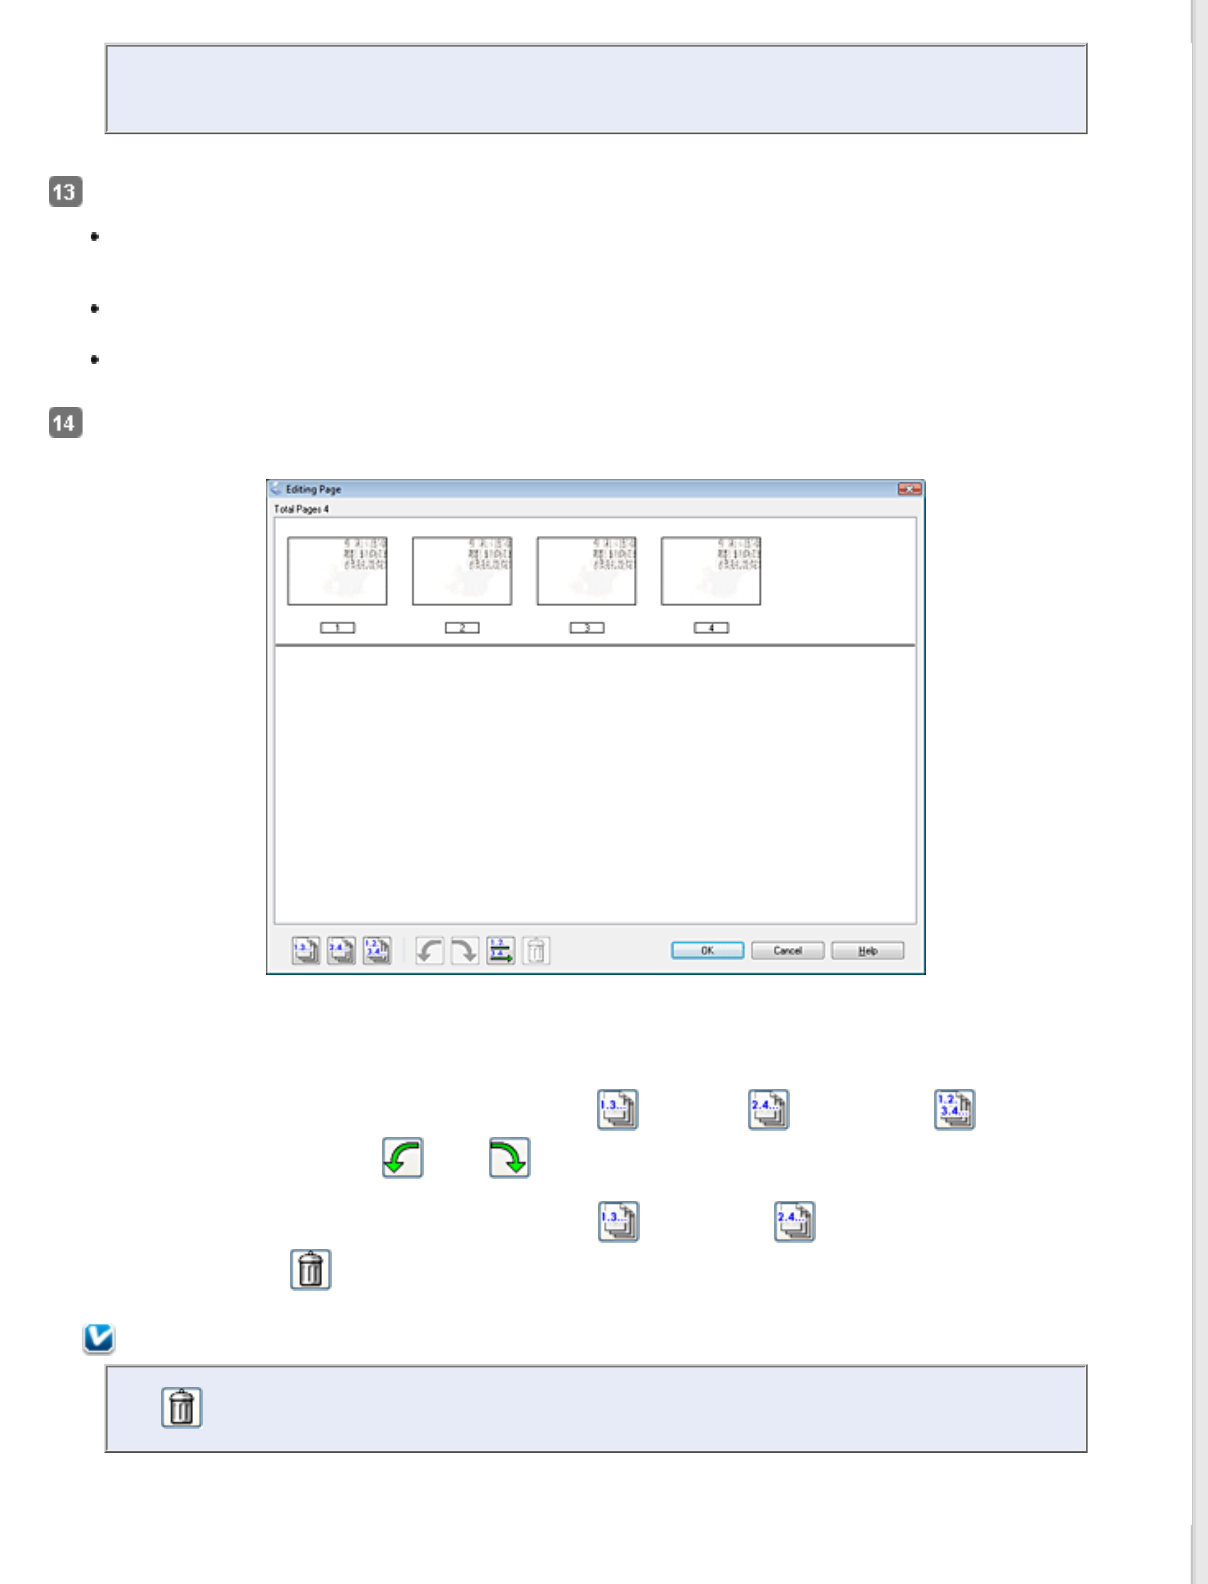
You see the Editing Page window displaying thumbnail images of each scanned page.
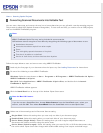
Use the tools at the bottom of the Editing Page window to select, rotate, reorder, and delete pages.
If you want to include all the document pages in your PDF files as they currently look, go to step 15.
If you want to rotate pages, click the pages, or use the
odd pages, even pages, or all pages icon to
select the pages, then click the
left or right rotate icon to rotate them.
If you want to delete pages, click the pages, or use the
odd pages, or even pages icon to select the
pages, then click the
delete icon to delete them.
Note:
The
delete icon is not available when all pages are selected.
For further details on the tools in the Editing Page window, see Epson Scan Help.


