131 English
CORRECTING CAMERA SHAKE AND RED-EYE
EFFECT
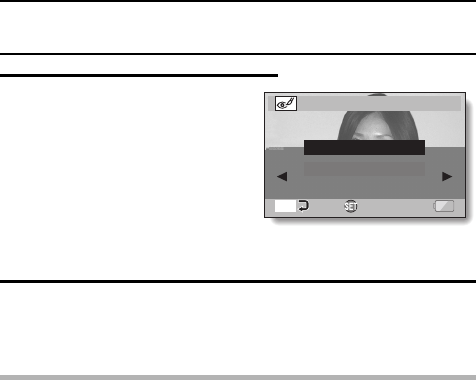
5 Press the [ ] button.
h A screen appears for you to
specify whether or not to save
the original image.
SAVE AS NEW:
The corrected image is saved as a
separate image, and the original
image is preserved.
OVERWRITE FILE:
The original file is deleted, and only
the corrected image is saved.
6 Select the desired method to save the corrected image, and press
the SET button.
h The corrected image is saved, and you are returned to the Edit Photo
Screen.
HINT
About the blur correction icon
i
On the Blur Correction Screen, an icon indicating the degree of blur appears.
: Blur correction unnecessary or blur correction completed.
: Blur correction possible
: Blur correction not possible
i
Blur correction is not possible for images captured at a shutter speed of
1/8 sec or less, or for images captured using a different digital camera. Also,
blur correction may not be possible in cases of extreme blur.
If the “Blur correction not successful” or “Red-eye correction not
successful” message appears...
iThe camera was not able to successfully repair the image.
i
The correction function works to automatically edit flaws that the camera
detects in captured images. In some cases, the camera may fail to correctly
detect a flaw, or it may incorrectly identify a flaw where it does not exist.
Concerning the date and time information for the saved image
i
When an image is corrected and saved, the recorded date and time of
capture (Exif information) remains unchanged from the original image.
However, the file date shown on the computer changes to the date and time
the image was revised.


