


81
Settings
4
80
SET-UP
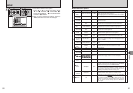
■ SET-UP menu options
Settings Display
Factory default
Explanation
page
–
è
AF
ILLUMINATOR
ON/OFF ON Specifies whether the AF-assist illuminator is ON or OFF.
–
àBEEP
VOLUME
OFF/1/2/3 2
Sets the volume of the tone emitted when the camera
controls are used.
áIMAGE
DISP.
3 SEC/1.5 SEC/OFF 1.5 SEC
Specifies whether an image checking screen (photography
result) appears after taking a picture.
The image appears for a few moments and is then recorded.
–
82
éFRAME
NO.
CONT./RENEW CONT.
Specifies whether frame numbers are assigned
consecutively from previous numbers or begin again.
85
16
86
ïFORMAT
OK – Erases all files.
85
Î
LCD POWER
SAVE
ON/OFF ON Darkens the LCD monitor when camera is not used.
ì
DATE/TIME
SET – Corrects the date or time.
ó
TIME
DIFFERENCE
ô
SET – Specifies the time difference settings.
18
ENGLISH Specifies the language used for LCD monitor display.
–
úRESET
OK –
Resets all the camera settings (other than the DATE/TIME,
TIME DIFFERENCE, , BACKGROUND COLOR
and VIDEO SYSTEM) to the factory default values set at
shipment. A confirmation message appears when you press
“c”. To reset the camera settings, press the “MENU/OK”
button again.
–
äSHUTTER
VOLUME
OFF/1/2/3 2
Sets the volume of the sound emitted when the shutter operates.
82
ã
PLAYBACK
VOLUME
SET – Sets the volume of playing back movie and voice memo.
83
ê
LCD
BRIGHTNESS
SET – Sets the LCD monitor brightness.
83
ëDIGITAL
ZOOM
ON/OFF OFF Specifies whether digital zoom is used together.
–
ö
BACKGROUND
COLOR
SET – Specifies the colors of menu and background.
84
í
LONG
EXPOSURE
(SP: ©)
ON ©M/OFF © OFF ©
Set the long exposure setting when Photography mode is
set to “©” NIGHT.
84
î
AUTO
POWER OFF
5 MIN/2 MIN/OFF 2 MIN
Sets the time of turning camera off when camera is not
used.
–
õ
VIDEO
SYSTEM
NTSC/PAL – Specifies whether video output is set to NTSC or PAL.
99
95
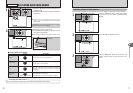
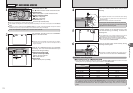
òUSB
MODE
¶/®
¶: DSC (Mass storage device) mode
Provides a simple way to read images from an xD-Picture
Card and store images onto an xD-Picture Card.
®: PictBridge
If a printer that supports PictBridge is available, images can
be printed by connecting the camera directly to the
PictBridge-compatible printer without using a PC.
1
2
3
4
DSCD S C
NTSCN T S CN T S CNTSC
SETS E T
SETS E T
SETS E T
ENGE N G LIL I SHS H
1
2
3
4
5
01 02
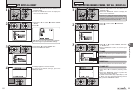
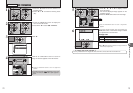
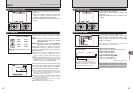
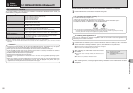
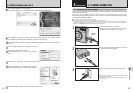
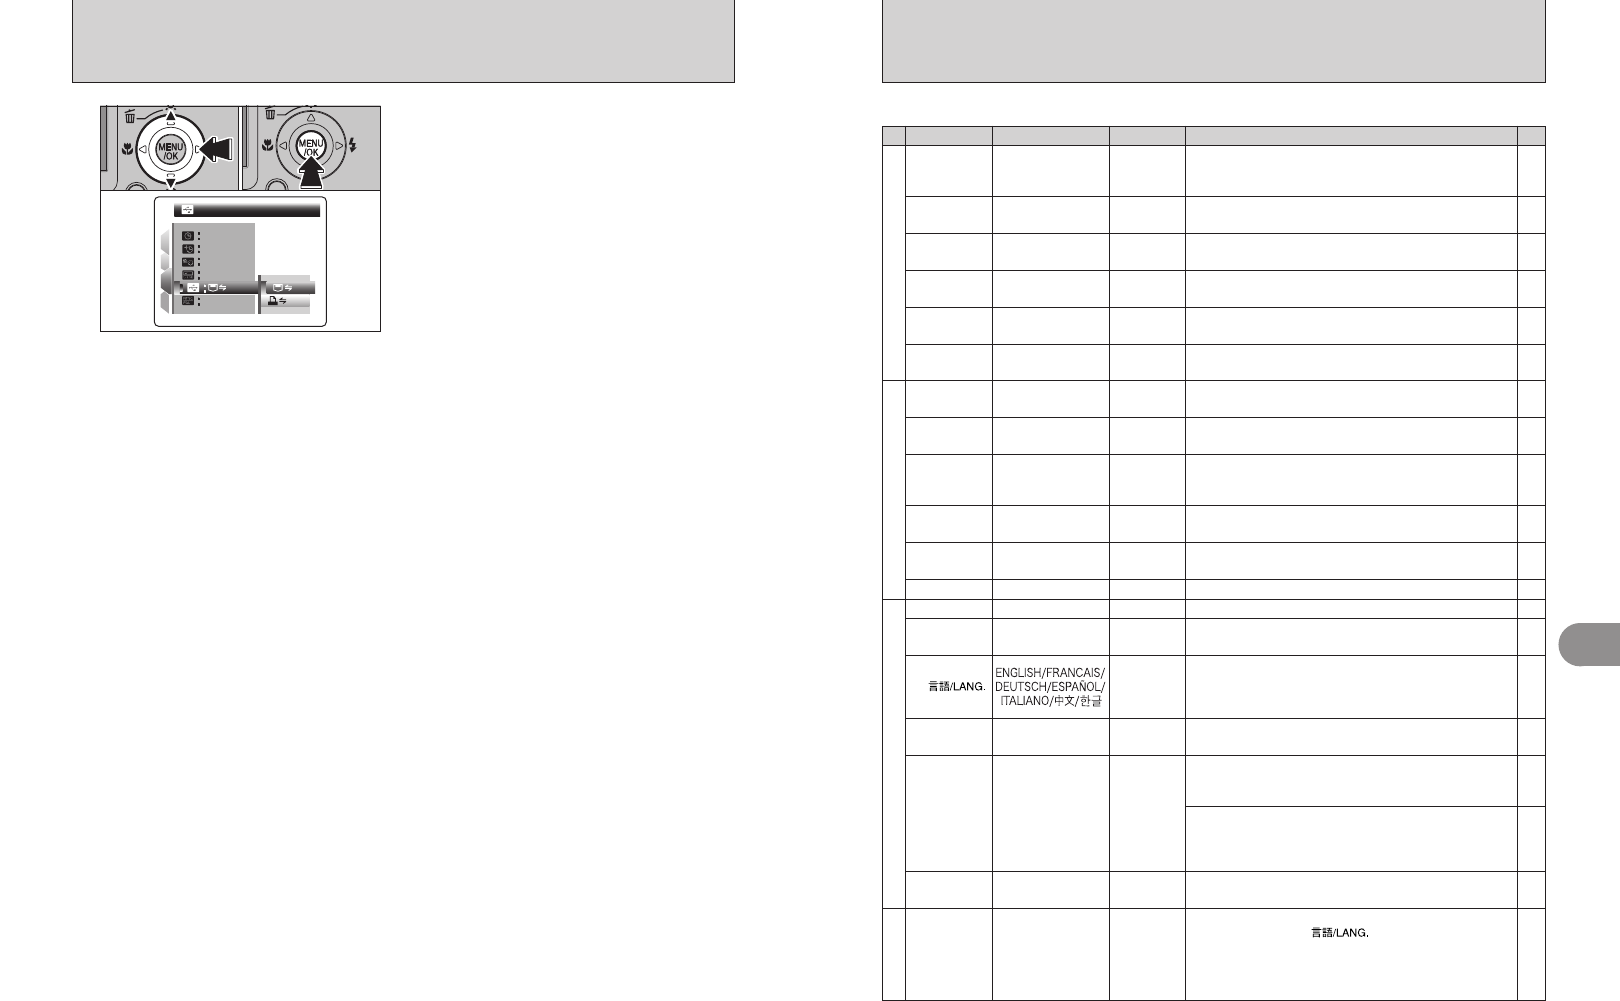
1Press “c” to select a menu option.
Press “a” or “b” to change the setting. Press
“c” for “ï” FORMAT, “ì” DATE/TIME, “ó”
TIME DIFFERENCE, “ö” BACKGROUND
COLOR or “ú” RESET.
2After you have changed the settings, press the
“MENU/OK” button to confirm the changes.