


101
Viewing Images
6
100
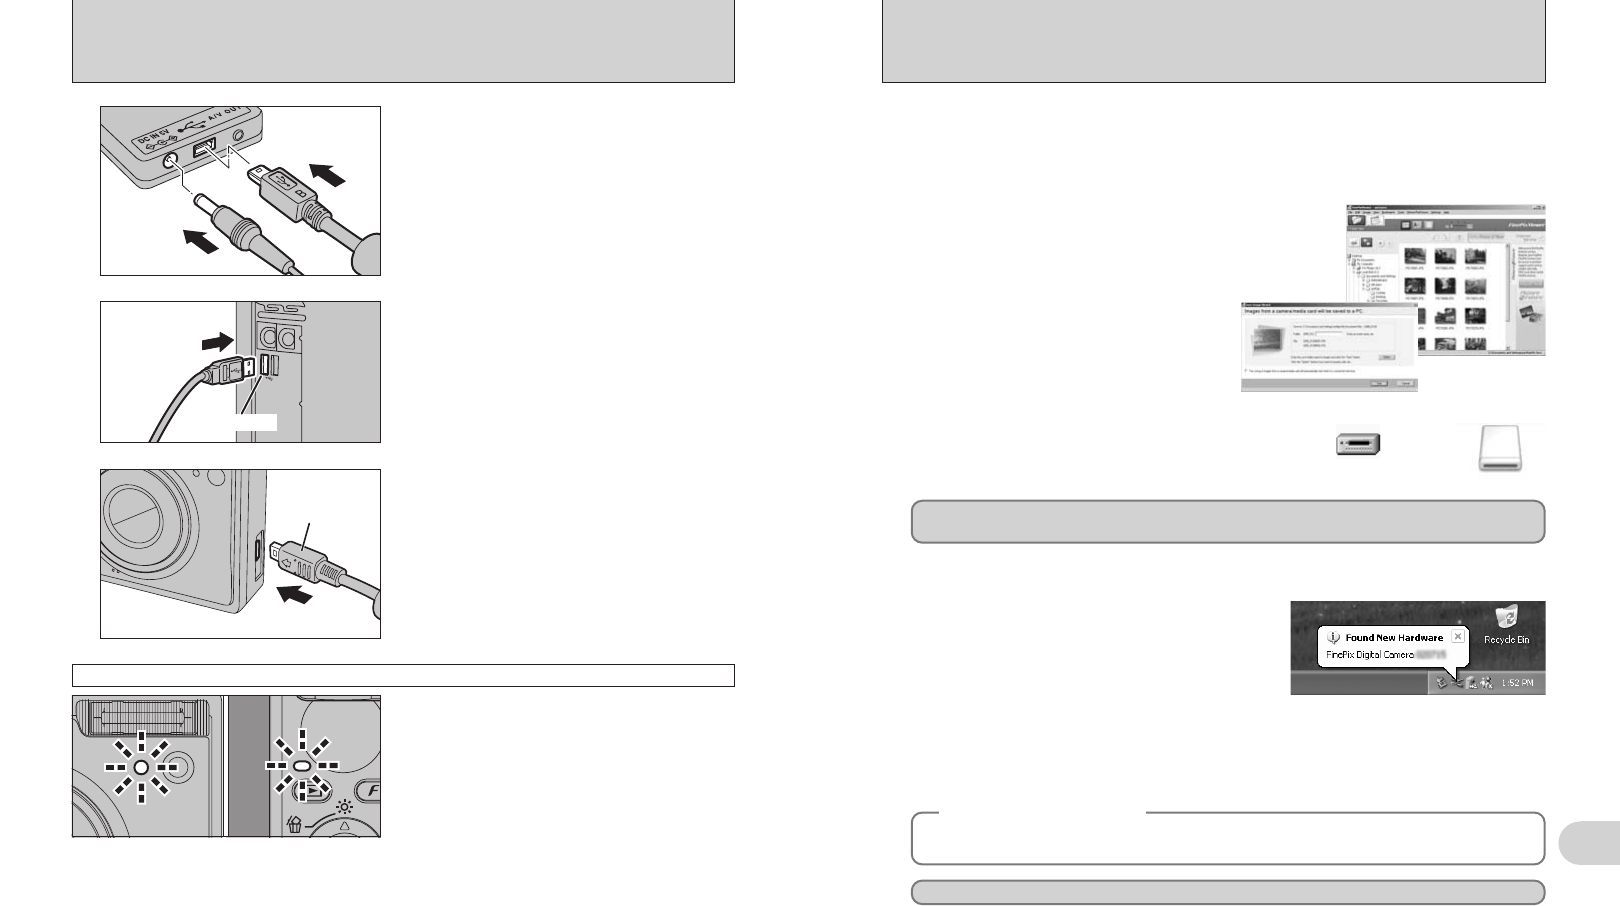
Windows XP
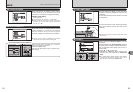
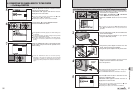
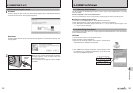
1The “Found New Hardware” help message
appears in the bottom-right corner of your screen.
This message will close when the settings are
completed. No action is required.
●
!
This step is not required for subsequent connections.
Proceed to “USING FinePixViewer” on P.103.
◆
Regarding the icons
◆
The next time you connect the camera, the removable disk drive icon’s name changes to the
“FinePix” icon and name.
2A new removable disk icon appears in the “My Computer” window.
FinePixViewer automatically starts up and the Save Image Wizard window (Save Image
dialog box) appears. Follow the instructions provided on screen to save the images. To
proceed without saving the images, click the [Cancel] button.
●
!
The Windows CD-ROM may also be required during installation. In this event, change CD-ROMs as directed by the
on-screen instructions.
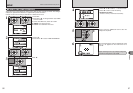
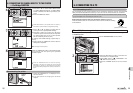
h FinePixViewer automatically starts up and the
Save Image Wizard window (Save Image
dialog box) appears. Follow the instructions
provided on screen to save the images. To
proceed without saving the images, click the
[Cancel] button.
✽ Screen for Windows 2000 Professional
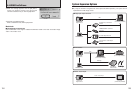
Windows 98 / 98 SE / Me / 2000 Professional / Macintosh
h A removable disk icon appears and you can use
your PC to transfer files to and from the camera.
Windows Macintosh
If the above operations do not occur, you do not have the required software programs or drivers installed
on your PC. Complete the required PC setup procedures. Then reconnect the camera to your PC.
6
Set a PC
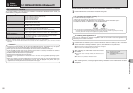
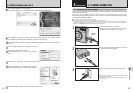
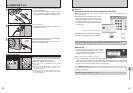
6.3 CONNECTING TO A PC
Terminal
adapter
5
Plug the terminal adapter into the terminal adapter
connection socket on the camera.
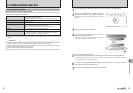
Press the “w” button for about 1 second to turn the
camera on in Playback mode.
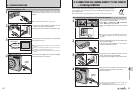
h When the camera and PC are exchanging data,
the self-timer lamp blinks and the indicator lamp
blinks alternately green and orange.
h “¶ DSC” appears on the LCD monitor.
h Auto power off is disabled during USB
connection.
●
!
Before replacing the xD-Picture Card, always disconnect the
camera from the PC. See P.102 for information on the
disconnection procedure.
●
!
Do not disconnect the USB cable (mini-B) when the camera
is communicating with a PC. See P.102 for information on the
disconnection procedure.
Camera operation
1Plug the USB cable (mini-B) into the USB socket
of the terminal adapter.
2Plug the AC power adapter connector into “DC
IN 5V” socket of the terminal adapter and then
plug the AC power adapter into the power outlet.
1Turn your PC on.
2Connect the terminal adapter to your PC using
the USB cable (mini-B).
3
4
USB socket
01
02