44 45
METERING SYSTEMS
Advanced Photography
3
Normally, the Matrix Metering system will provide the optimum exposure for your shot. However,
you can choose from 3 metering modes for shots where you want to select a different exposure
level (AE lock or exposure compensation) or for particular scenes (such as backlit shots or
shots with very strong contrast).
The release mode is normally set to Single-frame. Set the release mode to Continuous Shooting
to take sequential shots of moving subjects or to take a series of shots using Auto Exposure
Bracketing.
In this mode, one shot is taken each time you press the shutter button. Use this mode to take a
single clearly defined shot in each frame.
●
!
If you take a number of single-frame shots in rapid succession, the number of available shots is highlighted in the
same way as in continuous shooting. Once this happens, no further shots can be taken. Wait until the number of
available shots is no longer highlighted.
e
(
Single frame
)
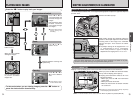
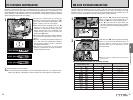
This mode allows you to take up to 7 consecutive shots at intervals as short as 0.5 seconds by
holding down the shutter button.
h Once you have shot the maximum number of continuous frames (7), the number of available
shots shown on the rear display panel is highlighted. No further continuous shots can be
taken at that point. Wait until the number of available shots is no longer highlighted.
r
(
Continuous Shooting
)
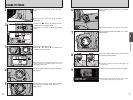
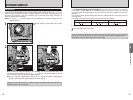
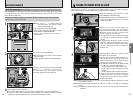
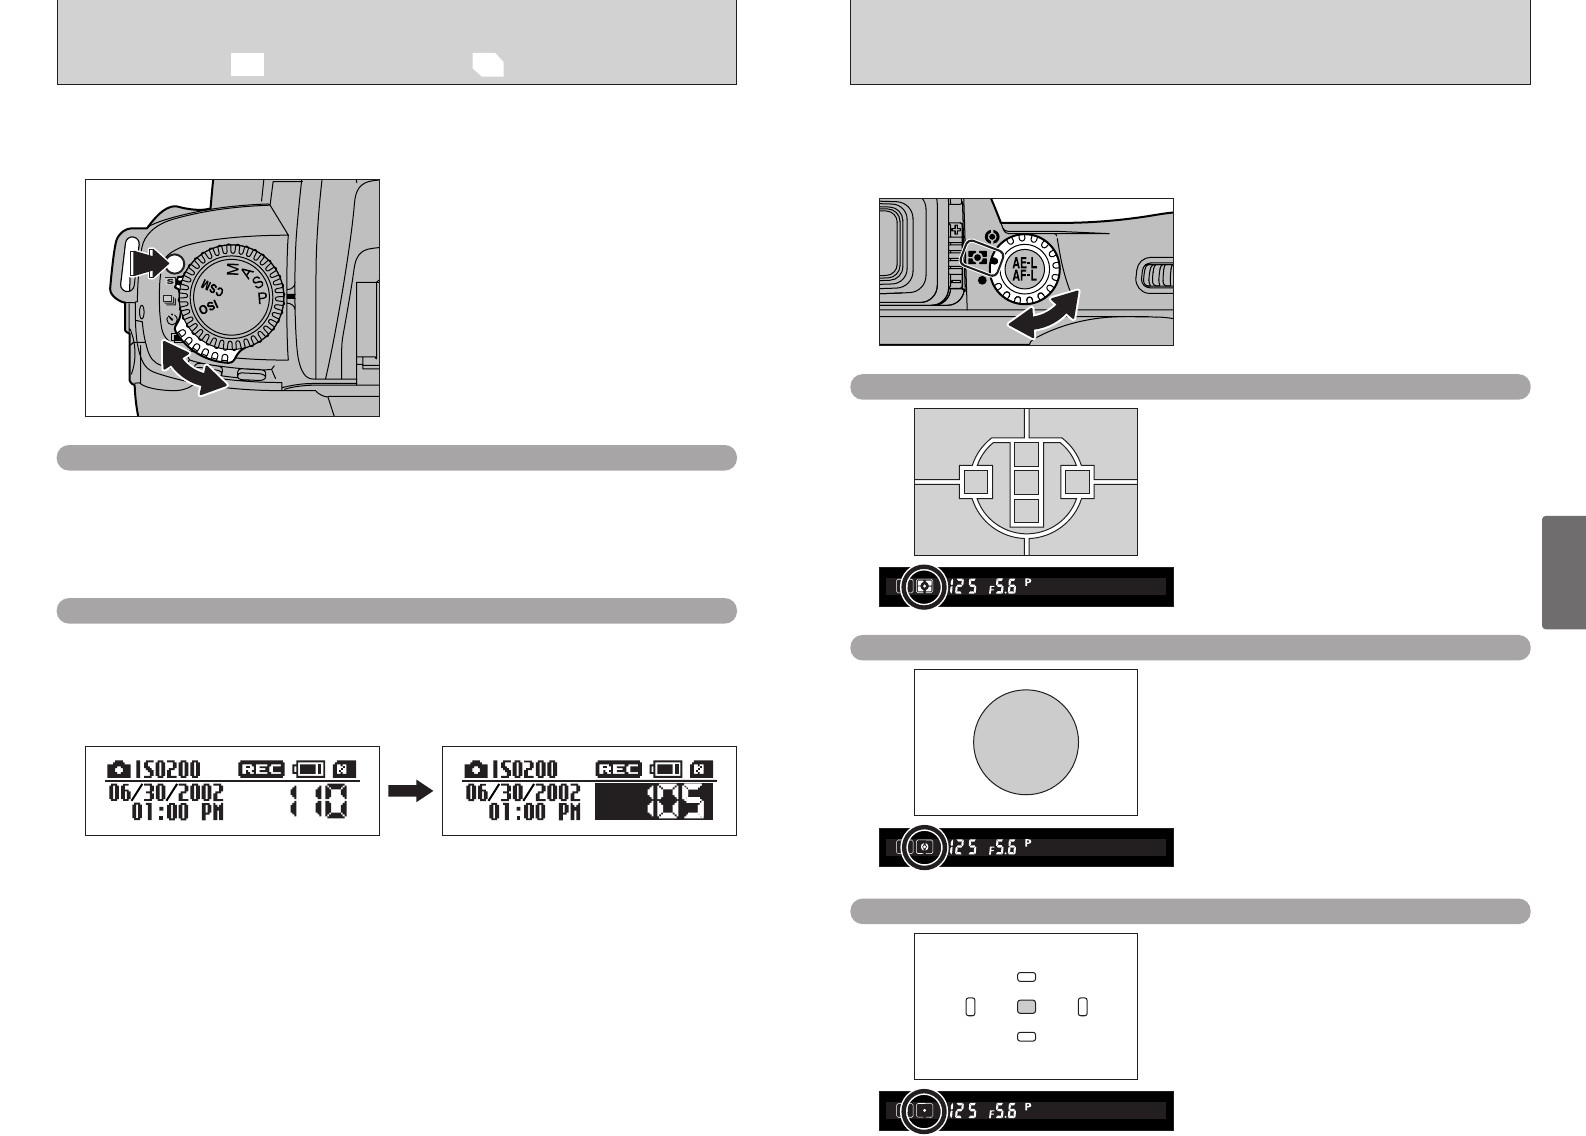
Hold down the release mode switch unlock
button and set the release mode switch to “e”
(Single frame) or “r” (Continuous Shooting).
●
!
The continuous shooting speed is fixed and does not vary according to the resolution or quality settings.
●
!
You cannot use continuous shooting with the built-in flash.
●
!
If previewing is selected for photographed images (➡P.90) when continuous shooting is used, only the
photographed image for the final frame is displayed and automatically recorded.
●
!
If you use continuous shooting when the number of available shots is low, the number of available shots may
temporarily change to 0.
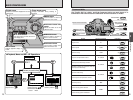
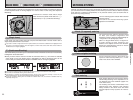
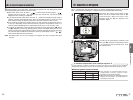
Turn the metering system selector dial to desired
metering system.
The icon for the selected metering system
appears in the viewfinder.
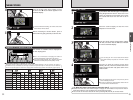
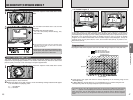
The camera sets the optimum exposure based
on data (the maximum brightness and
brightness contrast) measured independently for
10 segments in the photography screen.
With D- or G-type Nikkor lenses, 10-segment 3-
D matrix metering is used, factoring in the
distance to the subject as well as the maximum
brightness and brightness contrast to ensure
even more accurate metering.
'
: Matrix
(
10-segment
)
metering
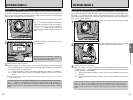
Center-weighted metering determines the
exposure value based primarily on a 12-mm
circle in the center of the viewfinder.
;
: Center-weighted metering
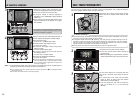
Spot metering determines the exposure value by
concentrating metering on the equivalent of a 4-
mm diameter area in the viewfinder (approx. 2%
of the entire frame).
The metering area moves to follow shifts in the
selected focus area. However, spot metering
always remains in the center of the shot when
Closest-subject Priority Dynamic AF mode is
used.
l
: Spot metering
RELEASE MODES/
e
(
SINGLE-FRAME
)
AND
r
(
CONTINUOUS SHOOTING
)


