54 55
Advanced Photography
3
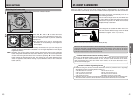
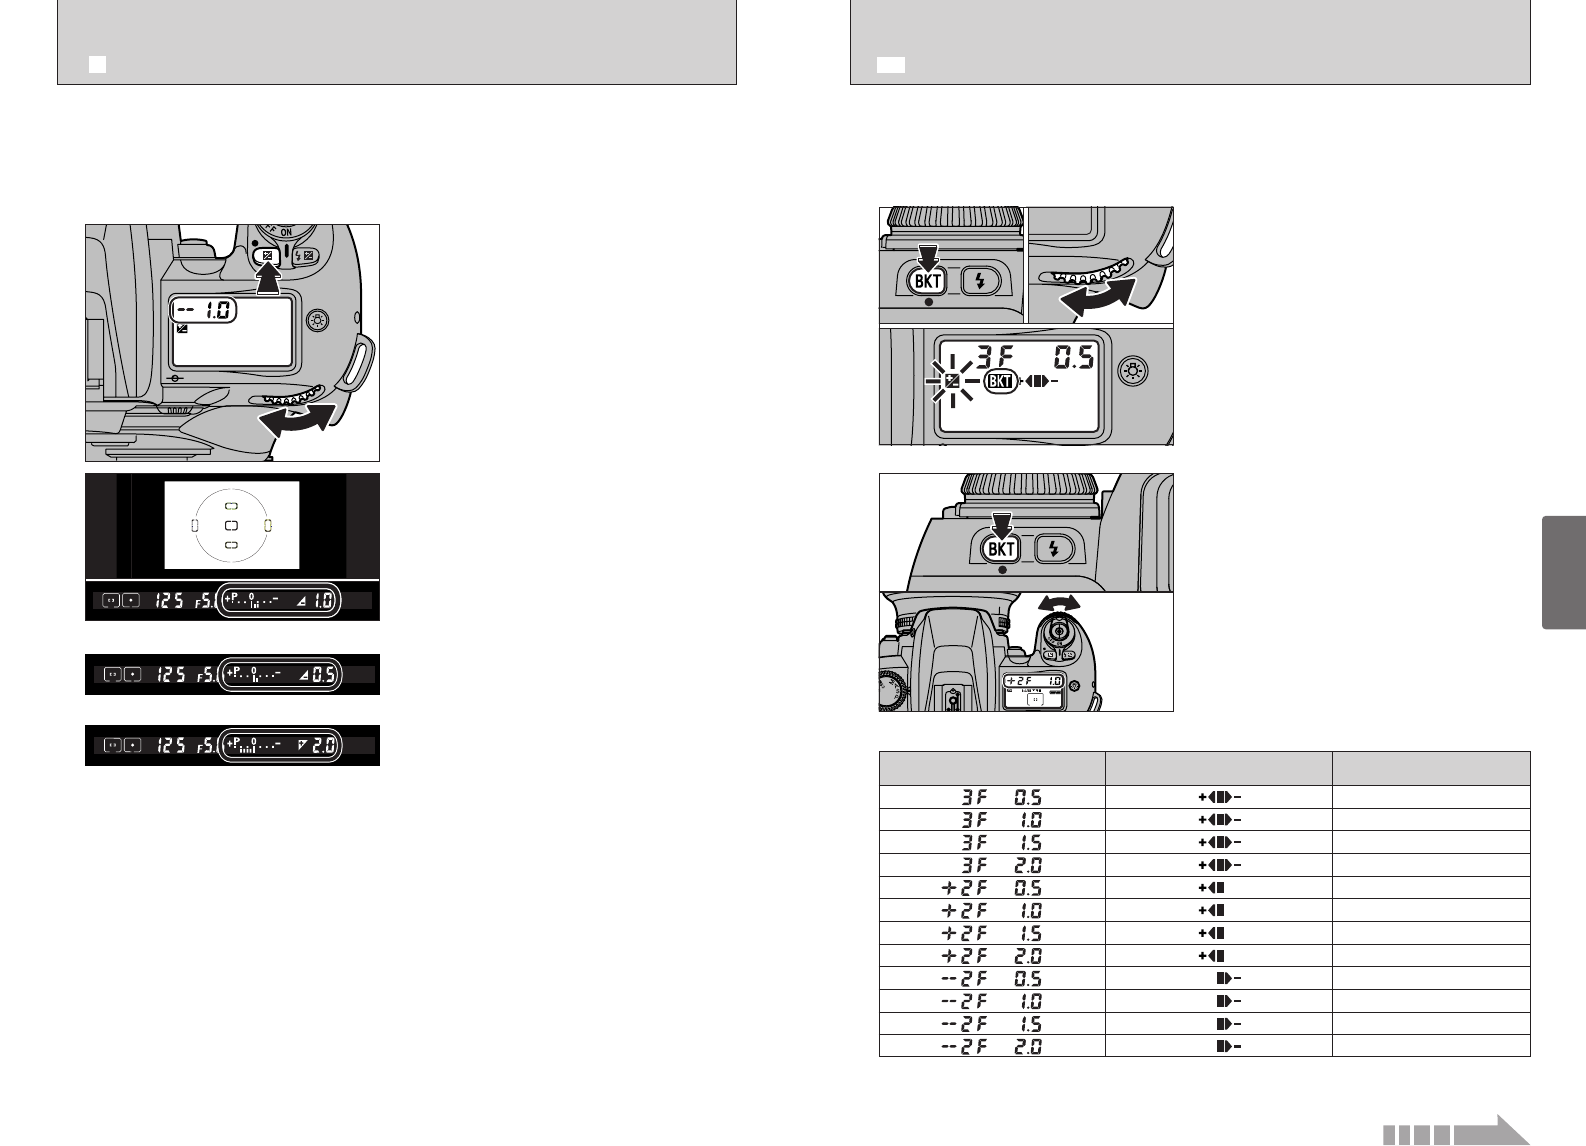
Use Auto Exposure Bracketing when you want to take the same shot with different exposure
settings. Using the correct exposure setting displayed by the camera (the value set in “M”
exposure mode) as a reference, the camera can automatically offset the exposure by a set
value (up to ±2 EV steps without exposure compensation) in either direction.
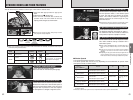
Exposure compensation allows you to intentionally vary the optimum exposure value controlled
by the camera. This can be useful when intentionally achieving under- or overexposure. Use
Centre-Weighted or Spot Metering. Exposure compensation can be performed in any exposure
mode (However in “M” exposure mode, only the electronic analog display changes—selected
shutter speed and aperture do not change).
1
2
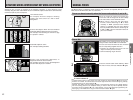
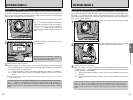
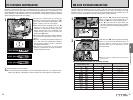
Set exposure compensation by rotating the
Main-Command Dial while pressing the “u”
button until the desired compensation value
appears (–3 EV to +3 EV in 1/2 EV steps).
h When the exposure compensation is set, “
U”
appears on the top display panel and
viewfinder. The Electronic analog exposure
display also appears in the viewfinder. The
compensation value can be checked by
pressing the “u” button.
h Electronic analog exposure display indicates
the exposure compensation value and “0”
blinks.
h Normally, you should compensate exposure to
the + side when the background is brighter
than your main subject, or to the – side when
the background is darker.
h See p.67 for information on using flash
exposure compensation to adjust the amount
of light emitted by the flash.
Compose picture, focus and shoot.
h To cancel exposure compensation, set the compensation amount to “0.0” or perform a two-
button reset (➡P.95). (Switching the camera off does not cancel exposure compensation.)
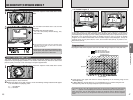
–0.5 EV compensation
Electronic analog exposure display
+2 EV compensation
01
02
1
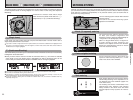
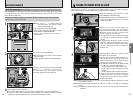
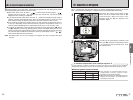
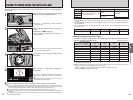
Hold down the “q” (Auto Exposure Bracketing)
button 1 as you turn main command dial 2 to
display the “Q” icon on the top display panel.
h The “
U” icon continues to flash while auto
exposure bracketing is being used to indicate
that auto exposure bracketing photography is
in progress.
01
02
2
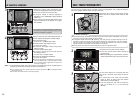
Hold down the “q” (Auto Exposure Bracketing)
button 1 as you turn sub-command dial 2 to
set the number of shots (up to 3) and the
exposure offset (up to ±2 EV steps in 1/2 EV
step increments).
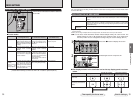
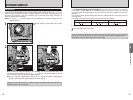
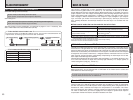
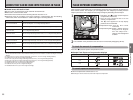
■ List of exposure offsets and numbers of shots
Number of shots and
compensated EV value
Bracketing bar graphs Bracketing order
0, –0.5, +0.5
0, –1.0, +1.0
0, –1.5, +1.5
0, –2.0, +2.0
0, +0.5
0, +1.0
0, +1.5
0, +2.0
0, –0.5
0, –1.0
0, –1.5
0, –2.0
01 02
●
!
Check the number of available shots before setting the
number of shot.
u EXPOSURE COMPENSATION q AUTO EXPOSURE BRACKETING
Continued over page...


