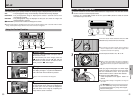
91
Settings
5
90
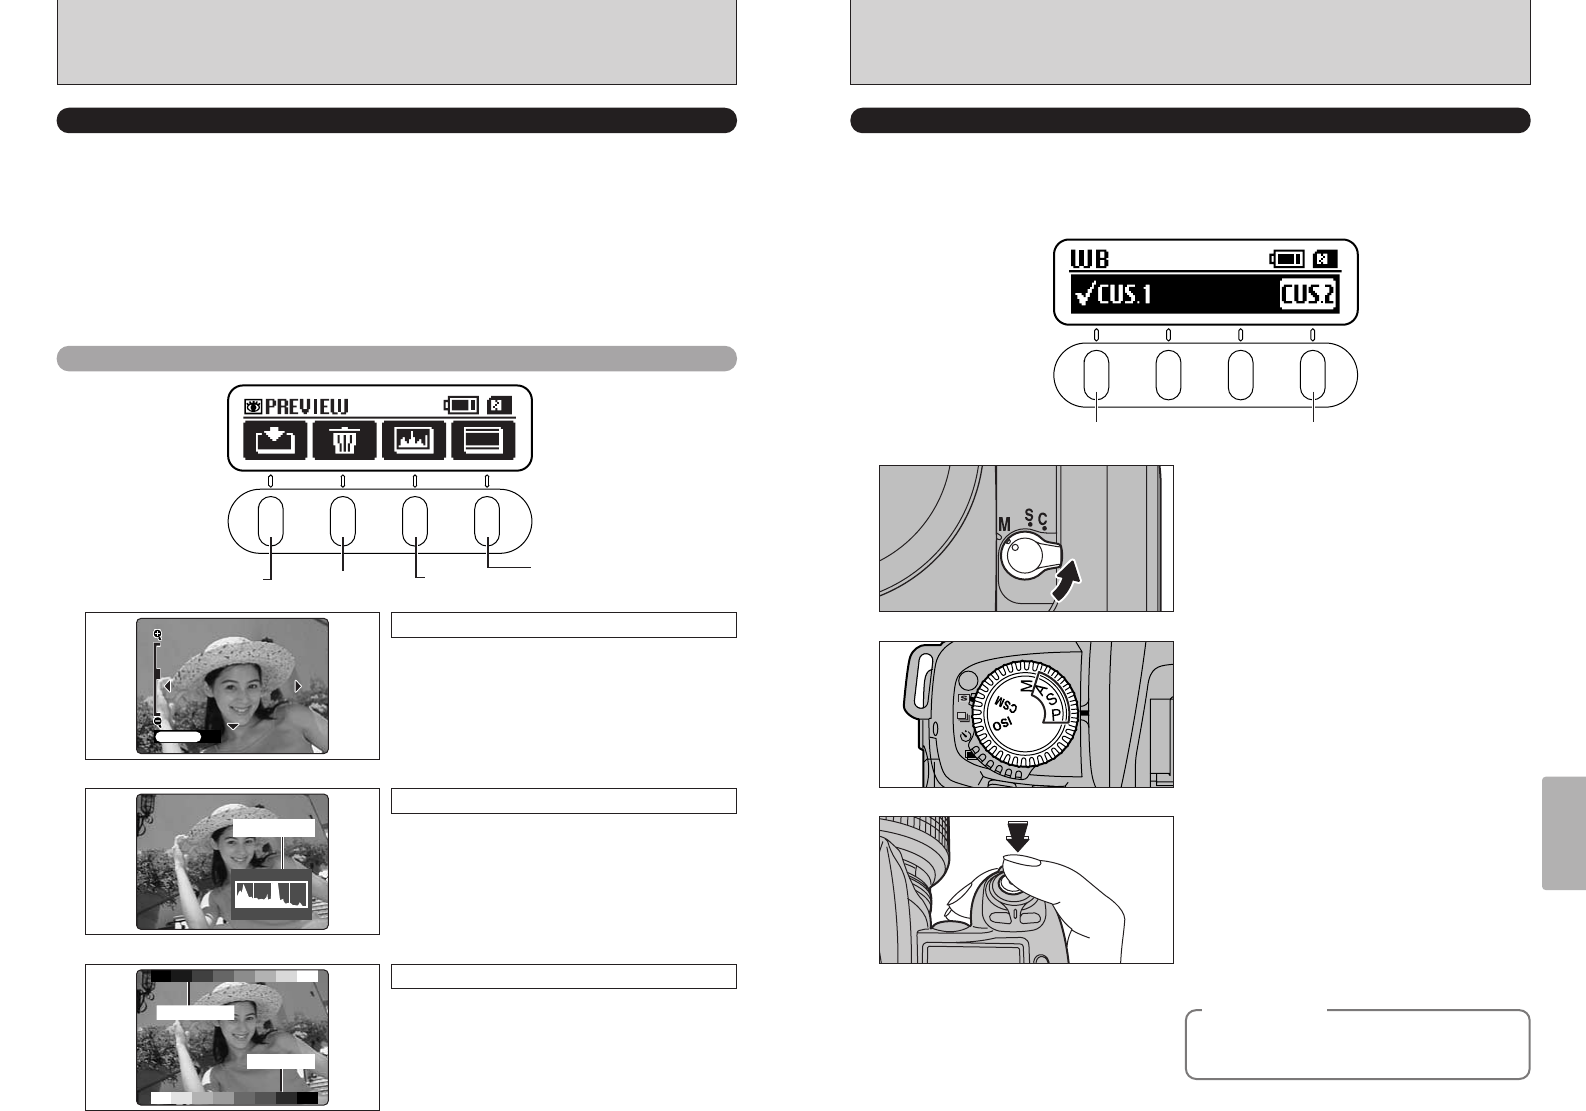
SETTING THE CUSTOM WB
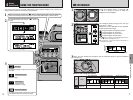
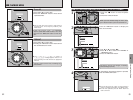
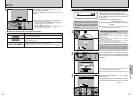
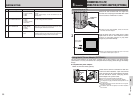
Use this function to set the correct white balance for a light source. You can also use this
function to achieve a desired special effect.
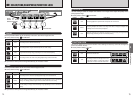
Press the “F1” (custom WB 1) button or the “F4” (custom WB 2) button to select the custom
white balance you want to set.
◆
Example
◆
1
2
2
Custom WB 1 Custom WB 2
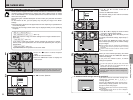
Turn the focus mode selector switch to “M”
(Manual focus) and set the focus manually.
3
4
Set the exposure mode to “P”, “S” or “A”.
●
!
The camera’s auto focus function may be unable to
focus on a subject such as a white sheet of paper, which
will prevent the shutter from operating.
●
!
While a custom white balance can also be measured in
“M” mode, the image may be extremely overexposed or
underexposed so that the optimum measurement is not
taken.
Hold up a page of white paper or a similar object
under the target light source so that the paper
fills the viewfinder screen. Then press the
shutter button to set the custom white balance.
h Range of custom WB settings
Color temperatures from approx. 2800 K to
9500 K
●
!
The white balance setting is not applied to the image on
the screen.
You can deliberately change the white balance
in photographed images by using colored paper
instead of white paper.
SET–UP
IMAGE DISPLAY
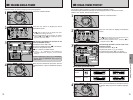
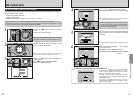
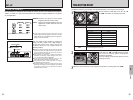
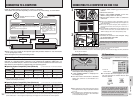
This setting allows you to specify whether the resulting image is displayed after you take a shot.
OFF : The photographed image is automatically recorded without being displayed.
POSTVIEW : The photographed image is displayed for about 2 seconds and is then
automatically recorded.
PREVIEW : The photographed image is displayed so that you can check the image and
choose whether to record it.
xPREVIEW: A preview that includes the histogram is shown.
●
!
Preview image display is cancelled when the Auto Power Off function operates (after 15 seconds under the default
setting). Record preview images before the Auto Power Off function is triggered.
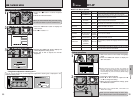
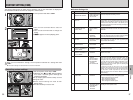
Using the Preview Function
record
Do not record
histograms
Standard chart
Preview zoom
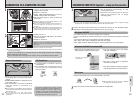
Unlock the 4-direction button and press “a” or
“b” to zoom in or out.
To view another part of the image, press the
“d” button and then use the “d”, “c”, “a” and
“b” buttons to move around. To return to zoom
mode, press the “d” button again.
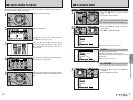
Histograms
Histogram
Pressing this button displays the histogram.
The display changes in a cycle from MASTER ➡
R ➡ G ➡ B each time the button is pressed.
●
!
See P.77 for more information on histograms.
Color bar
Gray scale
Standard chart
A “gray scale” is displayed in the upper part of
the LCD monitor and a “color bar” is displayed in
the lower part. You can check the brightness
and color tones of the image by comparing the
image with the colors in the bars.


