78 79
Advanced Features Playback
4
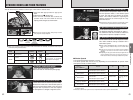
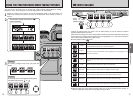
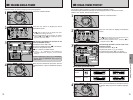
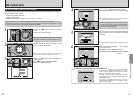
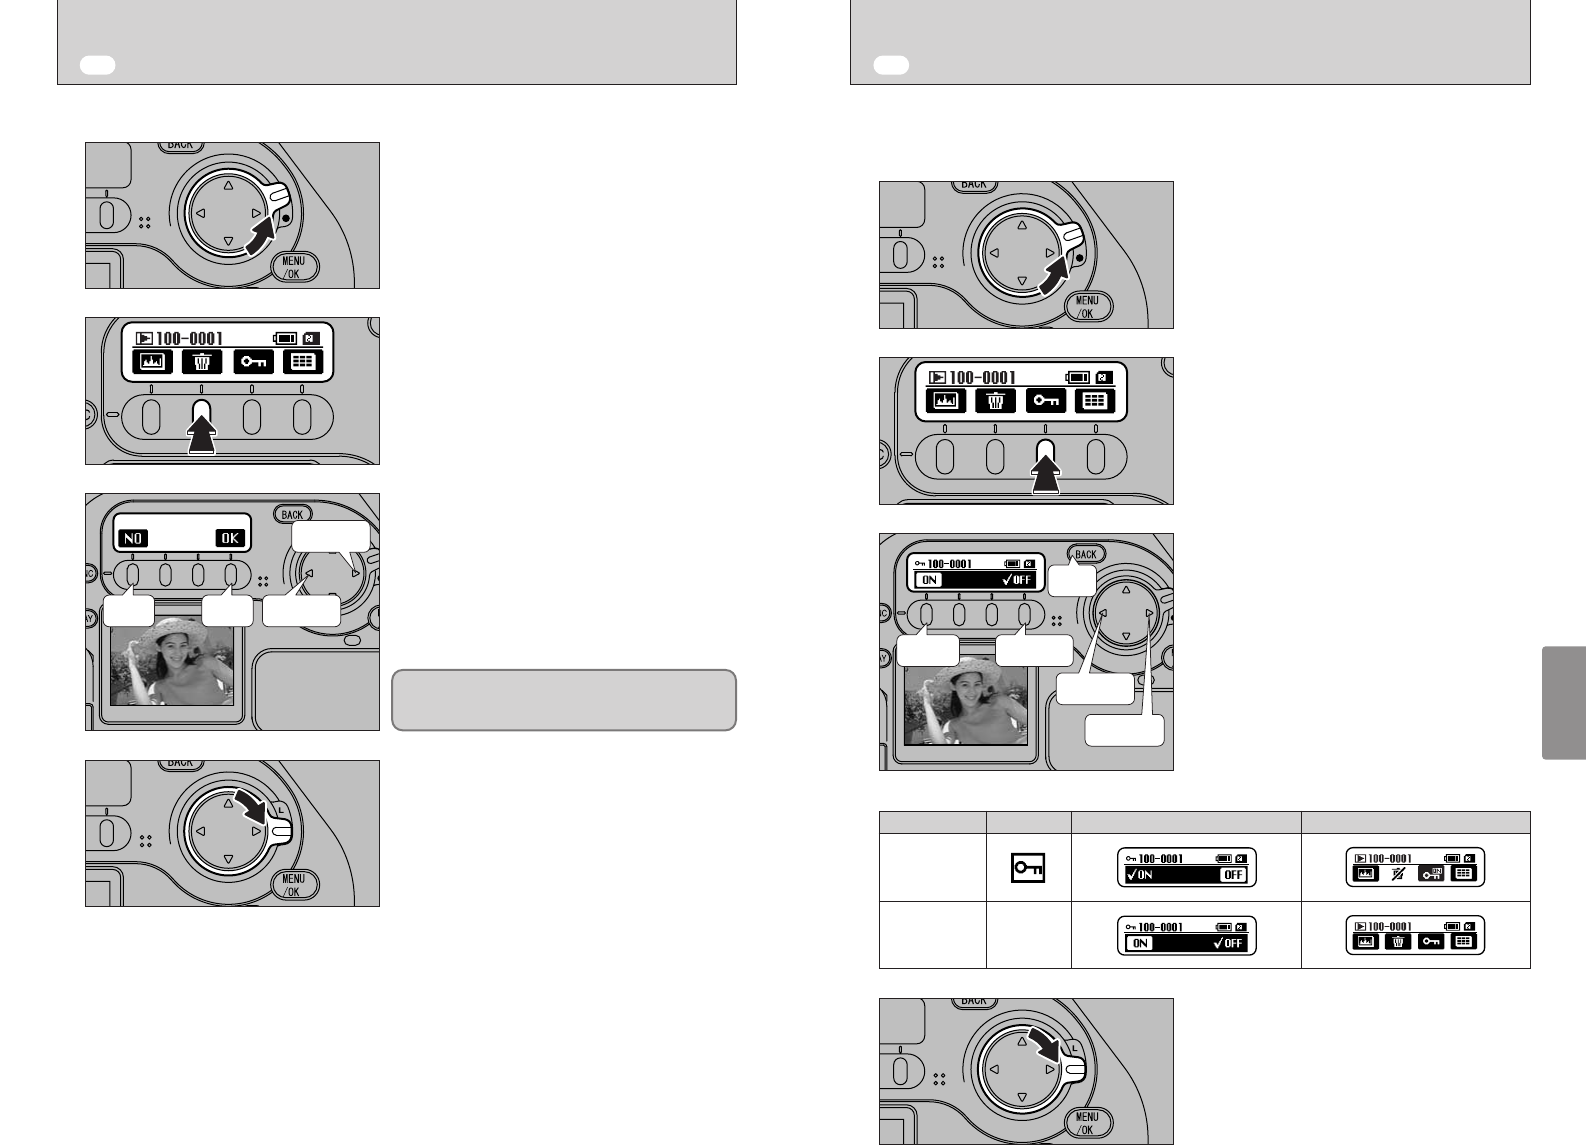
Unlock the 4-direction button.
1
Press the “F2” button to display the erase
confirmation screen.
2
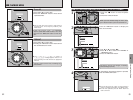
back delete
last frame
next frame
The following operations can be used in the
erase confirmation screen:
To select the frame: “d” or “c”
To erase the displayed frame: “f” (“F4” button)
To return to the previous frame:
“g” (“F1” button) or “BACK” button
3
When you have finished the procedure, lock the
4-direction button to prevent accidental improper
use.
4
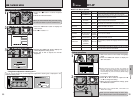
Use this function to erase an image you have photographed.
●
!
If “k” does not appear on the rear display panel, press
the “
w” button to change the screen.
●
!
If the currently displayed frame is protected, “C” appears
instead of “
k” and the “j” icon is displayed in the top-
right corner of the LCD monitor.
●
!
“Å” displayed for a frame indicates that
the frame is protected. Unprotect the frame before
erasing it.
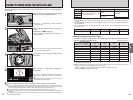
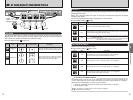
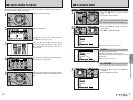
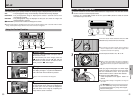
Unlock the 4-direction button.
1
Press the “F3” button to display the protection
screen.
The following operations can be used in the
protection screen:
To select the frame: “d” or “c”
To protect the frame: “
c” (“F1” button)
To unprotect the frame: “v” (“F4” button)
To return to the previous frame: “BACK” button
2
Protect
last frame
back
next frame
unprotect
3
When you have finished the procedure, lock the
4-direction button to prevent accidental improper
use.
4
The “Protect” setting prevents an image from being accidentally erased.
Protected images cannot be erased by the “Erasing single-frame” or “Erase all” function.
However, the “Format” function erases all files.
●
!
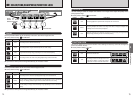
If “j” does not appear on the rear display panel, press
the “
w” button to change the screen.
●
!
If the currently displayed frame is protected, “j” is
displayed instead of “
X”.
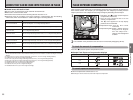
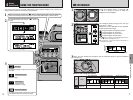
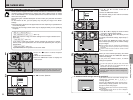
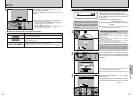
■ To check protected frames
If the “†” message
appears, press the “MENU/OK” button again to
erase the files.
w ERASING SINGLE-FRAME w SINGLE-FRAME PROTECT
LCD monitor Rear display panel (protection screen)
Rear display panel (during single-frame playback)
Protected
No iconNot protected


