


3
4140
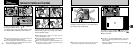
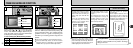
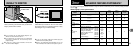
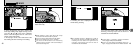
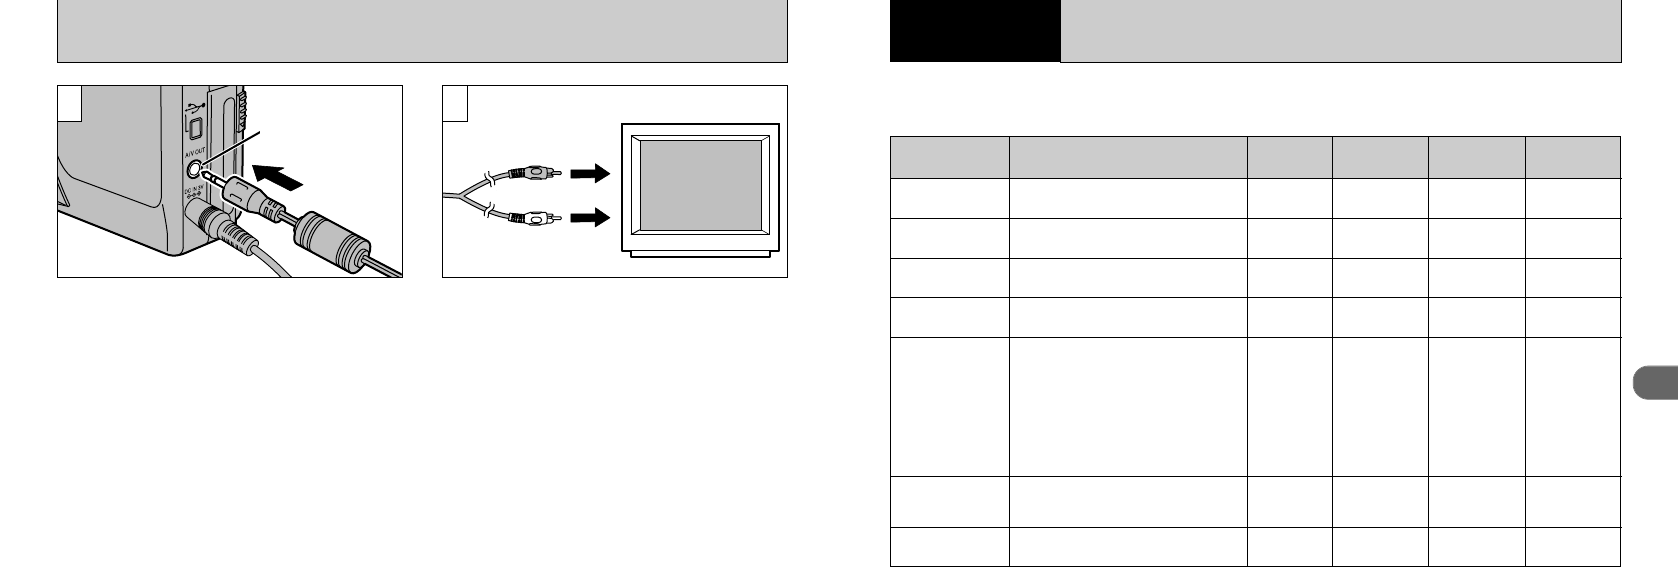
Switch off the camera and TV. Plug the A/V
cable (accessory) into the A/V OUT (audio-visual
output) socket on the camera.
Plug the other end of the cable into the
audio/video input socket on the TV. Then switch
the camera and TV on and take pictures or play
back images as you would normally.
USING A TV MONITOR
●
!
If you connect the A/V cable during playback, you
will not hear the sound from the TV.
●
!
If you disconnect or reconnect the A/V cable while
the power is switched on, the sound may not be
output correctly.
●
!
If there is a power outlet available, connect the
AC-3V AC Power Adapter.
●
!
If your TV has stereo audio input sockets, plug the
cable into the left (white) socket.
●
!
Refer to the instructions provided with your TV for
more information on audio and A/V input for your TV.
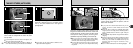
A/V OUT socket
To terminals
Video (yellow)
Audio (white)
21
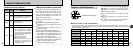
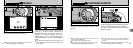
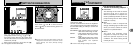
ADVANCED FEATURES PHOTOGRAPHY
3
Advanced
Features
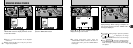
The Advanced Photography section introduces a range of camera functions that you can access by setting the Mode
switch to “0”.
3
Auto
(➡P.24
·
42)
7
Portrait
(➡P.42)
6 Landscape
(➡P.42)
8
Night Scene
(➡P.43)
4
Manual
(➡P.44)
5
Continuous
Shooting
(➡P.45)
9
Movie
(➡P.47)
----------------------- ------------
------------
------------
O
O
✕
O
O
✕
✕
O
✕
✕
✕
O
O
✕
O
O
O
O
O
O
✕
OFF
0
0
AUTO
200
OFF
MULTI
0
ON
OFF
OFF
------------
-----------------------
-----------------------
Setting the Manual Focus (➡P.54)
Setting the Brightness (➡P.51)
Flash Brightness Adjustment
(➡P.52)
Setting the White Balance (➡P.52)
Setting the Sensitivity (➡P.53)
Setting the Manual Focus (➡P.54)
Metering Mode (➡P.55)
Sharpness (➡P.56)
Preview Display (➡P.57)
◆
Photography mode specifications
PhotoGraphy
Mode
Accessible menu settings
Factory default
Flash
Photography
(➡P.59)
Macro
photography
(➡P.63)
Self-Timer
Photography
(➡P.64)
Setting the Manual Focus (➡P.54)
Auto Bracketing (➡P.58)
-----------------------