


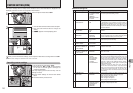
108 109
Settings
5
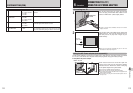
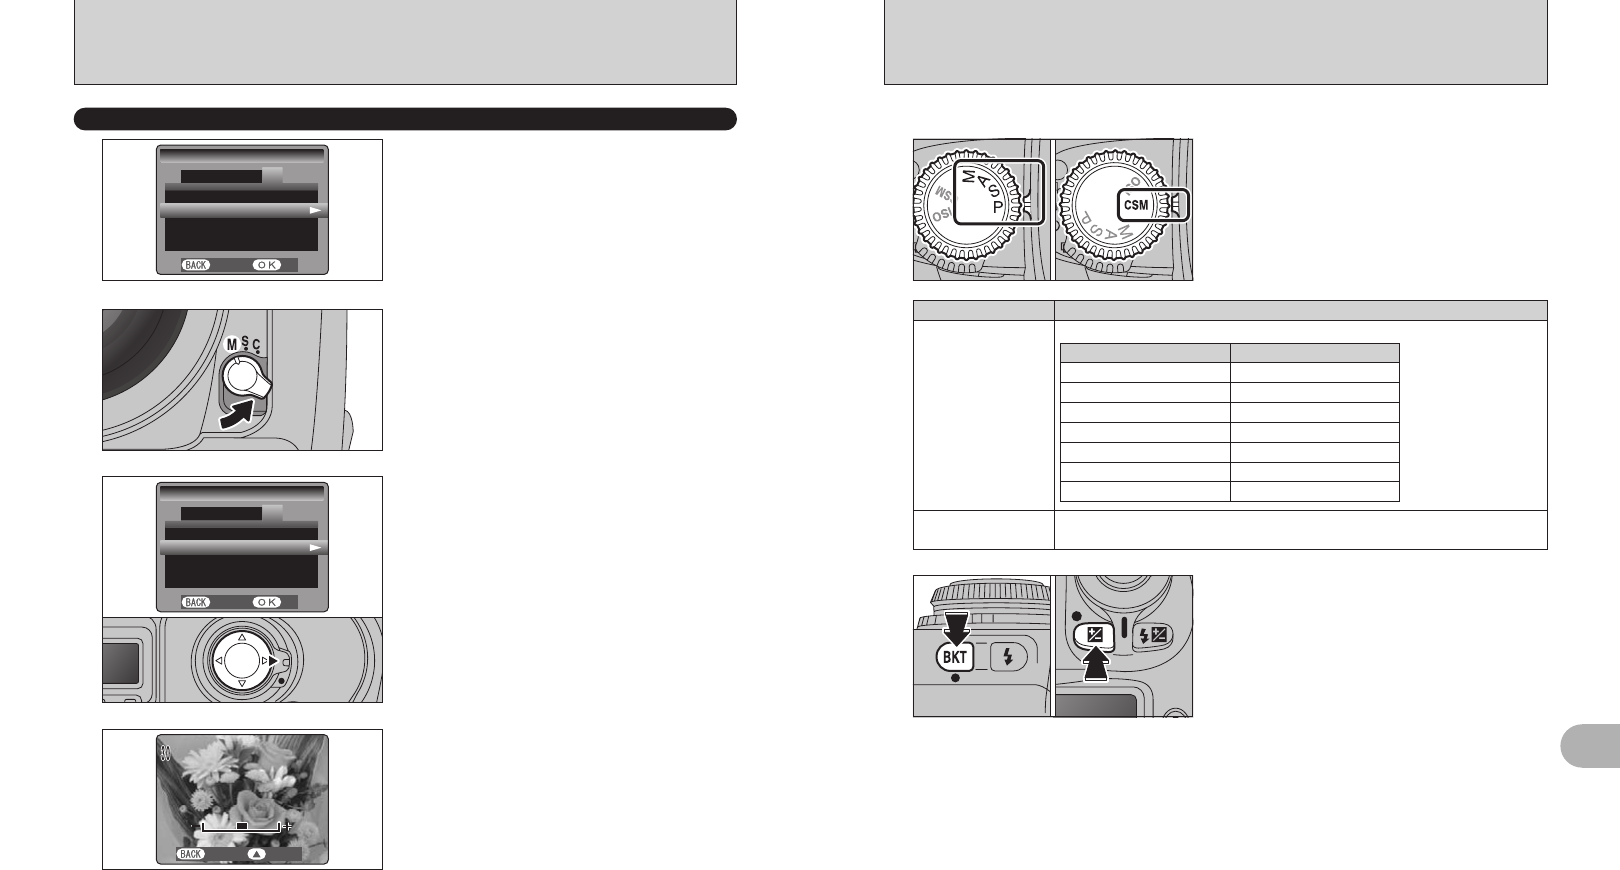
TWO-BUTTON RESET
Two-Button Reset lets you instantly reset specified settings to their original initial settings.
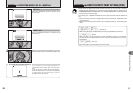
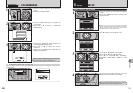
1
Set the exposure mode dial to “P”, “S”, “A”, “M” or
“CSM” and select the settings to be reset.
2
Hold down the “c” and “b” buttons together for
at least 2 seconds (green markings are positioned
alongside).
The top display panel flashes briefly and the
settings are reset.
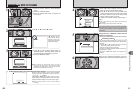
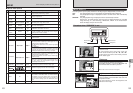
Exposure mode dial Reset Settings
“P”, “S”, “A”, “M”
The photography functions are reset as shown below.
“CSM”
h All the custom settings are reset.
h The ISO sensitivity is reset to 200.
3
When the reset is finished, set the exposure mode dial to a setting other than “CSM”.
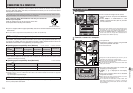
SET-UP
LIVE IMAGE
Function Condition
Focus area Center
Flexible Program Cancelled
Exposure compensation Cancelled
Auto Exposure Lock Cancelled
Auto Exposure Bracketing Cancelled
Flash Synchro mode Front Synchro mode
Flash exposure compensation
Cancelled
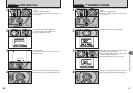
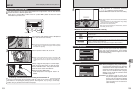
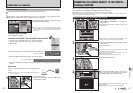
3
The live image is displayed for 30 seconds. Use
“d” or “c” to adjust the brightness. In the live
image display, press “a” to enlarge the central part
of the image and “b” to return to the original image.
To cancel live image display in progress, press the
“BACK” button.
●
!
To view the live image, use the optional AC adapter AC-5VX.
Continued use of live image display can cause the CCD to
overheat, resulting in coarseness or noise such as white
spotting in images photographed subsequently. If this occurs,
turn the camera off and wait for it to cool down.
●
!
If you display consecutive live images, the initial brightness
setting is retained for the second and subsequent images.
The setting is reset when you turn the camera off (or the Auto
Power Off function is triggered) and has to be set again.
●
!
The Auto Exposure Bracketing settings are canceled when
the live image is displayed. Wait until live image display is
finished before specifying the Auto Exposure Bracketing
settings.
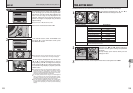
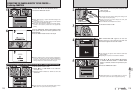
1
Set the focus mode selector switch to “M”.
To manually focus the image more sharply or to
check the image, you can view the image in black
and white on the LCD monitor while adjusting the
focus. The live image is only displayed for 30
seconds. Adjust the focus manually during this
period. Live images are displayed using the actual
aperture setting.
●
!
Use this feature in “M” (Manual focus) mode.
●
!
The flash fires when the internal flash pops up or when an
external flash is connected and the live image is displayed.
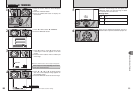
2
In the SET-UP screen, select “LIVE IMAGE” and
then press “c”. In the confirmation screen, press
the “MENU/OK” button.
✽ How to display the SET-UP menu (➡P.101)