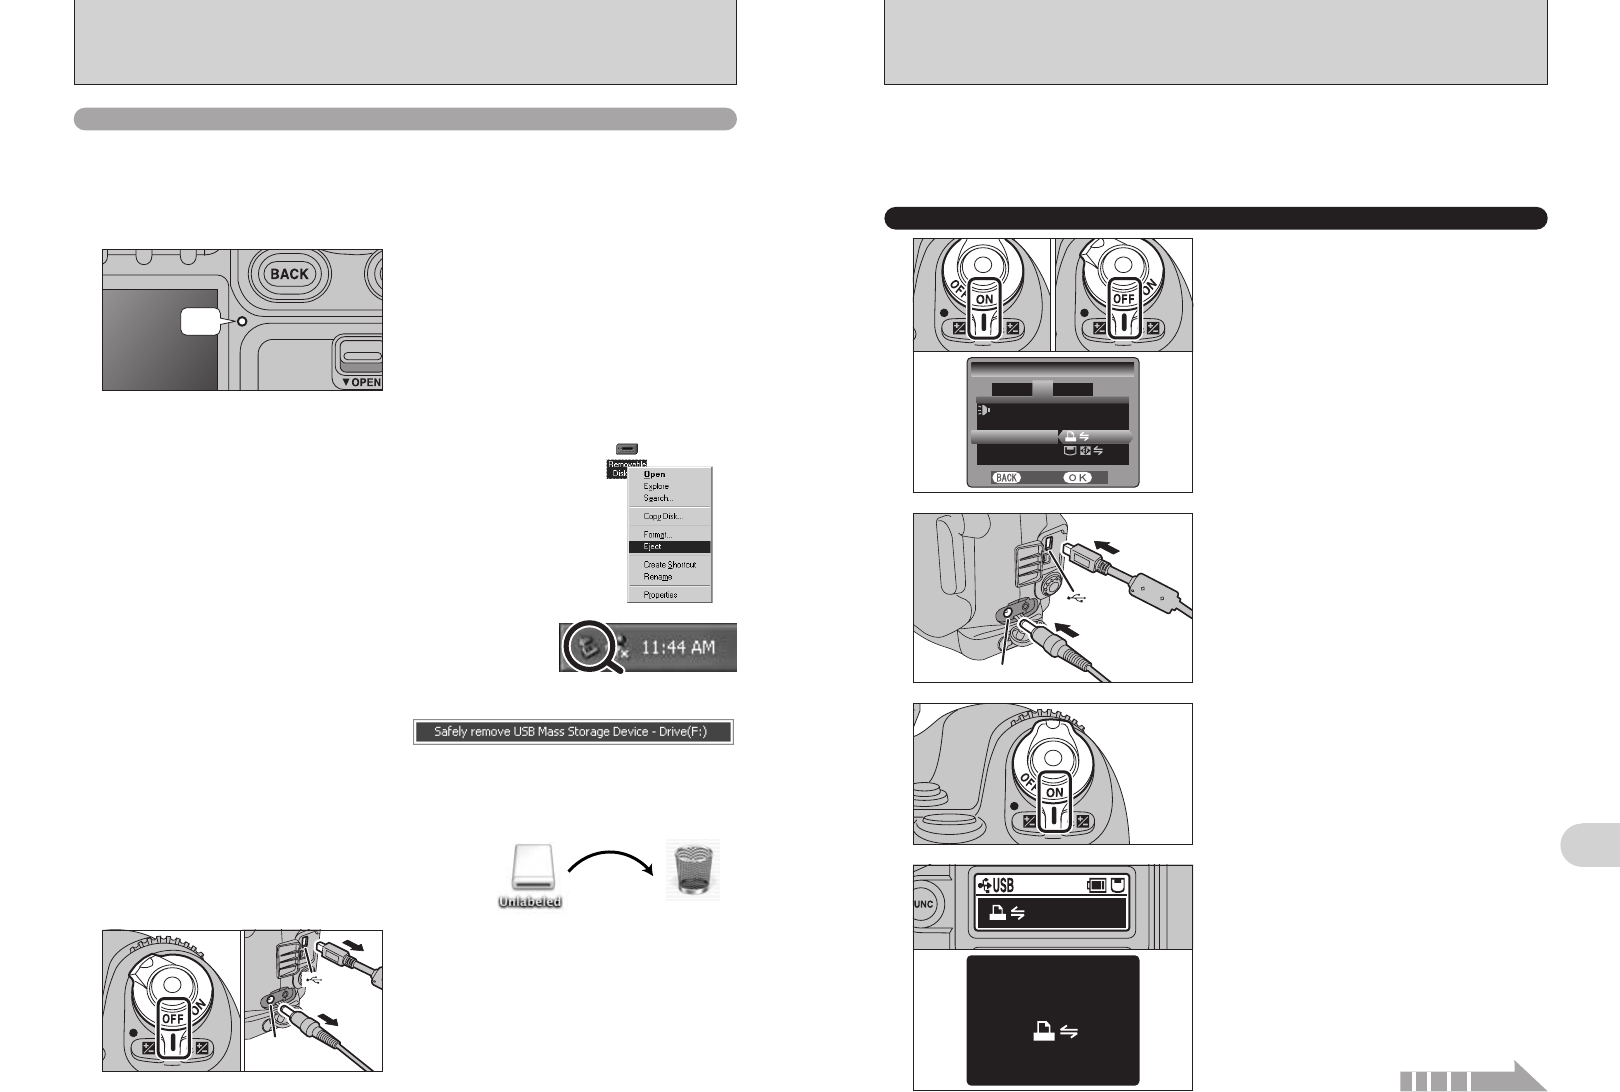
Drag the “Removable drive” icon on the desktop to the
Trash.
●
!
When you drag the icon to the Trash, “REMOVE OK” appears on
the camera’s screen.
DC IN 5V
socket
USB
socket
(mini-B)
116 117
Connection
6
CONNECTING THE CAMERA DIRECTLY TO THE PRINTER
—
PictBridge FUNCTION
When a printer that supports PictBridge is available, images can be printed by connecting the
camera directly to the PictBridge-compatible printer without using a PC.
●
!
In PictBridge function, images photographed on other than a camera may not be printed.
●
!
Always turn the camera off when disconnecting or connecting the USB cable. Connecting the camera to the printer while
the camera is turned on could damage the media.
Specifying images for printing on the camera
DC IN 5V socket
USB
socket
(mini-B)
2
1Set the Power switch to “ON”.
2Select “$” in “USB MODE” in the “SET-UP”
menu (➡P.101).
3Set the Power switch to “OFF” to turn the
camera off.
●
!
Do not connect to a PC when the USB mode setting is set to
“
$”. See P.137 if you connect to a PC by mistake.
1
1Connect the camera to the printer using the USB
cable (mini-B).
2Turn the printer on.
4
“$ CHECKING USB” appears on the rear
display panel for a few moments and then the
menu screen appears on the LCD monitor.
●
!
If the menu does not appear, check whether the USB mode
setting is
“$”.
●
!
Depending on the printer, some functions are disabled.
●
!
The camera cannot be used to specify printer settings such
as the paper size and print quality.
●
!
Please connect the AC Power Adapter AC-5VX (sold
separately) to your camera.
●
!
Use a media that was formatted on the camera.
Set the Power switch to “ON”.
3
01 033
02
CONNECTING TO A COMPUTER
1
OFF
Quit all applications (FinePixViewer etc.) that are using the camera.
Check that the access lamp is off (no data is being
exchanged with the computer).
2
Perform the steps shown below before you turn the camera off. This procedure differs
depending on the operating system software (or PC) you are using.
●
!
In some cases, the camera and computer may still be
communicating even after the “Copying” message disappears
from the computer screen. Always check that the access
lamp is off.
Disconnecting the camera
2Left-click the Eject icon in the taskbar and select “USB Disk”.
3The menu option shown below appears. Click on this option.
4The “Safe To Remove Hardware” message box appears. Click the [OK] button or the close
button.
✽ Screen for Windows XP
✽ Screen for Windows XP
Macintosh
3
1Turn the camera off.
2Unplug the USB cable (mini-B) or IEEE 1394
cable from the camera.
01 02
Windows 98/98 SE (USB)
No PC operation is needed.
Windows 98 SE (IEEE 1394) /Me/2000 Professional/XP
1Right-click the removable disk icon in the “My Computer”
window and select Eject. This step is only required in
Windows Me.
Continued


