


46
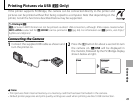
Printing Pictures via USB (D Only)
Printing Selected Pictures
Printing Selected Pictures
1
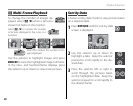
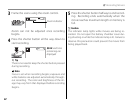
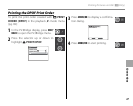
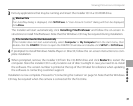
Press the selector left or right to dis-
play a picture you wish to print.
1 Note
To print one copy of the current picture, proceed
directly to Step 3.
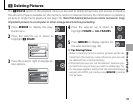
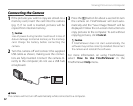
2
Press the selector up or down to
choose the number of copies (up to
99). Repeat steps 1–2 to select addi-
tional pictures.
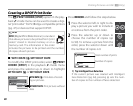
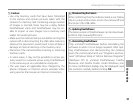
3
Press MENU/OK to display a con rma-
tion dialog.
YES CANCEL
PRINT THESE FRAMES
TOTAL:
9
SHEETS
4
Press MENU/OK to start printing.
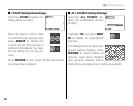
2 Tip: Printing the Date of Recording
To print the date of recording on pictures, press DISP/
BACK in steps 1–2 to display the PictBridge menu (see
“Printing the DPOF Print Order,” below). Press the se-
lector up or down to highlight PRINT WITH DATE s
and press MENU/OK to return to the PictBridge display
(to print pictures without the date of recording, select
PRINT WITHOUT DATE). To ensure that the date is cor-
rect, set the camera clock before taking pictures. Note
that the PRINT WITH DATE s option is only available
with printers that support date printing.
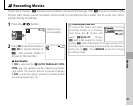
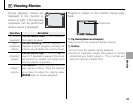
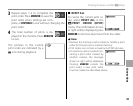
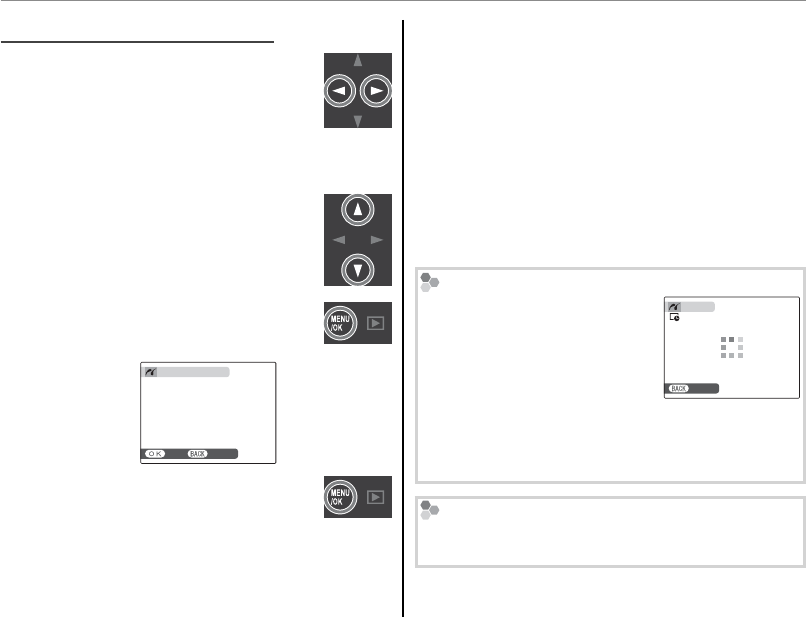
During Printing
The message shown at right is
displayed during printing. Press
DISP/BACK to cancel before all
pictures are printed (depending
on the printer, printing may end
before the current picture has printed).
If printing is interrupted, press a to turn the camera
o and then on again.
CANCEL
PRINTING
Disconnecting the Camera
Con rm that the above message is not displayed and
turn the camera o . Disconnect the USB cable.