


34
3.4 Changing Scan Settings
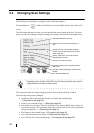
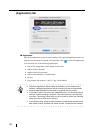
All the settings on ScanSnap are configured with "ScanSnap Manager."
The ScanSnap icon
is added to the Dock menu at the middle- bottom of the Mac OS X
screen.
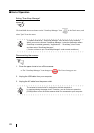
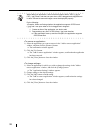
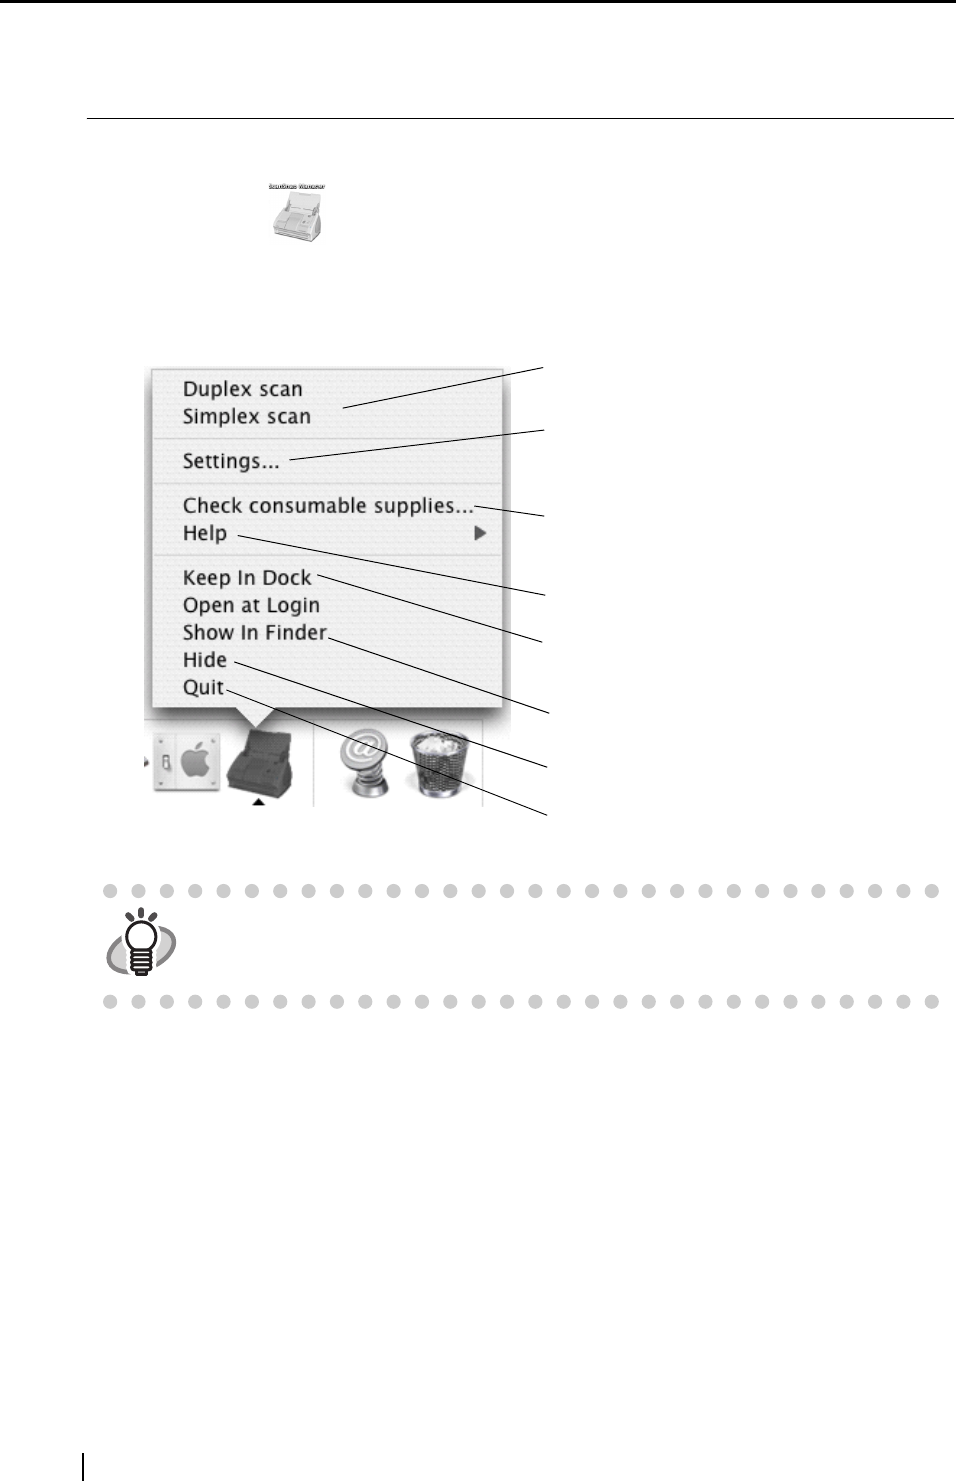
The following menu appears when you press and hold the mouse button on the icon. From this
menu, you can start scanning, configure settings for scanning, and check the consumable status.
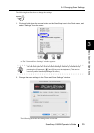
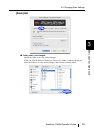
This section describes the settings configured in the "Scan and Save Settings" window.
The following settings can be changed:
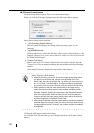
• Application that is automatically started up to display the scanned image
→ [Application] tab (page 36)
• Folder to save scanned images
→ [Save] tab (page 39)
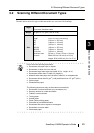
• Scan mode (You can select: Fastest or Excellent, Color mode or B&W mode, Setting for
text only document, Allow automatic blank page removal, and/or Correct skewed character
strings automatically...)
→ [Scanning] tab (page 41)
• File format for the scanned image
→ [File option] tab (page 45)
• Size of the document to be scanned
→ [Paper size] tab (page 47)
• Size of the file for saving scanned images
→ [Compression] tab (page 50)
HINT
Depending on the version of Mac OS X you are using, the menu items may be
slightly different from what is shown above.
Start Duplex/Simplex scanning.
Display the "Scan and Save Settings" win-
dow.
Display the "Check consumable supplies"
window. See "Chapter7 Replacing Consum-
ables" (page 95).
Display "Help topics" or the "About Scan-
Snap Manager" window.
Add an icon to the Dock menu.
View the contents of the "ScanSnap" folder
with Finder.
Hide the "ScanSnap Manager" window in the
desktop.
Exit "ScanSnap Manager."