58
H4D
5 6
3 4
Getting started
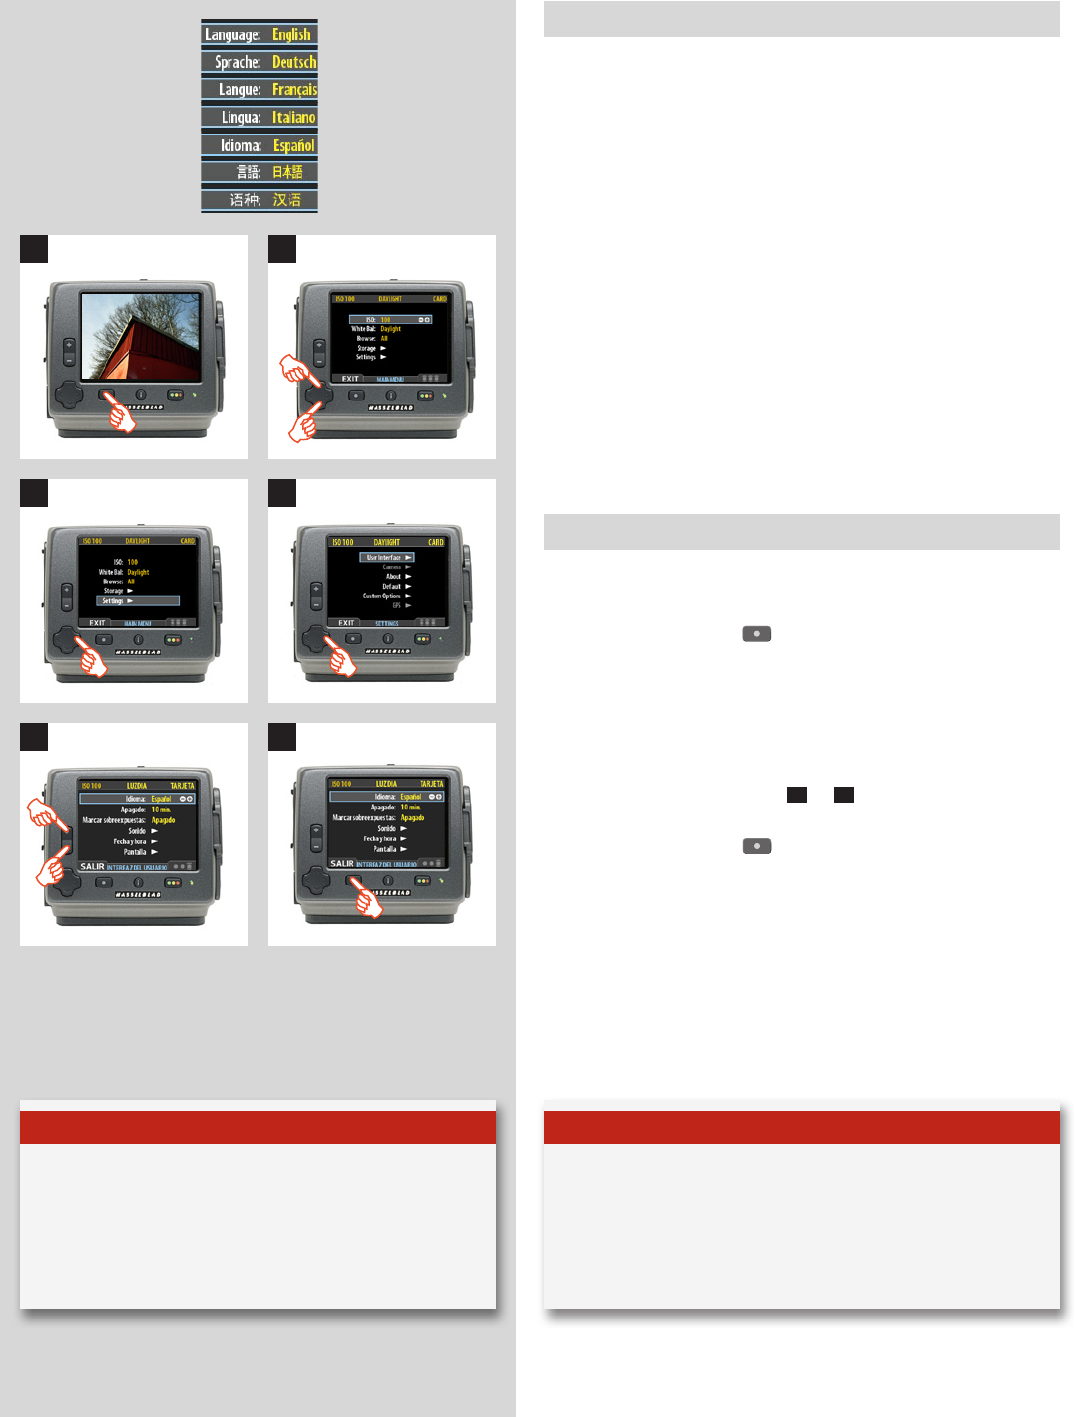
The initial general setting is language choice. This choice is
retained but can be changed at any time. You can choose
between:
ENGLISH
GERMAN
FRENCH
ITALIAN
SPANISH
JAPANESE
CHINESE
Before each shoot an ISO and a white balance setting should
be made (white balance is for your convenience regarding the
appearance of the image on the display though; it will not aect
the raw le. See next chapter for details).
Although the description below illustrates how the language
choice is set, it is also a general introductory illustration of how
settings are changed.
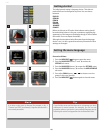
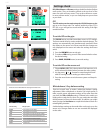
Setting the menu language
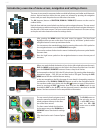
Proceed as follows:
1. Press the
MENU/EXIT
( ) button to open the menu.
2. Press the
NAVIGATOR
button ( and ) to select the
SETTINGS
sub-menu.
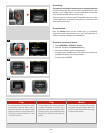
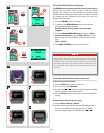
3. Press the
NAVIGATOR
button () to open the
SETTINGS
menu.
4. Press the
NAVIGATOR
button () to select the
USER INTERFACE
sub-menu.
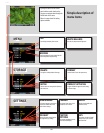
5. Press either
ZOOM
button (
+
or
–
) to choose a new lan-
guage (in this case, Spanish).
6. Press the
MENU/EXIT
( ) button again to close the menu.
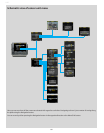
Note
If an item on the menu is dimmed (for example, in g. 4
"Camera" and "GPS" are dimmed), it signies that the item is
not currently accessible.
Tip
If you nd the sensor unit has been set to a language you don't
understand (a rented camera, for example), you can use the
procedure above to get back to your preferred language just by
following the actions and appearance in the illustrations here.
1 2


