77
H4D
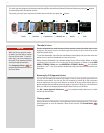
Default approval status
By default, the system assigns an initial approval status for each
new shot based on an analysis of the distribution of exposure
levels. In the factory conguration, the status of each new shot is
assigned as follows:
• Green(approved):
The new shot seems to have been exposed correctly.
• Yellow/Amber(unclassied):
The new shot seems to have been over- or under-exposed.
However, you might choose instead to override this system and
have all new shots assigned either as green or yellow, regardless
of the exposure analysis results. A typical strategy could be to
assign all shots to yellow and then review all of the shots later and
promote only the best ones to green status. At the same time you
might demote the most doubtful shots to red status.
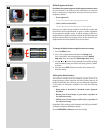
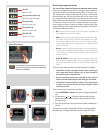
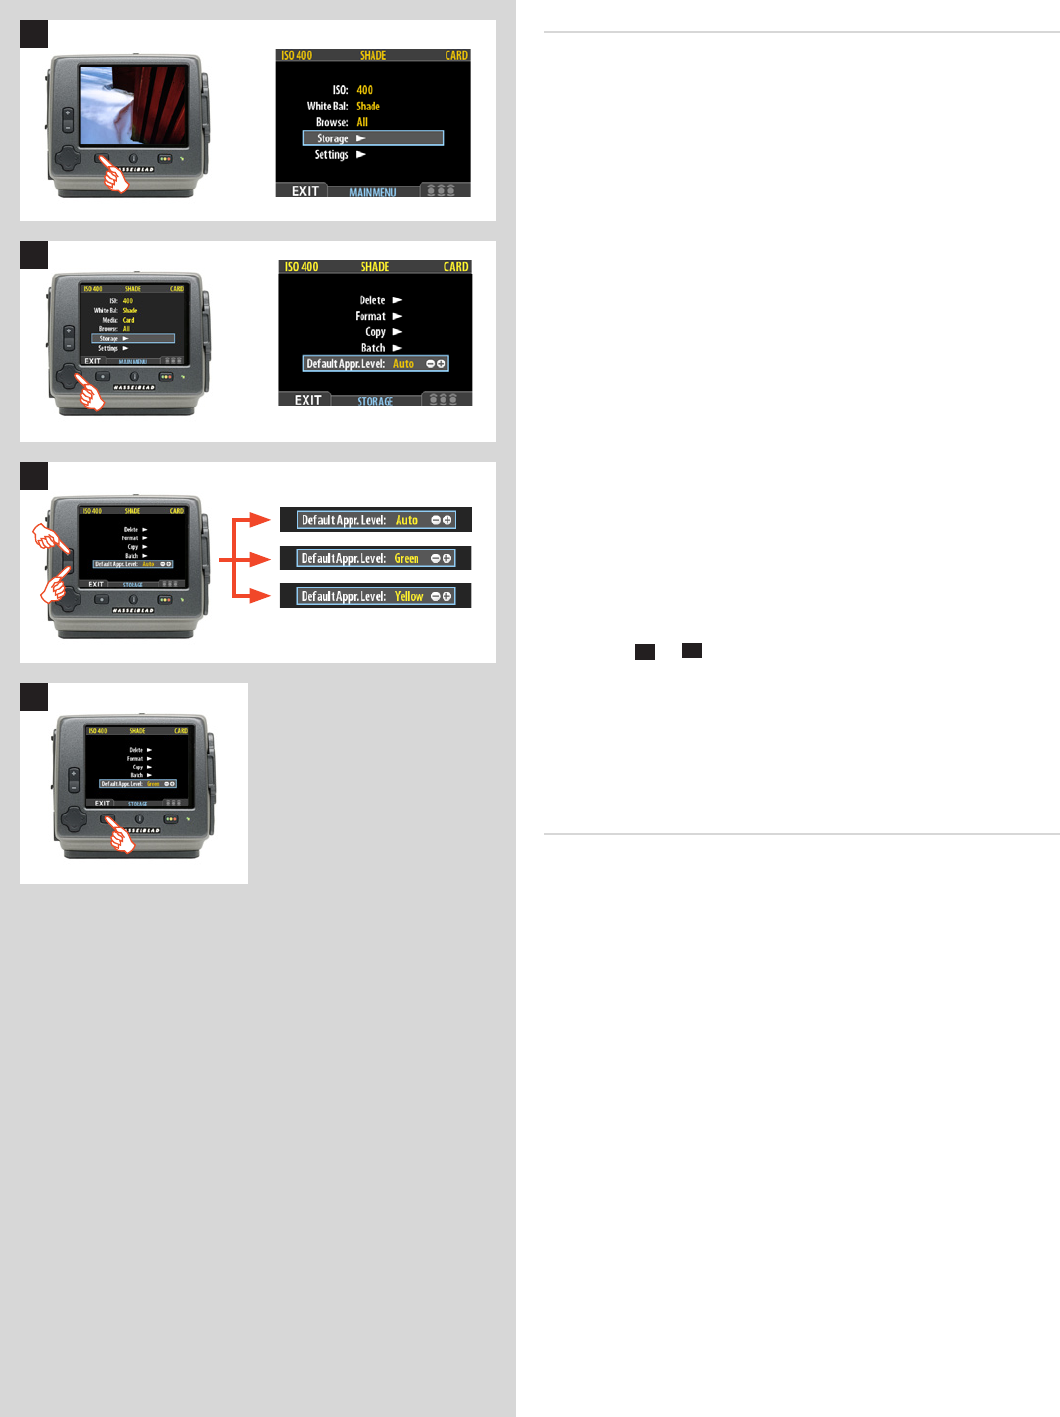
To change the default status assigned to each new image:
1. Press the
MENU
button.
2. Press to navigate down and select the
Storage
level.
Press and then to navigate down and select
Default
Appr. level
. Press to open the
Default Appr. level
dialog.
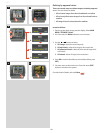
3. Use the
+
or
–
button to step through the available settings
until the default status you wish to use (auto, green or yellow)
is shown.
4. Press the menu (
EXIT
) button to exit the menu system and
keep the setting.
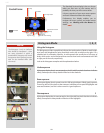
Setting the default status
The camera normally works by assigning a green status to all
images that pass a basic exposure test and a yellow status to all
images that fail the test. However, you can change this behavior
if you prefer an alternative workow. You have the following
options:
• Auto: works as described in Standard Instant Approval
Workow .
• Green: gives all new images a green status, regardless of
the exposure warning.
• Yellow: gives all new images a yellow status, regardless of
the exposure warning.
Regardless of this setting, audio feedback will still be provided if
an image is judged to be badly exposed.
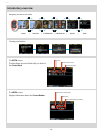
Choose
MAIN MENU > Browse
to make this setting.
2
1
3
4


