


29
Using the Record Menu
In Photo mode, access to the Record menu is done by simply by pressing the Menu button on back of
the camera.
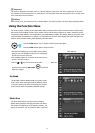
When the menu is displayed, use the 4-way navigation control and the OK button
to move through menu
selections and apply the desired settings. To close the menu anytime, press the menu button again.
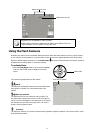
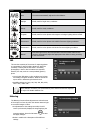
Record Menu
The Record menu allows changes to the scene modes, and
setup other capture settings.
To go to Record Menu:
Set the mode switch Photo Mode [ ].
Press 1. Menu button
to launch the Record Menu.
Use the 2.
or keys to move through the menu
To select an item, press 3.
.
Change the submenu settings using the 4-way navigation control.4.
Press the 5. OK button
to save and apply settings.
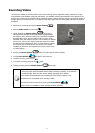
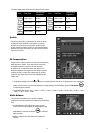
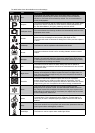
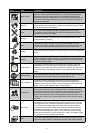
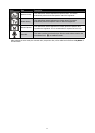
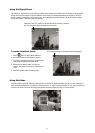
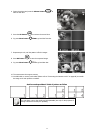
Setting the Scene Mode
This camera offers 32 different modes, that can assist in taking a photo with the optimal settings or desired effects.
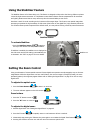
From the Record Menu, enter the 1. Scene Mode options
menu.
Use the left and right navigation controls to move 2.
through the selections.
The highlighted scene mode will either have text that describes the benefits of the mode or have a side-by-side 3.
photo comparison that illustrates the benefits. The photo on the left is a typical auto mode result and the photo
on the right illustrates the benefit of selecting that scene mode. It is important to note that by selecting a
particular scene mode (other that Auto) will take the camera out of it’s normal automatic settings capabilities and
therefore optimise various settings that match a specific scene.
Press the 4. OK button
to save and activate the selected scene mode.
It is important to return the camera to the Auto mode when finished shooting specifics conditions. This will 5.
reduce the risk of taking a bad photo in normal situations. If the camera is powered off and then powered on, it
will return to Auto scene mode be default.