Getting Started
14
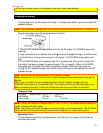
convenience Visa, Master Card, and American Express credit cards are accepted. The
RF adapter can also be purchased by mail by sending either money order or your credit
card information to the following address:
HiTRON, Inc.
675, Old Peachtree RD.
Suwanee, GA 30174
Tel: 1-800-995-4500
For more information concerning the purchase of camcorder accessories, please see
the optional accessory listing on page 59.
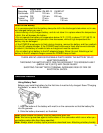
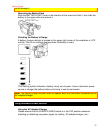
Identifying Controls
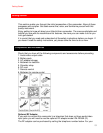
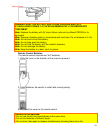
Front/Left Side Illustration
1. Lens Door
Slide the lens door opener to open and close the lens door. To protect the lens, keep
the lens door closed when not recording.
2. Lens
F1.4 (4~64mm) 16:1 power zoom lens with auto focus and auto iris functions.
3. Lens Door Opener
Slide the opener to open and close the lens door. Align with OPEN to open the lens
door for recording. Align with CLOSE to close it.
Hold down the small button in the opener as you slide it to CLOSE. However, you need
not hold it down to slide the opener to OPEN.
4. Electronic Viewfinder
5. Diopter Control
To use the electronic viewfinder, turn this control for your optimum focus adjustment.
6. Microphone
Sensitive to sounds coming from the direction in which the camera is pointed.
7. Record Indicator
This indicator lights when the camcorder is recording.
8. Infrared Receiver
The area where infrared signals from the wireless remote are received. Aim the remote
control to this area for best results.
9. Speaker
You can listen to the recorded sound.
10. OPEN Button
Push this button to open the LCD monitor.
11. BRIGHT Control
Use this to adjust the brightness of the LCD monitor screen ("Adjusting the Brightness
of the LCD Screen", p19).
12. Volume Control
Use this to adjust the volume when viewing a played back picture on the LCD monitor
("Playback", p28).
13. LCD Monitor
You can view the pictures as they are being recorded and play them back immediately
after recording on the 3-inch LCD screen.
14. Cassette Holder


