


English
53
1<>2/3
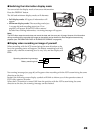
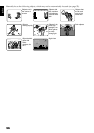
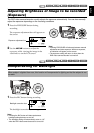
Zooming
If you continue to hold the zoom lever on the
“T” control side with Dig. Zoom specified, the
digital zoom will be activated midway (when
optical 10-power is exceeded on DZ-HS303A or
optical 25-power is exceeded on DZ-HS300A).
You can zoom up to 500-power on DZ-HS303A;
up to 1200-power on DZ-HS300A.
1 Press the MENU button, choose “Dig. Zoom”
on the “Camera Functions Setup” menu
screen, and then press the A button.
2 Choose the desired magnification, and then
press the A button.
3 Press the MENU button to end the setting.
Moving the zoom lever will display the
digital zoom bar.
Note:
• The digital zoom setting will be stored in memory
even if the DVD video camera/recorder is turned off.
• You can also use the DIGITAL ZOOM button on
remote control to switch the digital zoom setting:
Pressing the button during movie recording will switch
the setting between “Off”, “40×”*
1
, and “500×”*
2
:
Pressing the button during photo recording will switch
between “Off” and “40×”*
1
.
• If you set zoom to “500×”*
2
when recording photo, the
digital zoom will be up to 40×*
1
.
• When a subject is zoomed, it may be momentarily out
of focus.
• When digital zoom is engaged, the image quality will
be rougher.
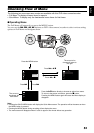
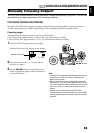
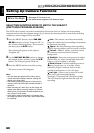
MACRO RECORDING
Use the macro function when recording a small object from close-up position: You can shoot the
subject as close as approximately 13/16” (2 cm) from the lens surface, magnifying the image to fill
the screen.
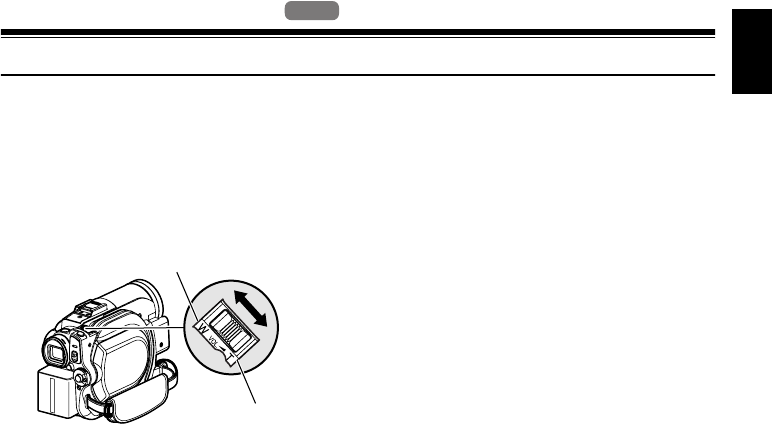
1 Aim the DVD video camera/recorder at the
subject, and press the zoom lever to “W”
control side.
Note:
• Zoom can be used, but the subject may not be
focused, depending on the distance to the subject. In
this case, move the zoom to “W” control side to focus.
• The amount of light tends to be insufficient during
macro recording: If the subject image is too dark, use
additional lighting.
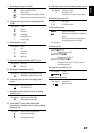
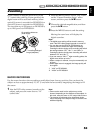
HDD
HDD
W: recording wide area
(wide-angle)
T: recording enlarged
image (telephoto)
*1 “100x” on DZ-HS300A.
*2 “1200x” on DZ-HS300A.