Basic Techniques - 30 -
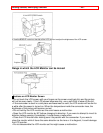
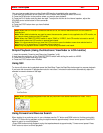
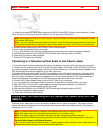
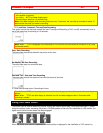
1. Connect the provided AV stereo output cable to the AUDIO IN and VIDEO IN jacks of your television. Connect
either the right or left audio plug into your television if it has only one AUDIO IN jack.
Note: Some televisions have an S-VIDEO IN jack. Connect the black S-VIDEO plug to the television instead
of the yellow VIDEO plug.
Note: If you use a generally available audio/video cable in place of the AV stereo output cable (provided) with
the connection shown above, unplug the AV stereo output cable from the AV IN/OUT jack of the camcorder.
2. Connect the free square plug to the AV IN/OUT jack of the camcorder.
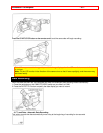
3. Insert a recorded cassette into the camcorder.
4. Turn on your television and set to the camcorder input mode (consult your television manual for details).
5. Hold down the red button on the CAM/OFF/VIDEO switch while sliding the switch to VIDEO.
6. Press the PLAY button to begin playback.
7. Press the STOP button when finished.
Connecting to a Television without Audio In and Video In Jacks
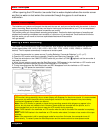
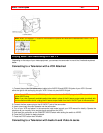
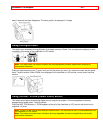
1. Disconnect the VHF antenna leads from the back of the television. Leave the UHF antenna leads connected.
2. Connect the VHF antenna lead to ANT IN of the RF output adapter. If the cable on the VHF antenna lead is flat
you need to purchase an antenna adapter (300-ohm to 75-ohm transformer). Connect the antenna adapter to the
VHF antenna lead and slide the adapter on to the ANT IN terminal.
3. Connect the 75-ohm coaxial cable of the RF output adapter to the VHF antenna terminals on the back of the
television. If the television is set up to connect to a flat antenna lead you need to purchase antenna adapter (75-
ohm to 300-ohm transformer). Connect the adapter to the 75-ohm coaxial cable of the RF output adapter and
connect the free ends of the adapter to the VHF antenna terminals at the back of your television.
4. Connect the RF output adapter cable to the AV IN/OUT jack of your camcorder.
5. Turn your television on and select channel 3 (channel 4 if channel 3 is a channel used in your area).
6. Select the CH3 or CH4 on the RF output adapter matching the channel selected on your television.
7. Insert the previously recorded cassette into the camcorder.
8. Hold down the red button on the CAM/OFF/VIDEO switch while sliding the switch to VIDEO.
9. Press the PLAY button to begin playback.
10. Press the STOP button when finished.
Playing Back Your Recording with AV Optical Link System (only form VM-
H825LA)
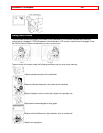
Playback of your video tapes is free of connection problems with AV optical link system. The system converts
picture and sound from the tape into infrared signals and transmits them to the optical receiver. The receiver is
installed to your TV or VCR.
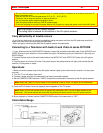
Note: The optical transmission or reception is not possible when the LCD monitor is used.
Note: This system cannot be used when the camcorder is in the camera mode.
Note: This system cannot be used with a television that does not have audio/video input jacks.
Note: Only the VM-IR20A optical receiver (provided) can be used with this camera/recorder for optical link.
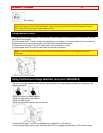
Cautions When Using the AV Optical Receiver
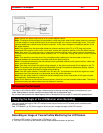
• Be sure not to install the AV optical receiver in a place exposed to direct sunlight or near a heater where the
temperature become very high, or the receiver could malfunction.


