


Wi-Fi Functions 157
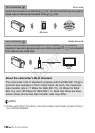
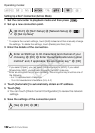
File Transfer Destination Setup for Windows Computers
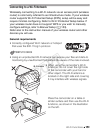
1 Power the camcorder using the compact power adapter.
2 Set the camcorder to playback mode and then press .
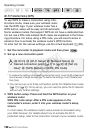
3 Connect the camcorder to the Wi-Fi network.
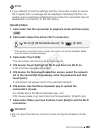
* This step is not necessary when the file transfer destination is not configured.
** This step is not necessary when only one connection point is detected.
• Select the connection point corresponding to the Wi-Fi network to
which the computer running Network Utility is also connected.
• If several computers connected to the network are running Network
Utility, a selection screen will appear. In such case, continue to step
4; otherwise, skip to step 5.
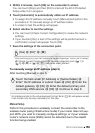
4Touch [Í] or [Î] to select the specific computer you want to use
for transferring files wirelessly from the camcorder and then touch
[OK].
5 When the confirmation screen appears, save the settings of the
connection point.
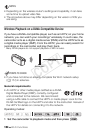
File Transfer Destination Setup for FTP Servers
1 Set the camcorder to playback mode and then press .
2 Connect the camcorder to the Wi-Fi network.
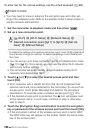
[Wi-Fi] > [Wi-Fi Setup] > [Transfer Destination
Setup] > [Computer (Network Utility)] > [w]* > Desired
connection point** > [OK]**
[Yes] > [OK] > [X]
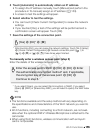
[Wi-Fi] > [Wi-Fi Setup] > [Transfer Destination
Setup] > [FTP Server]
COPY