


Wi-Fi Functions 163
NOTES
• If you attempt to test the settings and the camcorder is able to send a
Wi-Fi signal, then a message will be displayed indicating that the con-
nection was successfully established even when the camcorder has not
established a connection to the iOS device.
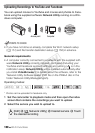
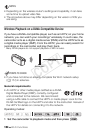
Uploading Videos
1 Camcorder: Set the camcorder to playback mode and then press
.
2 Camcorder: Select the ad hoc Wi-Fi connection.
* If the memory card slot cover is open, the option will not be available. Make
sure the cover is closed properly.
3 Camcorder: Touch [OK].
The camcorder will connect as a media server.
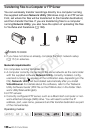
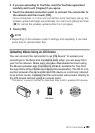
4 iOS device: Touch Settings > Wi-Fi and then turn Wi-Fi on.
A list of active networks will appear.
5 iOS device: On the network selection screen, select the network
set in the camcorder. If necessary, enter the password and then
touch [Join].
A checkmark will appear next to the selected network.
6 iOS device: Use the Movie Uploader app to upload the
camcorder’s movies.
For details about the Movie Uploader app, visit
http://www.pixela.co.jp/oem/canon/e/movieuploader/ (English only)
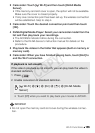
7 Camcorder: When you have finished, touch [End] to end the Wi-Fi
connection.
IMPORTANT
• Do not open the memory card slot cover during the wireless connec-
tion.
[Wi-Fi] > [DLNA Media Server]* > [] > [OK]
COPY