


15
Step 1 Connection/Installation (
A
Page 17)
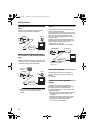
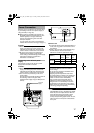
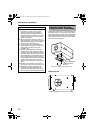
T After adjusting the camera angle using the
[MONITOR OUT] terminal, set the
[MONITOR OUT] switch to AOFFB. Images
are not distributed to the network when
ANTSCB or APALB is selected. After changing
the [MONITOR OUT] switch setting, press
the Reset button to reboot the camera.
G
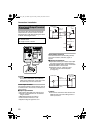
Step 2 Network settings (A Page 27)
T In a system where multiple units of VN-V25U/
26U are used, turn on the power of only one
unit to configure the IP address settings
using the Internet Explorer. Upon doing so,
turn on the power of the second unit and
configure accordingly. Configure the settings
for the other cameras using the same
procedure.
G
Step 3 Configuring settings using the
Internet Explorer (A Page 33)
G
Step 4 Operating the built-in viewer
(A Page 79)
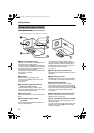
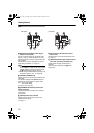
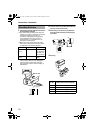
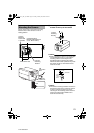
Setup Procedures
Connect the lens mount, power supply cord,
LAN cable and alarm.
Next, mount the camera to the ceiling.
Remember also to mount the fall prevention
wire. After the camera is mounted, connect the
video monitor to the [MONITOR OUT] terminal
at the rear of the unit, followed by adjusting the
camera angle.
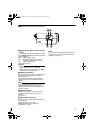
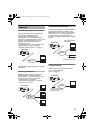
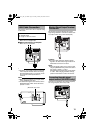
You can select the video signals of the
[MONITOR OUT] terminal using the
[MONITOR OUT] switch. (
A
NTSC
B
or
A
PAL
B
)
(Back focus adjustment
A
Page 23)
([MONITOR OUT] switch
A
Page 11)
Configure the network settings of the
computer and this camera.
Configure the picture quality and alarm
settings using the Internet Explorer.
The built-in viewers enable you to monitor
JPEG and MPEG4 images and save JPEG
images.
VN-V25U_26U_EN.book Page 15 Friday, January 18, 2008 2:56 PM