


57
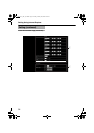
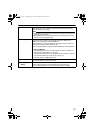
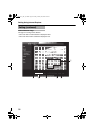
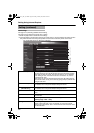
A Mode For specifying whether to activate the Privacy Mask feature.
When this is set to AOnB, the privacy mask specified using the following
items will appear on the image.
Note:
● When MPEG4 is set to the same frame size as JPEG, privacy masks are
displayed on both images.
● When MPEG4 is set to a different frame size from JPEG, privacy mask
appears only on the QVGA image.
B Masking Data Get ready the BMP file (VGA or QVGA size) for specifying the position and
shape of the privacy mask on the computer in advance. (Refer to the
following for procedures to create the BMP file.)
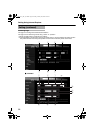
Press the [Browse...] button to display the file selection screen. Select the
BMP file that has been created on this screen.
Press the [Upload] button to upload the selected BMP file to VN-V25U/26U.
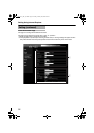
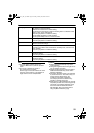
Creating the BMP file
1. Upon installing the camera, use JPEG Viewer to save the JPEG file on
the computer. (JPEG Viewer: A Page 82)
2. Open the saved JPEG file on the computer using the Paint tool, and paint
the area to be masked in red ((R, G, B) = (255, 0, 0)).
3. Save this image as a BMP file (24 bits).
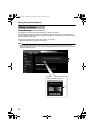
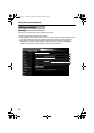
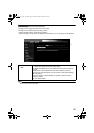
C Masking Color Press the [Settings] button to display the Masking Color Setting screen.
You can alter the color of the privacy mask.
D Masking Color
Setting
For specifying the color ratio in the red:green:blue format.
Press the [Save] button to set the selected color as the mask color.
Press the [Default] button to restore the default mask color settings.
VN-V25U_26U_EN.book Page 57 Friday, January 18, 2008 2:56 PM