


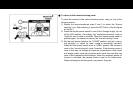

● To return to the normal shooting mode
To reset the camera to the normal shooting mode, carry out one of the
following means.
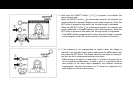
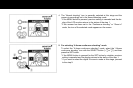
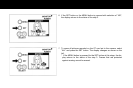
1) Repeat the above-mentioned steps 2 and 3 to select the “Normal
shooting” icon. After selecting it, press the SET button. (See the figure
on the left.)
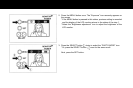
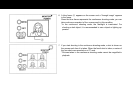
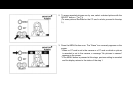
2) Press the monitor power switch to turn off the “through image” (to turn
off the LCD monitor). Accordingly, the “continuous shooting” mode or
“digital 2x zoom” mode is canceled. When the monitor power switch is
pressed again, the camera is reset to the “normal shooting” mode.
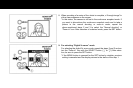
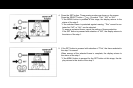
3) Set the lens barrier switch to the “CLOSE” position, and the “continu-
ous shooting” or “digital 2x zoom” mode is accordingly canceled.
When the lens barrier switch is set at “OPEN” position, the camera is
reset to the “nomal shooting” mode. However, if the shooting mode is
reset in this way, all settings of exposure compensation, flash mode
and image quality mode are canceled at the same time and they are
reset to their respective initial settings. When the automatic power off
function is activated, the camera mode is reset to the initial status.
When resetting the shooting mode, pay heed to this point.