


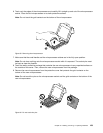
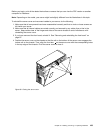

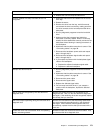
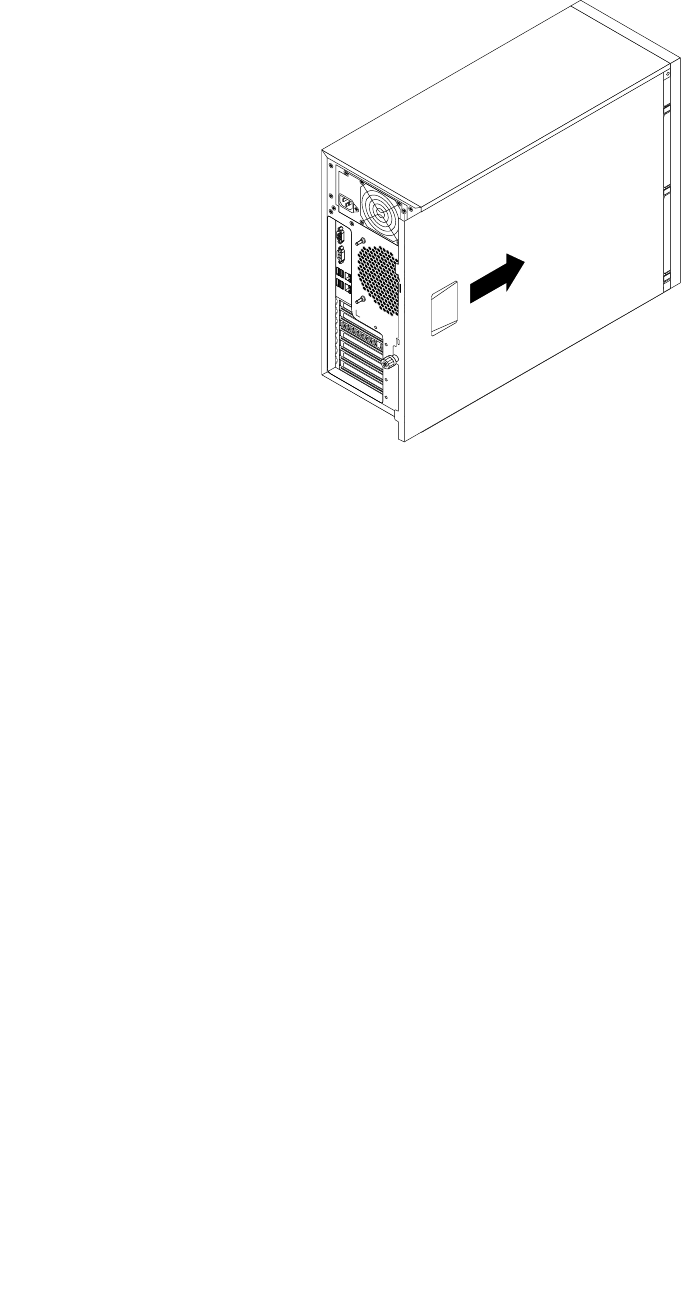
5. Slide the server cover to the front of the chassis until it snaps into position.
Figure 100. Installing the server cover
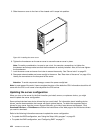
6. Tighten the thumbscrew on the server cover to secure the server cover in place.
Note: For safety consideration, be sure to use a tool, for example a screwdriver, to tighten the
thumbscrew and always make sure that the thumbscrew is securely installed. Also, do not over-tighten
the thumbscrew.
7. Lock the server cover and server front door to ensure the security. See “Server locks” on page 22.
8. Reconnect external cables and power cord(s) to the server. See “Rear view of the server” on page 19 to
identify the connectors on the rear panel of the server.
Attention: To avoid component damage, connect the power cord(s) last.
Note: In most areas of the world, Lenovo requires the return of the defective CRU. Information about this will
come with the CRU or will come a few days after the CRU arrives.
Updating the server conguration
When you turn on the server for the rst time after you install, remove, or replace a device, you might
need to update the server conguration.
Some optional devices have device drivers that you must install. For information about installing device
drivers, use the documentation that comes with each optional device. To obtain the supported device
drivers for your server from the Lenovo Support Web site, go to http://www.lenovo.com/support. Click
Download & Drivers ➙ ThinkServer and follow the instructions on the Web page to nd the device drivers
you want to download.
Refer to the following information resources to update the server conguration:
• To update the BIOS conguration, see “Using the Setup Utility program” on page 55
.
• To update the RAID conguration, see “Conguring RAID” on page 71
.
164 ThinkServer User Guide