274 N The Retouch Menu: Creating RetouchedCopies
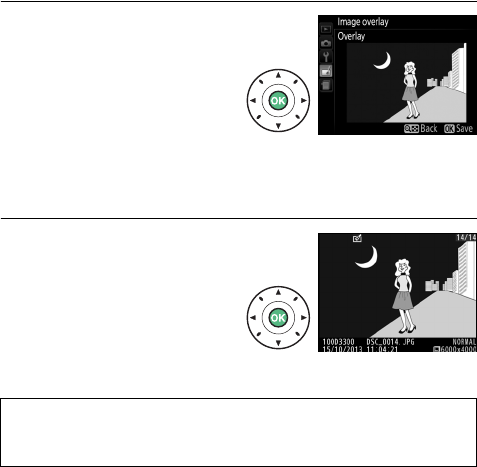
5 Preview the overlay.
Press 4 or 2 to place the
cursor in the Preview
column and press 1 or 3 to
highlight Overlay.
Press J
to preview the overlay as
shown at right (to save the
overlay without displaying a preview, select Save).
To return
to Step 4 and select new photos or adjust gain, press W (Q).
6 Save the overlay.
Press J while the preview is
displayed to save the
overlay.
After an overlay is
created, the resulting image
will be displayed full-frame
in the monitor.
D
Image Overlay
The overlay has the same photo info as the photograph selected for
Image 1.


