24
Printing pictures from a digital camera
PreparationPrinting
For Your
Reference
Introduction ENGLISH
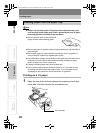
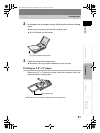
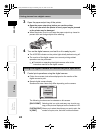
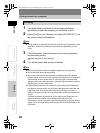
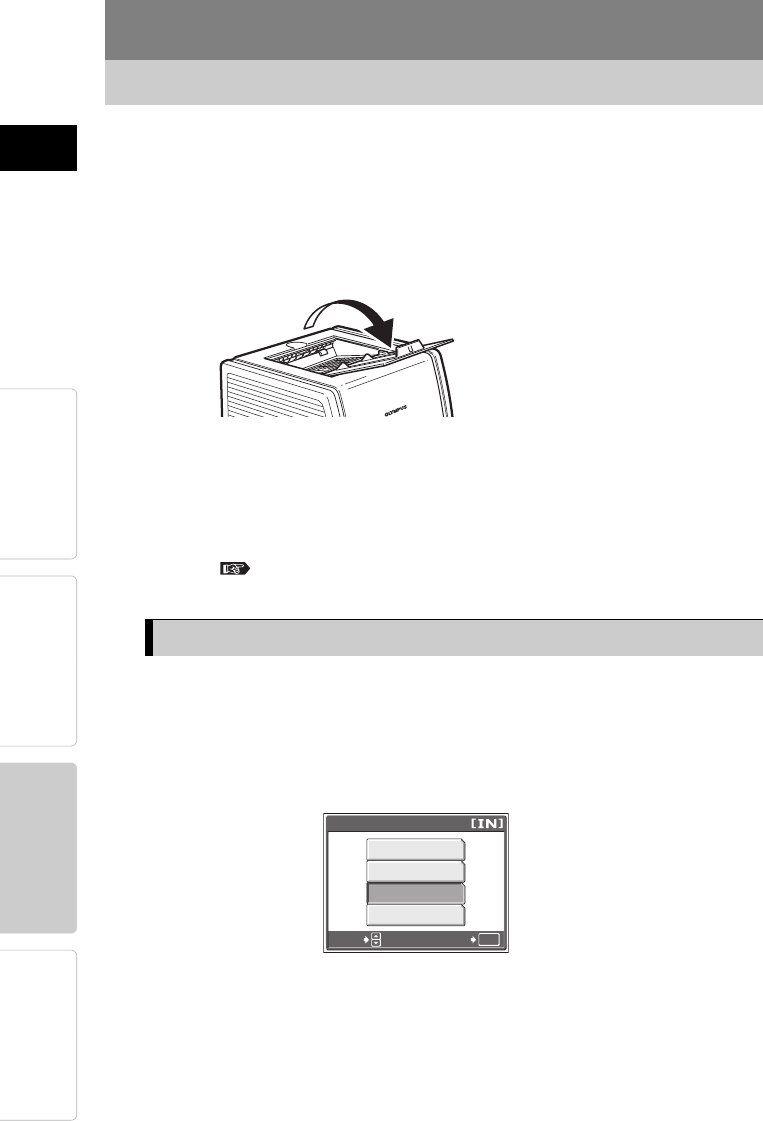
3 Open the paper output tray of the printer.
Open the paper output tray before you use the printer.
If it is not open when the printer is used, paper may be jammed
or the printer may be damaged.
When the printer is not in use, keep the paper output tray closed to
prevent dust and foreign objects from entering.
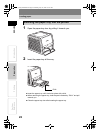
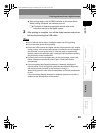
4 Turn on the digital camera, and set it so it is ready to print.
The ACCESS indicator on the printer lights briefly before turning off.
The monitor of the digital camera turns on and printing related
operations can be performed.
For details on operating the digital camera, refer to the
instruction manual for the digital camera.
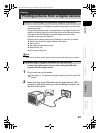
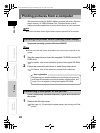
1 Control print operations using the digital camera.
Follow the onscreen instructions displayed on the monitor of the
digital camera to print.
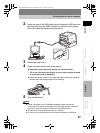
Sample digital camera display
Screens and menu items may differ depending on the camera.
The following functions can be selected on this screen.
[EASY PRINT] Selecting this is a quick and easy way to print one
copy of the picture displayed on the camera’s LCD.
[
CUSTOM PRINT
]
Allows you to select the pictures you want to print, the
or [PRINT]
number of copies, size, and with or without borders.
Using the digital camera to control the print operation
P C
CUSTOM PRINT
EXIT
EASY PRINT
USB
OK
SELECT
GO
p11_e_000_bookfile.book Page 24 Monday, July 25, 2005 10:47 AM


