


1st frame
Compose the next shot so that joint area 1 overlaps
joint area 2.
4" Press the shutter button to take the next shot.
_ Press the (_) button to combine just 2 frames.
s" Repeat steps _3' end '4" to take athird frame.
• After the third frame is taken, the camera
automatically processes the frames and the
combined panorama image is displayed.
_ To exit the panorama function without saving an
image, press the MENU button.
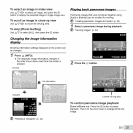
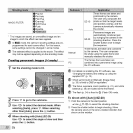
Taking pictures with [PC]
T Use AV<]D to select the direction that the frames
are combined.
2_ Press the shutter button to take the first frame, and
then point the camera for the second frame. The
shooting procedure issame as that of [Manual].
_ Panorama shooting is possible for up to 10 frames.
Repeat Step _ until the number of desired frames is
taken, and then press the (_) button or MENU button
when finished.
_ Refer to the PC software help guide for details on
how to make panorama images.
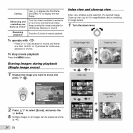
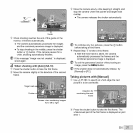
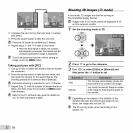
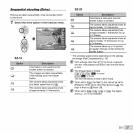
Shoqting 3D images (3_:mQde)
In this mode, 3D images are shot for viewing on
3D-compatible display devices.
(_ Images shot in 3D mode cannot be displayed in 3D
on this camera's monitor.
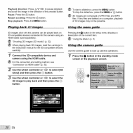
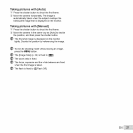
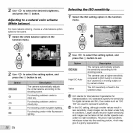
Set the shooting mode to 3D.
Press V to go to the submenu.
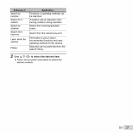
3 Use <][> to select [Auto] or [Manual] and
then press the _o_button to set.
Auto The camera automatically shoots the
second frame to create a 3D image.
You shoot the second frame to create
Manual a 3D image by following the guide on
the monitor.
_ Depending on the subject or the situation (if the
distance between the camera end subject is too
short), the image may not look 3D.
% The 3D viewing angle varies depending on the
subject, etc.
32; EN