–99–
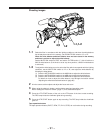
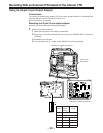
2 Mount the 26-pin/12-pin output adaptor.
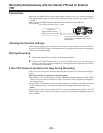
Controlling the external VTR with the unit’s switches
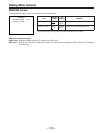
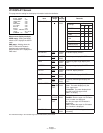
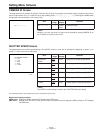
Setting the 26P CONTROL function as indicated below at the FUNCTION 3/5 page of the set-
ting menu prevents the internal VTR from being operated and enables only the external VTR to
be controlled by the VTR START button of the unit or the VTR button of the lens.
¡26P CONTROL: ON
¡See “Selecting Functions” (page 65) for a description of FUNCTION 3/5 page operations.
Switching from the internal VTR to the external VTR
If the internal VTR experiences problems (tapes becoming tangled, condensation, etc.) during
operation and becomes unable to operate, the VTR START button of the unit and the VTR but-
ton of the lens will not function. In these cases, setting the 26P CONTROL function as noted
above at the FUNCTION 3/5 page allows the external VTR to be operated in place of the inter-
nal VTR using the VTR START button of the unit or the VTR button of the lens.
Starting recording
Operate the external VTR to set it to recording paused status and press the VTR START button
of the unit or the VTR button of the lens. The external VTR starts recording. Pressing the button
again sets the VTR to the recording paused status.
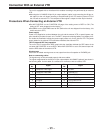
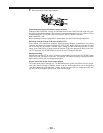
Output level of the 26-pin/12-pin output adaptor
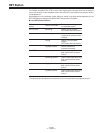
The output level factory settings are p60 dBu/balanced for audio and SONY level for compo-
nent video. When the built-in SW4701 switch is set, the audio output level can be changed to
p20 dBu/unbalanced, and when both 1 and 2 of SW1 are set to ON, the component video out-
put level can be changed to the MII level. (See previous page)


