


Operating Instructions
[For assistance, please call: 1-800-272-7033] 27
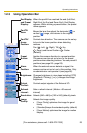
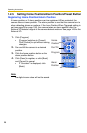
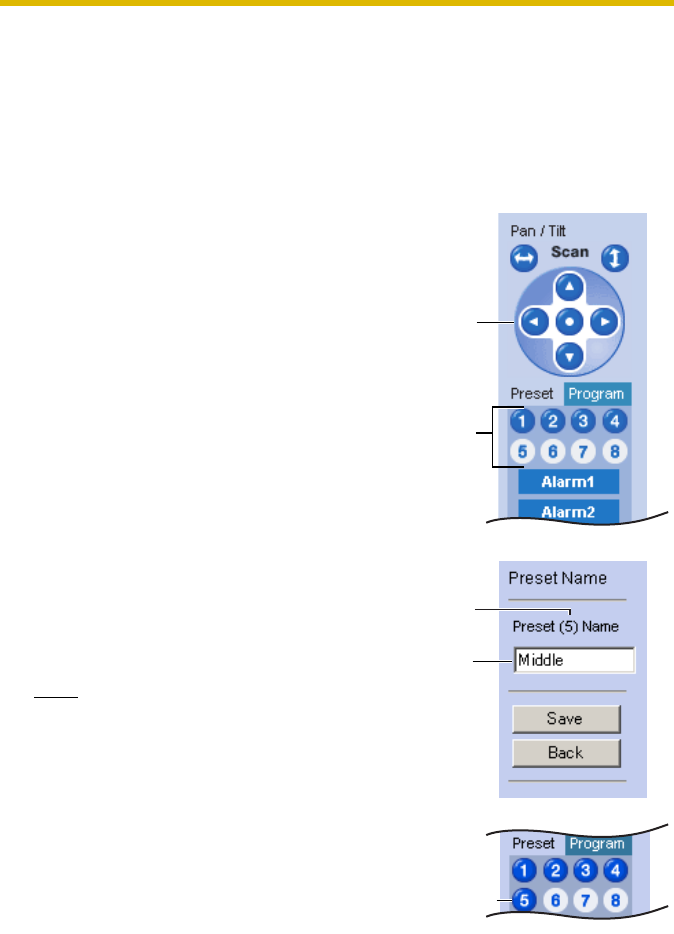
Registering a Preset Button
8 camera positions can be registered as presets. By default, the preset buttons
(1—4) are registered 1: Upper Left, 2: Upper Right, 3: Lower Left and 4: Lower
Right. These buttons can be changed (see page
29). The camera can be set up to
turn to the preset positions when detecting motions.
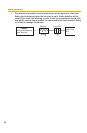
• Registered buttons are shown in blue.
• Unregistered buttons are shown in white.
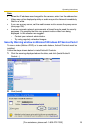
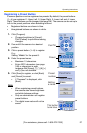
1. Click [Program].
• [Program] switches to [Cancel].
Click [Cancel] to quit without saving
changes.
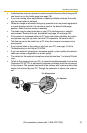
2. Pan and tilt the camera to a desired
position.
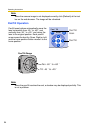
3. Click a preset button (1—8) to register.
E.g.:
Setting "Middle" for the preset 5.
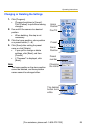
4. Enter the preset name.
• Maximum 15 characters.
• Enter ASCII characters (see page
168) or characters in each
language. But [Space], ["], ['], [&], [<]
and [>] are not available.
5. Click [Save] to register, or click [Back]
and [Cancel] to cancel.
• If "Success!" is displayed, click
[Back].
Note
• When registering preset buttons,
the camera also saves brightness
and white balance settings.
• Only an administrator can register
preset buttons.
• The digital zoom value will not be
saved.
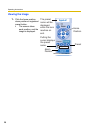
Pan/Tilt
Setting
a name
The button
turns blue.
Preset
Preset
number