


Editing Mode
48
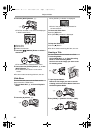
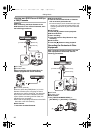
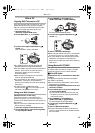
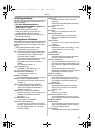
2 Connect the printer with the supplied USB
Cable.
1 USB Cable
≥The [PRINT] Indication appears on the screen
of the Movie Camera.
Highlighted: Printable
Blinking: Printer is being recognized.
≥The [PRINT] Indication does not appear when
the card is not inserted in the Movie Camera.
(You cannot print pictures.)
≥When the [PRINT] Indication keeps blinking
(more than about 1 minute), the Movie Camera
and the printer are not connected properly.
Connect the cable again or check the printer.
≥When the Movie Camera and the printer is
connected in the Tape Recording/Playback
Mode, the [WEB ] or the [WEB ] Indication
may appear on the LCD Monitor. However,
images cannot be printed.
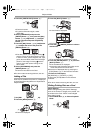
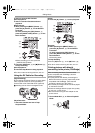
3 Select the desired picture.
≥Images cannot be printed when they are
displayed in Multi-Picture Mode.
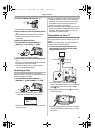
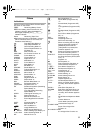
1
AV IN/OUT
PHONES
REMOTE/MIC
(PLUG IN POWER)
PRINT
4 When printing with date:
Set [PICTURE PLAYBACK MENU] >>
[PRINT] >> [DATE] >> [ON].
≥You cannot set date printing when the printer
does not support it.
≥Proceed to the next step if you do not need
date printing.
5 Set [PICTURE PLAYBACK MENU] >>
[PRINT] >> [THIS PICTURE] >> a desired
paper size.
≥You cannot set the paper size which is not
supported on the printer.
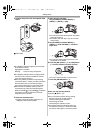
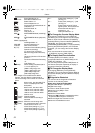
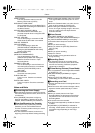
6 Press the [5] Button (18) or [6] Button
(21) to select a desired number of prints.
≥You can set the number of prints up to 9.
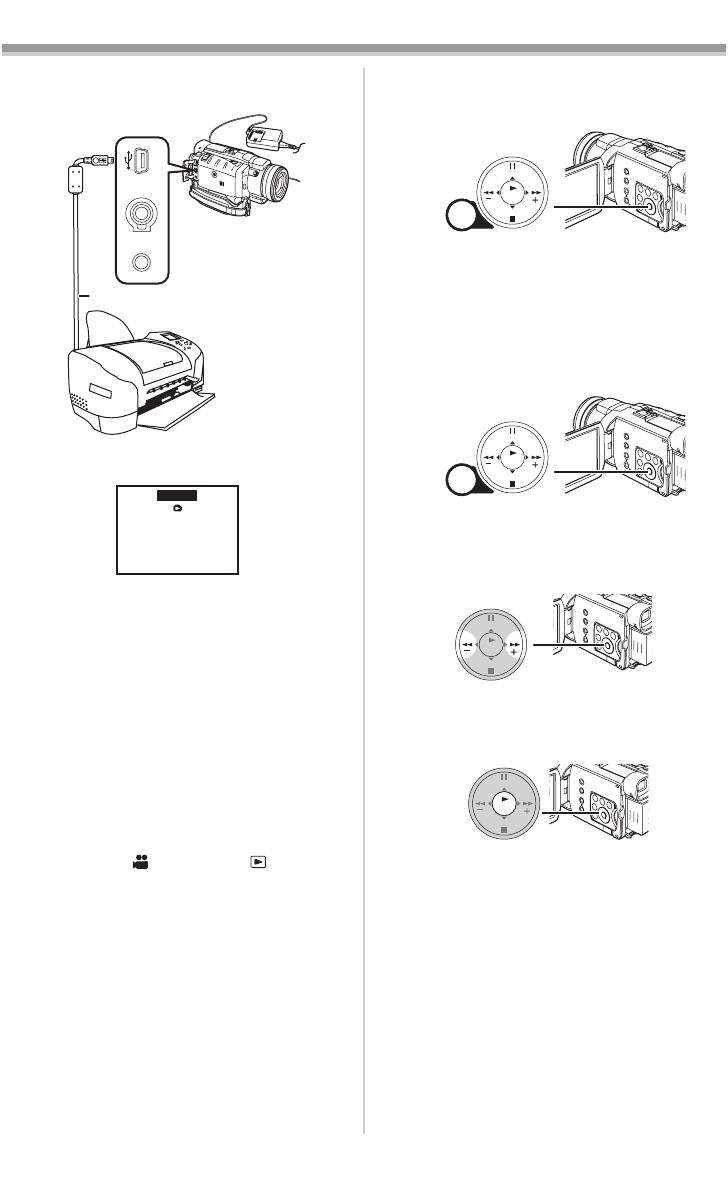
7 Press the [ENTER] Button (19).
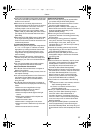
When you stop printing halfway
Press the [∫] Button (20).
≥Do not operate as follows during printing.
Pictures cannot be printed properly.
≥Disconnecting the USB cable
≥Removing the Card
≥Switching the operation mode
≥If the Movie Camera is disabled while it is
connected to the printer, connect the USB
connection cable again or check the printer.
MENU
STILL
FADE
ENTER
(16)
MENU
STILL
FADE
ENTER
(16)
FADE
ENTER
STILL
(21) (18)
FADE
ENTER
STILL
(19)
400GN.book 48 ページ 2004年6月3日 木曜日 午後1時49分