


-8-
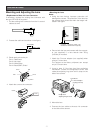
• Flange-back Adjustment
The adjustment is required only when a lens without
focus-adjusting mechanism is mounted, or when a lens
with adjusting mechanism is mounted and focus that is
more accurate is needed.
1. Loosen the flange-back fixing screw on the flange-
back adjusting ring.
2. Turn the flange-back adjusting ring to obtain a
focused point while watching the monitor screen.
3. Tighten the flange-back fixing screw softly and
securely.
Note: The object may be out of focus when using a
source of near-infrared light rather than using
the visible light.
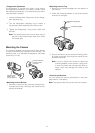
Mounting the Camera
The mounting adapter can be secured on either the top
or bottom (at the factory shipment) of the camera. The
mounting hole is a standard photographic pan-head
screw size (1/4”-20).
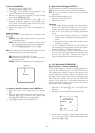
• Mounting from the Bottom
1. Secure the camera on the camera-mounting brack-
et (locally procured), referring to the manual includ-
ed with the bracket.
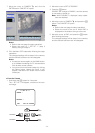
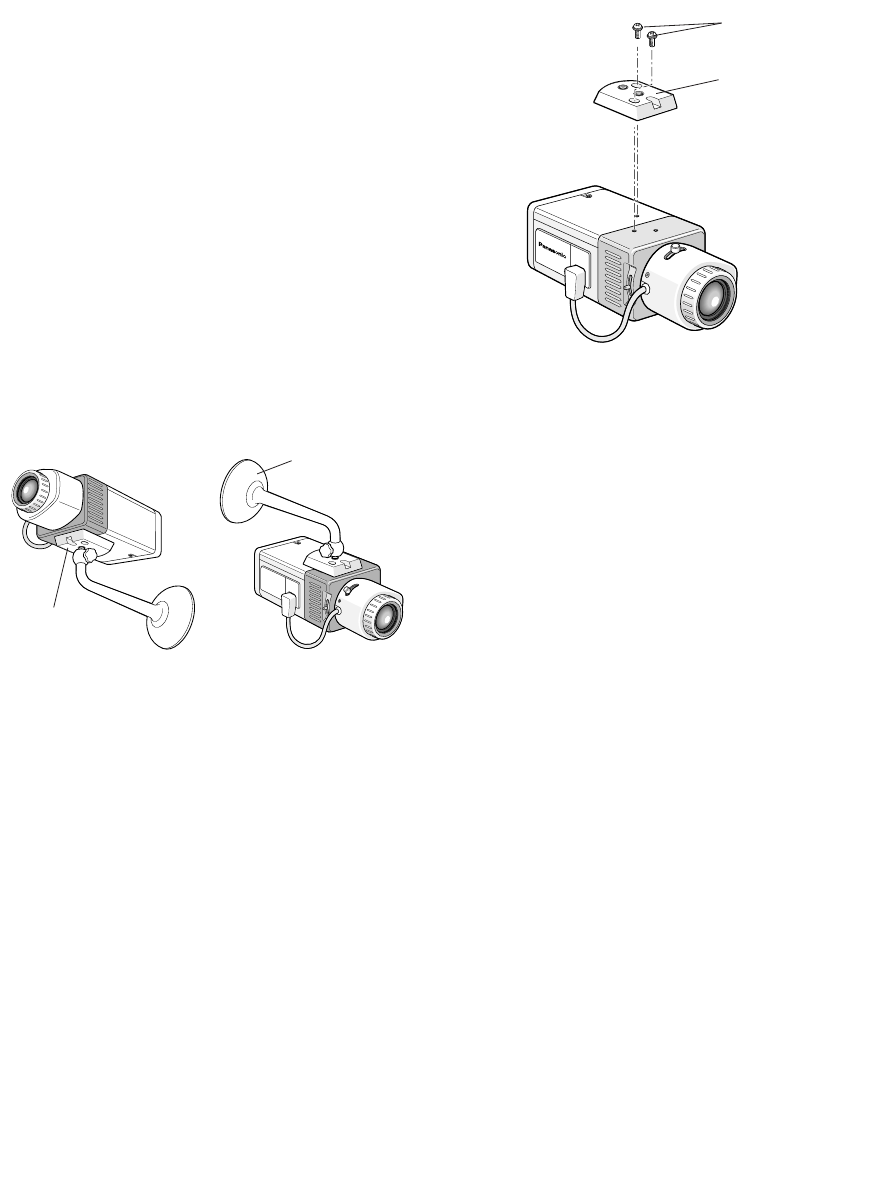
• Mounting from the Top
1. Remove the mounting adapter from the bottom of
the camera.
2. Attach the mounting adapter on top of the camera
as shown in the figure.
3. Secure the camera to the camera-mounting brack-
et (locally procured), referring to the manual includ-
ed with the bracket.
Note: Use the original two screws to attach the
mounting adapter on the camera. Using short-
er ones may cause the camera to fall down, or
longer ones may damage the inside of the
camera.
• Pictures Upside-down
You can reverse the picture upside-down in the menu
setup when it is necessary.
Note: The right and left of the picture are not reversed.
Adapter on the
bottom at the
factory shipment
Camera-mounting
bracket (Locally
procured)
CP470
WV
-
NP472
NP472
Fixing Screws
Mounting Adapter