NOTE:
If backlight
compensation is ON and the
IR cut filter switches OUT
(black and white mode)
in
normal lighting
condi-
tions, adjust the Auto IR
Level to a darker setting.
Refer to the Auto IR Level
section.
4. Move the joystick up or down to position the cursor next to either Aux 1 mode or Aux 2
mode.
5. Press the Iris Open button. The cursor moves to the right, beside the word Normal,
Latching, or Alarm.
6. Move the joystick up or down to toggle between Normal, Latching, or Alarm.
7. SELECT - Press the Iris Open button on your keyboard to select your choice.
CANCEL - Press the Iris Close button if you do not want to change the setting.
BACKLIGHT COMPENSATION
Main Menu
Camera Menu
<Camera>
<Line Sync>
<Power Up>
<Aux>
<Alarms, Zone Blank>
<Other>
EXIT
Backlight comp Off
Zoom limit x72
Reset camera
<Gain/AGC>
<Auto-iris>
<Next>
Exit
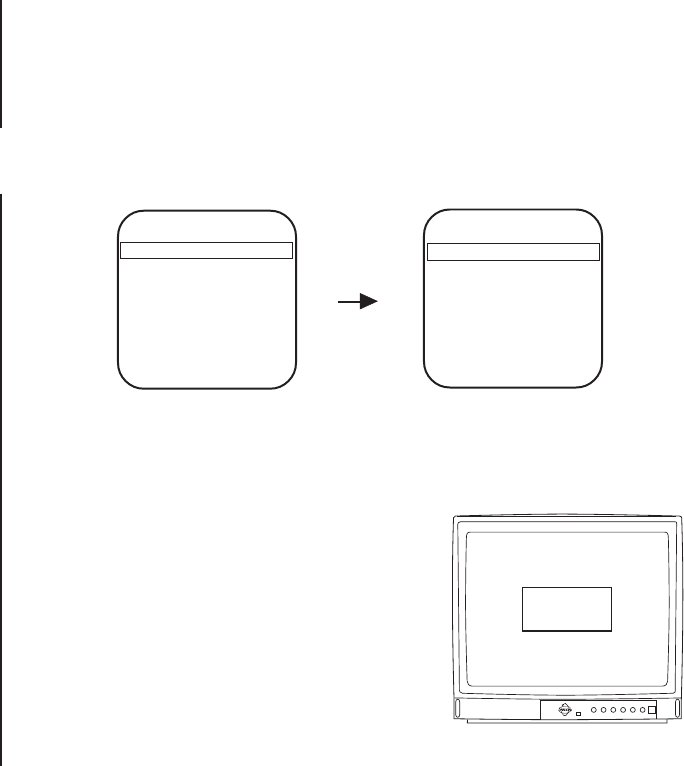
There are two backlight compensation modes:
On - The dome uses the center 10 percent of the picture to adjust the iris. If there is a
bright light source outside of this area, it will wash out to white. The camera will
adjust the iris so that the object in the sensitive area is properly exposed.
Off - Backlight compensation is not activated.
To change the backlight compensation mode:
1. Program preset 95 (28). The main menu appears.
2. Position the cursor (>) beside Camera.
3. Press the Iris Open button to enter the Camera
menu.
4. Position the cursor (>) beside Backlight Comp.
5. Press the Iris Open button. The cursor moves to
the right, beside the word On or Off.
6. Move the joystick up or down to toggle between On
and Off.
7. SELECT - Press the Iris Open button on your
keyboard to select your choice.
CANCEL - Press the Iris Close button if you do not want to change the setting.
NON-SENSITIVE AREA
SENSITIVE
AREA
Pelco Manual C2423M (5/00) 15
