20
1
Getting Started
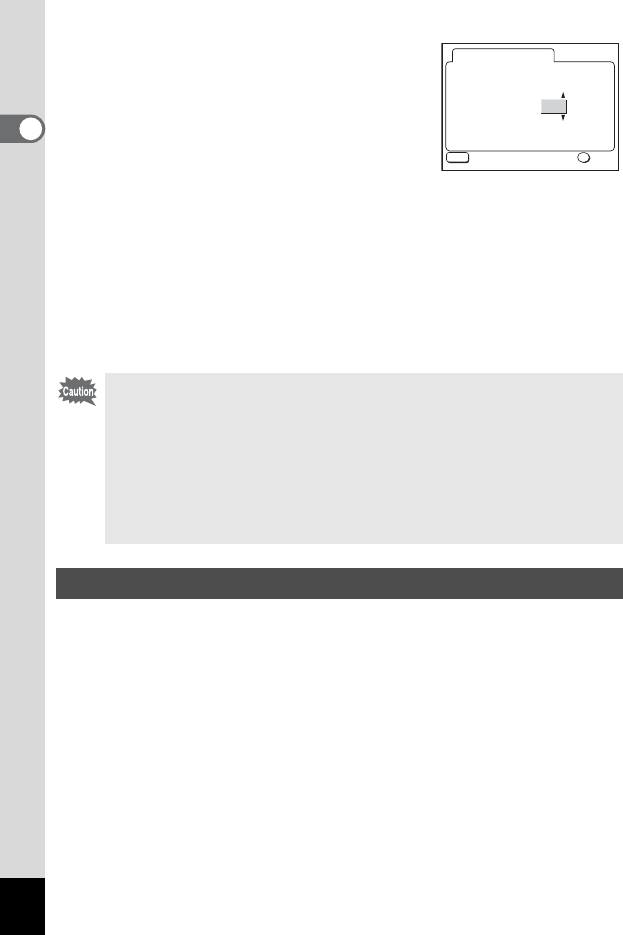
7 Use the four-way controller (23)
to change the day and press the
four-way controller (5) again.
2 and 3 will be displayed above and below
the year.
8 Repeat step 7 to change the [year], [hour], and
[minutes].
9 Press the OK button.
The camera is ready to take a picture. When you set the date and time
using the MENU button, you will return to the Menu screen. Press the
OK button again.
You can set the size and quality of the recorded pixels to correspond with
the application of the image.
A much clearer image can be obtained and printed when both the
recorded sizes and the pixel quality star levels are greater.
Use the [A Rec. Mode] menu for setting.
See “Basic Operation of the FULL Menu” (p.31) , “Selecting the
Recorded Pixels” (p.41) and “Selecting the Quality Levels” (p.42) for the
setting procedure.
• When you finish the settings and press the OK button to set the
date and time, the camera clock is reset to 00 seconds.
• When the initial settings screen is displayed, you can cancel the
settings operation and switch to Capture mode by pressing the
MENU button. If this is done, the initial settings screen will be
displayed next time you turn the camera on.
• You can change the settings after they have been made. Refer to
“Changing the Date Style and Date / Time” (p.95).
Setting the Recorded Pixels and the Quality Levels
12 00
:
OK
MENU
12h
AM
Date Style
mm/dd/yy
03 01 2004
Date Adjust
//
Exit OK


