


Polaroid Z340 Instant Digital Camera User Manual www.polaroid.com
Printing
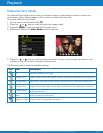
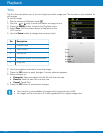
7 Press the OK button to apply changes. A menu selection appears. Select whether to:
• Overwrite & Print. Save and replace the old file with the new one, and then print it.
• Save As & Print. Save the new file as a new one, and then print it.
• Cancel. Cancel Trim.
8 Press the OK button to save/cancel changes.
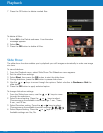
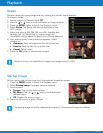
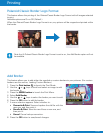
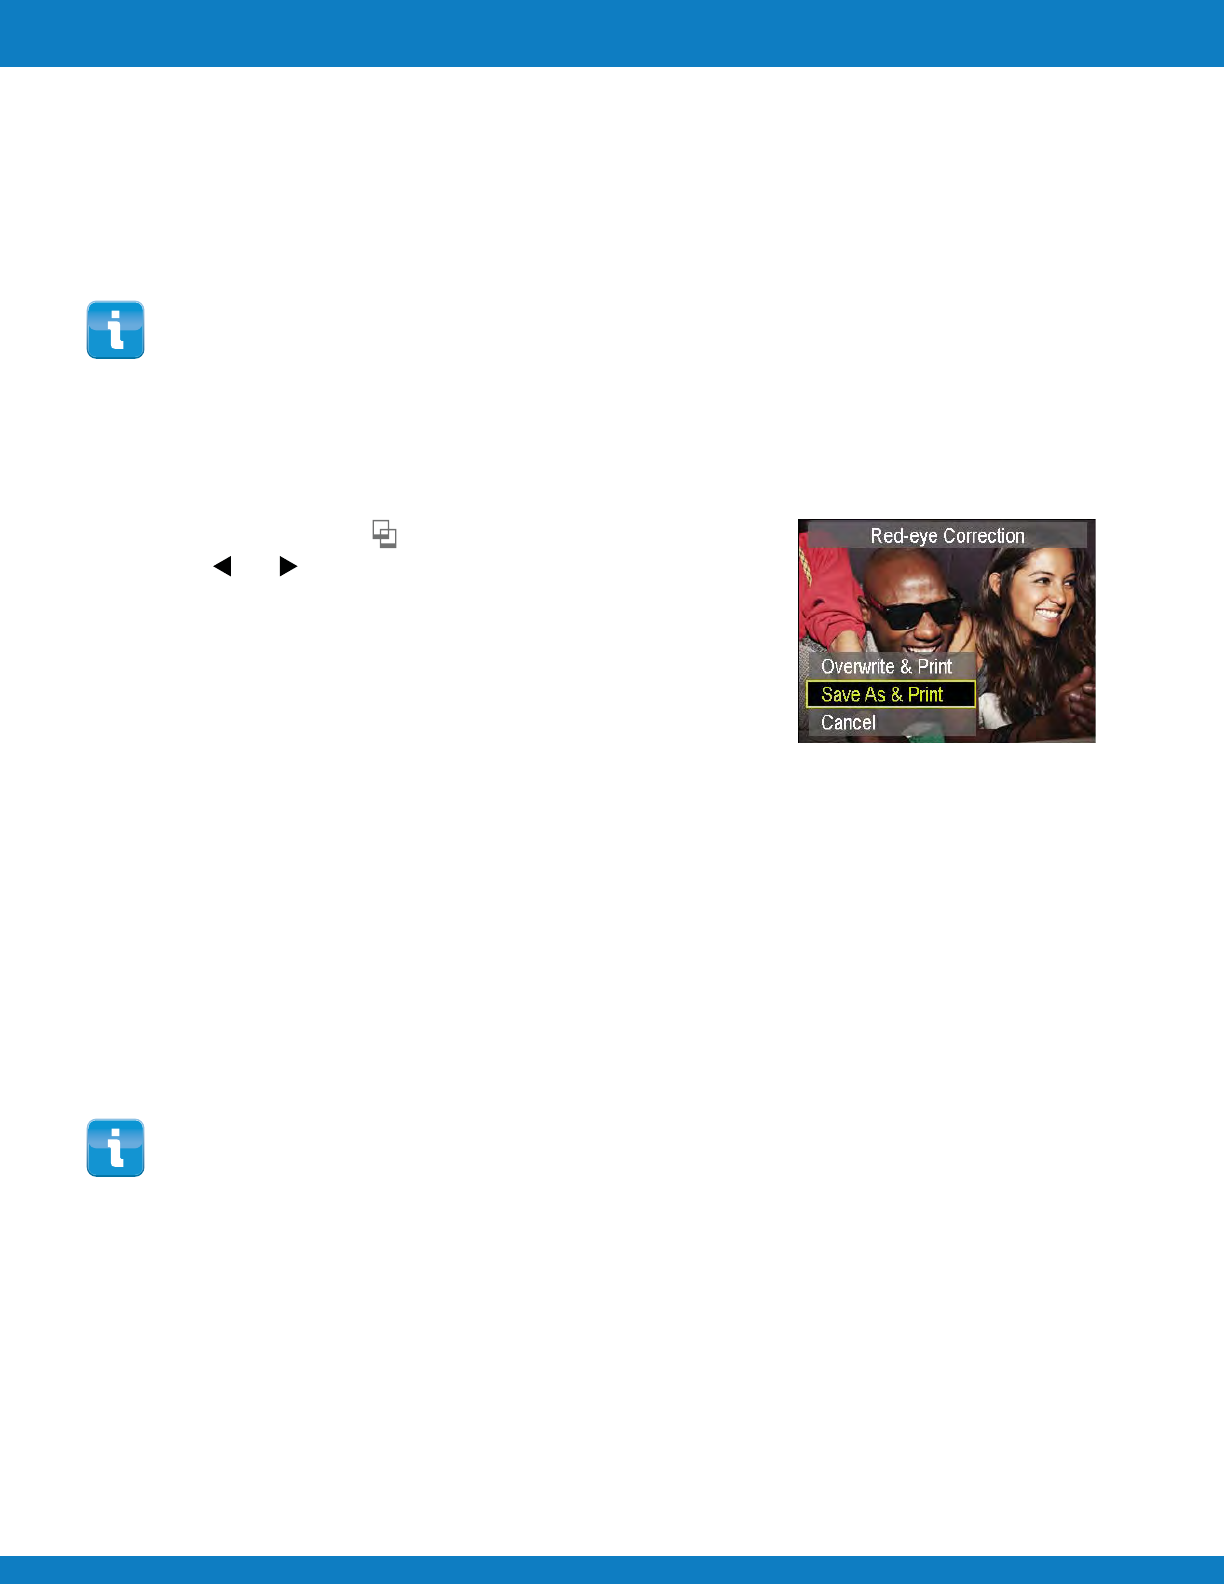
The Red-eye Correction function in the Print Menu allows you to reduce red eye in your captured
images and immediately print your corrected image.
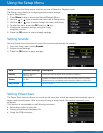
1 Press the Print button to launch the Print Mode.
2 Use the or keys to scroll and select an image for
Red-eye Correction.
3 Press the MENU button to launch the Print Menu.
4 Select Red-eye Correction.
5 Select Start.
6 Press the OK button to start correction.
7 After completing Red-eye correction, a menu selection
appears. Select whether to:
• Overwrite & Print. Save and replace the old file with the new one, and then print it.
• Save As & Print. Save the new file as a new one, and then print it.
• Cancel. Cancel red-eye correction.
8 Press the OK button to save/cancel changes.
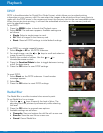
To Correct Red-eye and Print
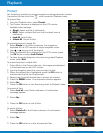
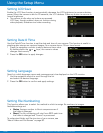
The Print Date & Time function in the Print Menu allows you to have the date and time that the
picture was taken print with the image on the picture.
Available options are On or Off (Default.)
To Print the Date and Time on your pictures
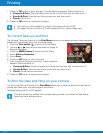
• Trim function is not available for images with image size set to VGA.
• All images will be trimmed in 4:3 ratio regardless of its original image ratio.
This date stamp may overlap with the date stamp printed if you have the Date Stamp
option set while taking pictures.
EN-52