


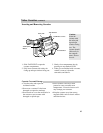
Powering Your Camcorder (continued)
19
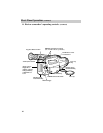
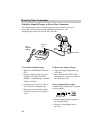
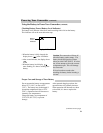
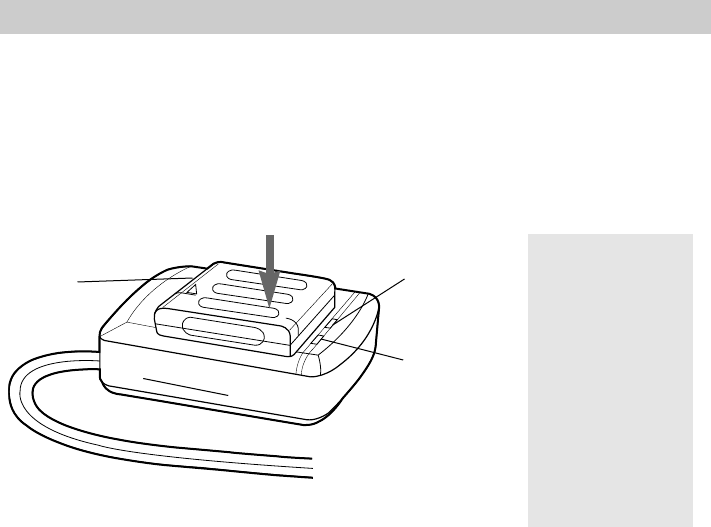
1. Plug the adapter/charger into the
nearest AC outlet (100-240V,
50/60Hz).
2. Place the battery on the adapter/
charger, and press it in place.
3. The adapter/charger’s CHARGE
indicator will light.
When the CHARGE indicator turns
off, the battery is fully charged.
If POWER on the adapter/charger starts
flashing, remove the plug from the outlet
for about 30 seconds. Then reattach it. If
after several attempts, POWER continues
to flash, your battery cannot take a charge
and must be replaced.
POWER will also flash if a hot battery is
attached to the adapter/charger. Attaching
an extremely hot battery is not
recommended. Allow it to cool down
before attaching it.
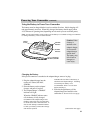
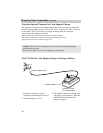
4. Slide the charged battery off the
adapter/charger and attach it to the
camcorder as shown on the next page.
POWER
CHARGE
Caution: When
a battery is
attached to the
adapter/ charger,
do not turn the
adapter/charger
upside down.
The battery may
fall off and be
damaged or
cause injury.
The battery must be charged before it can be used the first time. Initial charging will
take approximately one hour. When fully charged, the battery should supply about
45-55 minutes of operating time (depending on how much you use zoom and pause).
Note: Use the small marker switch on the top of the battery as a reminder to help you remember
to recharge the battery. It has no other function.
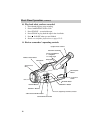
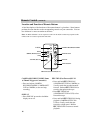
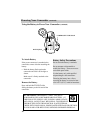
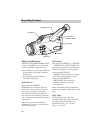
Using the Battery to Power Your Camcorder
(continued on next page)
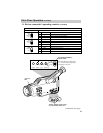
To AC Wall Outlet
100-240V, 50/60 Hz
POWER
Indicator
Marker
Switch
CHARGE
Indicator
Charging the Battery
If the power connector is attached to the adapter/charger, remove its plug.