


4
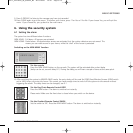
7.2 Addressing your modules
An address can be set for every Marmitek X-10 module. This address consists of a HOUSECODE (A-P) and a
UNITCODE (1-16). The HOUSECODE of all your components needs to be set to the same letter code (keep all
the HOUSECODES set to A. See 10.6 for more information.). With the UNITCODE you can give every module
its own number, so that they can be individually controlled (via the number pad on your console or with the
SH624 Comfort Remote Control).
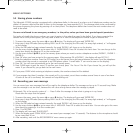
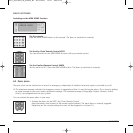
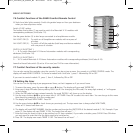
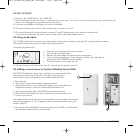
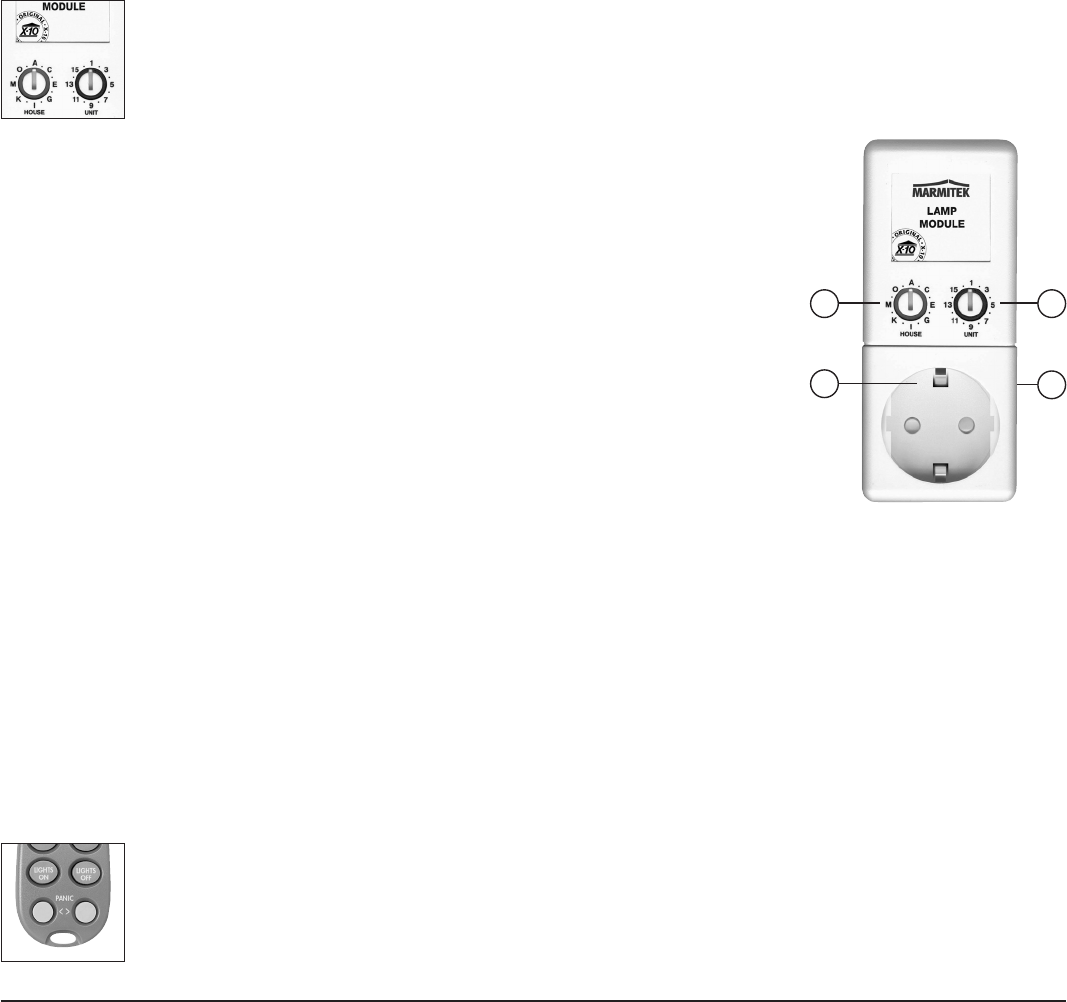
7.3 Installing the LM12 Lamp/Dimmer Module (standard for TotalGuard,
optional for SafeGuard)
1. HOUSECODE SWITCH
To set up the system address. Leave the switch set to A.
2. UNITCODE SWITCH
To set up the module number. Leave the switch set to 1.
3. WALL SOCKET
To connect the lamps you want to switch using the module.
4. FUSE
The fuse protects the lamp/dimmer module against a power overload. If the fuse blows,
it can only be replaced by another fuse of the same type.
INSTALLATION LM12:
Plug the lamp/dimmer module into a free wall socket and plug your lamp (40-300W) into the module.
To avoid damage, do not plug in any other loads - such as household equipment or TL/PL lights -
into the module. Please use an AM12 Device/Switch module or a LM15 Bayonet Lamp Module for these types of loads.
7.4 Alarm functions of the Lamp/Dimmer Modules
When switching on the system via the console, the lamps on A1 and A2 will be switched on during the exit delay. As soon as the
system is activated, the lamp will be switched off.
When switching on the alarm via your remote control, the lamps will be switched on and off quickly to indicate the system is
activated (comparable to the alarm system on your car).
In the case of an alarm the lights connected to lamp/dimmer modules with addresses A1 and A2 will flash. After 4 minutes the
lights will remain on.
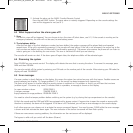
7.5 Comfort functions of the KR21 Key Chain Remote Control
☺ Switch and dim lights remotely. Switch the garden lamps on from your bedroom when you hear
suspicious noises.
Press the ‘LIGHTS ON’ button. The lamps on addresses A1 and A2 will be switched on.
Press the ‘LIGHTS OFF’ button. The lamps on addresses A1 and A2 will be switched off.
BASIC OPTIONS
23SAFEGUARD / TOTALGUARD
3
1 2
20071_20070228_UG_SC9000_EN 08-03-2007 10:07 Pagina 23