


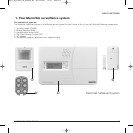


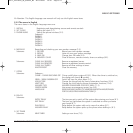
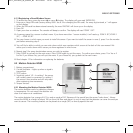
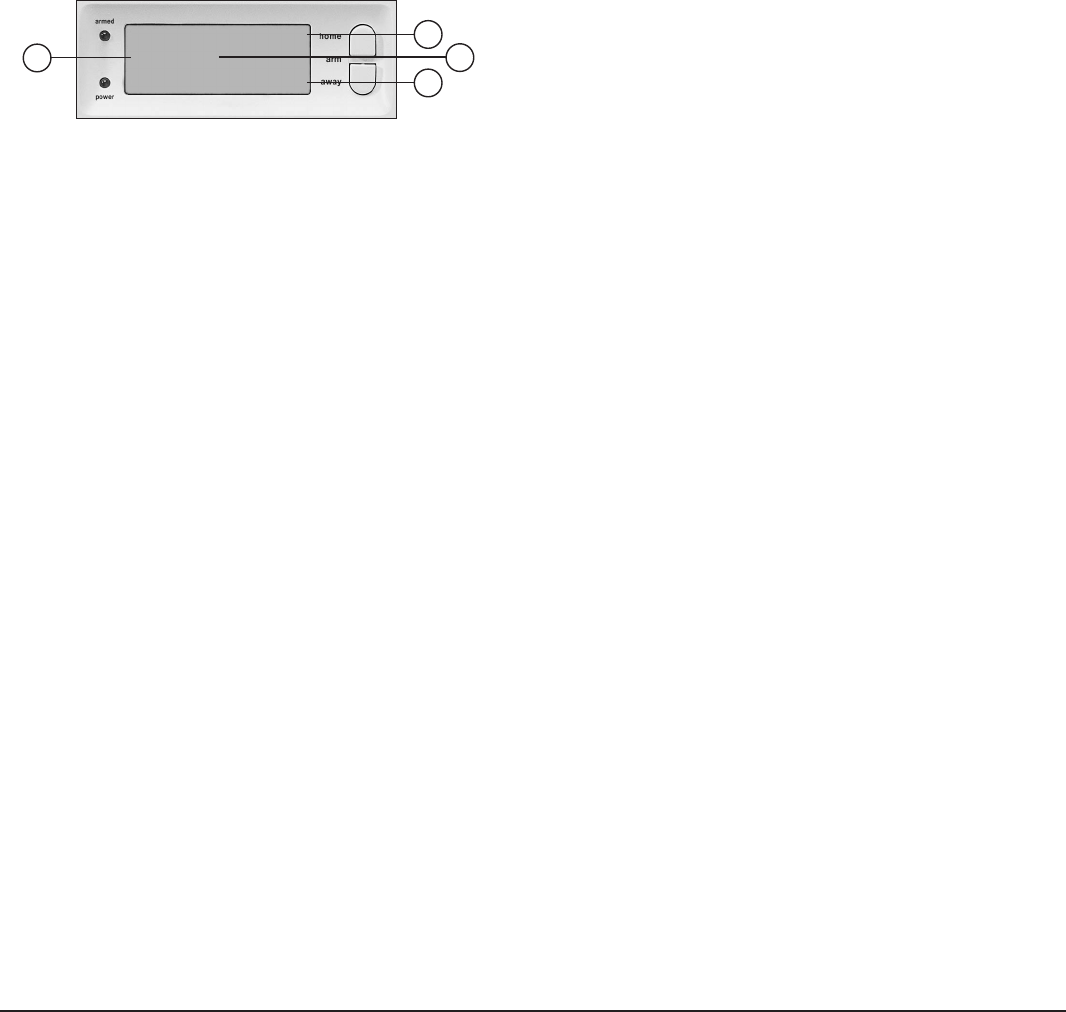
Display:
1. Zone numbers
Every sensor represents a so-called zone in the system. There are 30 zones for wireless sensors (numbers 1-30 on the display)
and 2 zones for wired sensors (numbers 31 and 32 on the display).
Zone numbers on: Door or window is open.
Zone number flashing slowly: There is a problem with the sensor (6.5).
Zone number flashing quickly: The sensor has been switched off with the Bypass function (6.5).
2. Chime
Chime is switched on when the system is switched off. When this function is activated, you hear a pleasant ding-dong when
someone enters the house (9.2).
3. Space for menu texts and clock
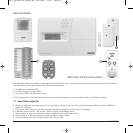
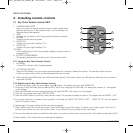
2.1 Installing the console
2.1.1 Connecting the telephone wire
Open the top compartment on your console. Connect the telephone wire to the corresponding connection (6). You can fixate the
wire by looping it behind the hooks on the back of the console.
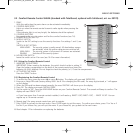
In case of an analogue phone connection
Insert the other end of the telephone wire into the telephone plug included and connect this to your telephone socket.
☺ In case of an ISDN connection
The console cannot be connected directly to an ISDN connection! If you are using ISDN, you need to connect the alarm system
to an analogue connection of your ISDN console. The telephone wire included, without the plug, fits directly into the analogue
input of your ISDN console. If there are no analogue inputs, please use a converter (check with your telecom supplier). You will
most likely have to dial a 0 on the console to get an outside line. This 0 needs to be programmed in with the telephone
numbers to be able to dial out (see 5.2). You also need to keep in mind that with ISDN in the case of a power failure your
alarm system can no longer dial out. The connection can only be guaranteed with an analogue line.
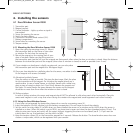
2.1.2 Connecting the AC adapter
Connect the AC adapter to the corresponding connection (7). Plug the adapter into a 230V wall socket. You can fixate the wire
by looping it behind the hooks on the back of the console. When connecting the adapter and opening the top compartment of
your console, you will see the word ‘TAMPER’ on the display. After closing the compartment, enter your PIN code (factory settings
0000, see 8.3) to remove the word ‘TAMPER’. The display will now read ‘DISARMED’ and you will hear a double tone to confirm.
☺ Please use the AC adapter included in the set
2.1.3 Installing the emergency batteries
Insert 4 AA batteries in the battery compartment (10). Do not forget to check the polarity (+/-).
Preferably use alkaline batteries (not rechargeable batteries). After inserting the batteries and closing the compartment, enter your
PIN code (factory settings 0000, see 8.3) to remove the word ‘TAMPER’. The display will now read ‘DISARMED’ and you will hear
a double tone to conf
BASIC OPTIONS
8 MARMITEK
1 2 3 4 5 6 7 8 9 10 11 12 13 14 15 16
17 18 19 20 21 22 23 24 25 26 27 28 29 30 31 32
1
1
3
2
20071_20070228_UG_SC9000_EN 08-03-2007 10:07 Pagina 8