04 PLAY
79
PLAY
_
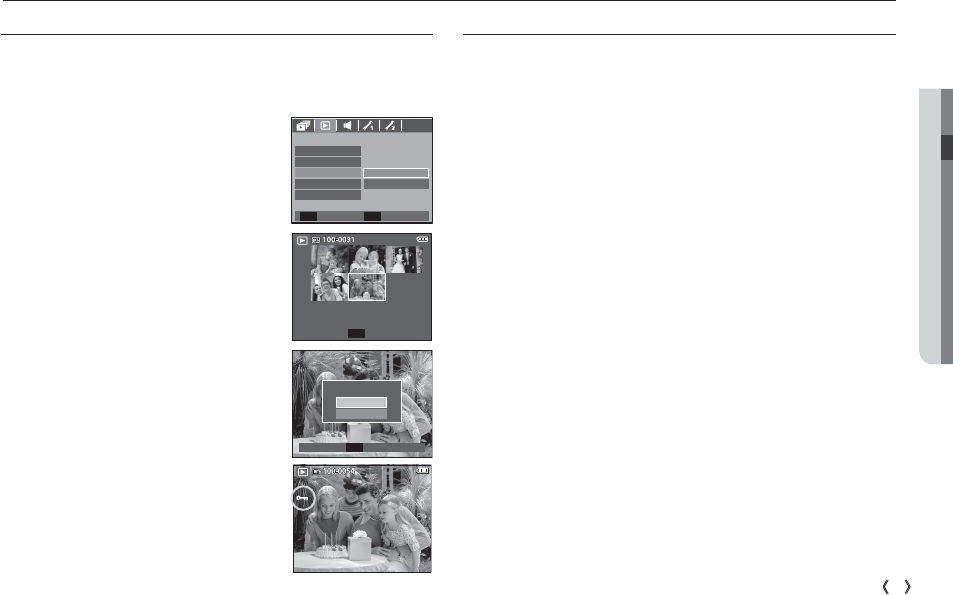
Protecting images
This is used to protect specific shots from being accidentally erased (Lock).
It also unprotects images that have been previously protected (Unlock).
1. Press the Up / Down button and select
the [Protect] menu tab. And then press the
Right button.
2. Select a desired sub menu by pressing the
UP / DOWN button and press the OK but-
ton.
[Select ] : Selection window for an image
to be protected / released is
displayed.
- Up / Down / Left / Right : Select an image
- Zoom W / T Button : Protect / release the
image
- OK button : Your changes will be saved
and the menu will disappear.
[All] : Protect / release all saved images
- If you protect an image, the protect icon
will be displayed on the LCD monitor. (An
unprotected image has no indicator)
- An image in LOCK mode will be protected
from the delete function or [Delete] func-
tions, but will NOT be protected from the
[Format] function.
DPOF(Digital Print Order Format) allows you to embed
printing information on your memory card’s MISC folder. Select the
pictures to be printed and how many prints to make.
The DPOF indicator will display on the LCD monitor when an
image that has DPOF information plays back. Images can then be
printed on DPOF printers, or at an increasing number of photo labs.
This function is not available for Movie clips and Voice recording files.
When the wide angle image is printed as a wide angle print, 8% of the
left and right side of the image may not be printed. Check that your
printer can support the wide angle image when you print the image.
When you print the image at a photo lab, request that the image is
printed as a wide angle image. (Some photo labs may not support the
wide angle size print.)
DPOF
Playback
(
ø
)
Confirm
OK
Protect All?
Unlock
Lock
PLAYBACK
Delete
Copy to Card
SelectProtect
Voice Memo
DPOF
Back Set
OK
All
Set
OK
W Unlock T
