SLIDE SHOW:
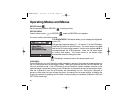
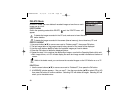
Displays the recorded images sequentially, with a user-defined delay between images. Use the arrow
buttons (▲/▼) to move cursor next to SLIDE SHOW. Press OK button and cursor skips next to the
data field. Use the arrow buttons (▲/▼) to increase/decrease the delay between 2 to10 seconds in
increments of 2 . Press the OK button again to make the change. The slide show starts.
Press the Display/Menu/OK/ arrow buttons (▲/▼) buttons or switch the Operating Mode knob while a
slide show is playing to stop the slide show.
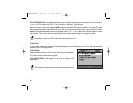
COPY TO CF CARD: Copies images stored in the camera’s internal memory to the CF Card.
Use the arrow buttons (▲/▼) to move cursor next to COPY TO CF CARD. Press OK button and
cursor skips to data field. Use the arrow buttons (▲/▼) to toggle the YES or NO option. Then press
OK button to confirm.
DPOF (Digital Print Order Format) If you select the DPOF item, all your image settings will be saved
on the CF card. Now, a DPOF compatible printer will print images as specified in your setting, after
you insert the CF card into a printer.
DPOF User Interface You can use Shutter or Menu button to setup DPOF as follows:
A. Use Shutter button in PLAY Mode:
1. Set the Operating Mode Dial to the PLAY, then the last image appears.
2. Press the Shutter button to toggle the DPOF print tag setting of the selected image. A printer
icon appears in bottom right corner of LCD monitor as you toggle between DPOF tag setting.
The default setting is size=Standard and quantity=1, when using the Shutter button to enable the
DPOF print tag.
23
PIONEERmanREV 11/19/01 6:00 PM Page 23


