


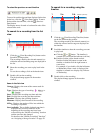


Setups
Setting a Camera
27
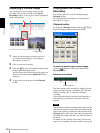
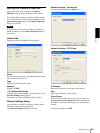
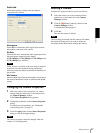
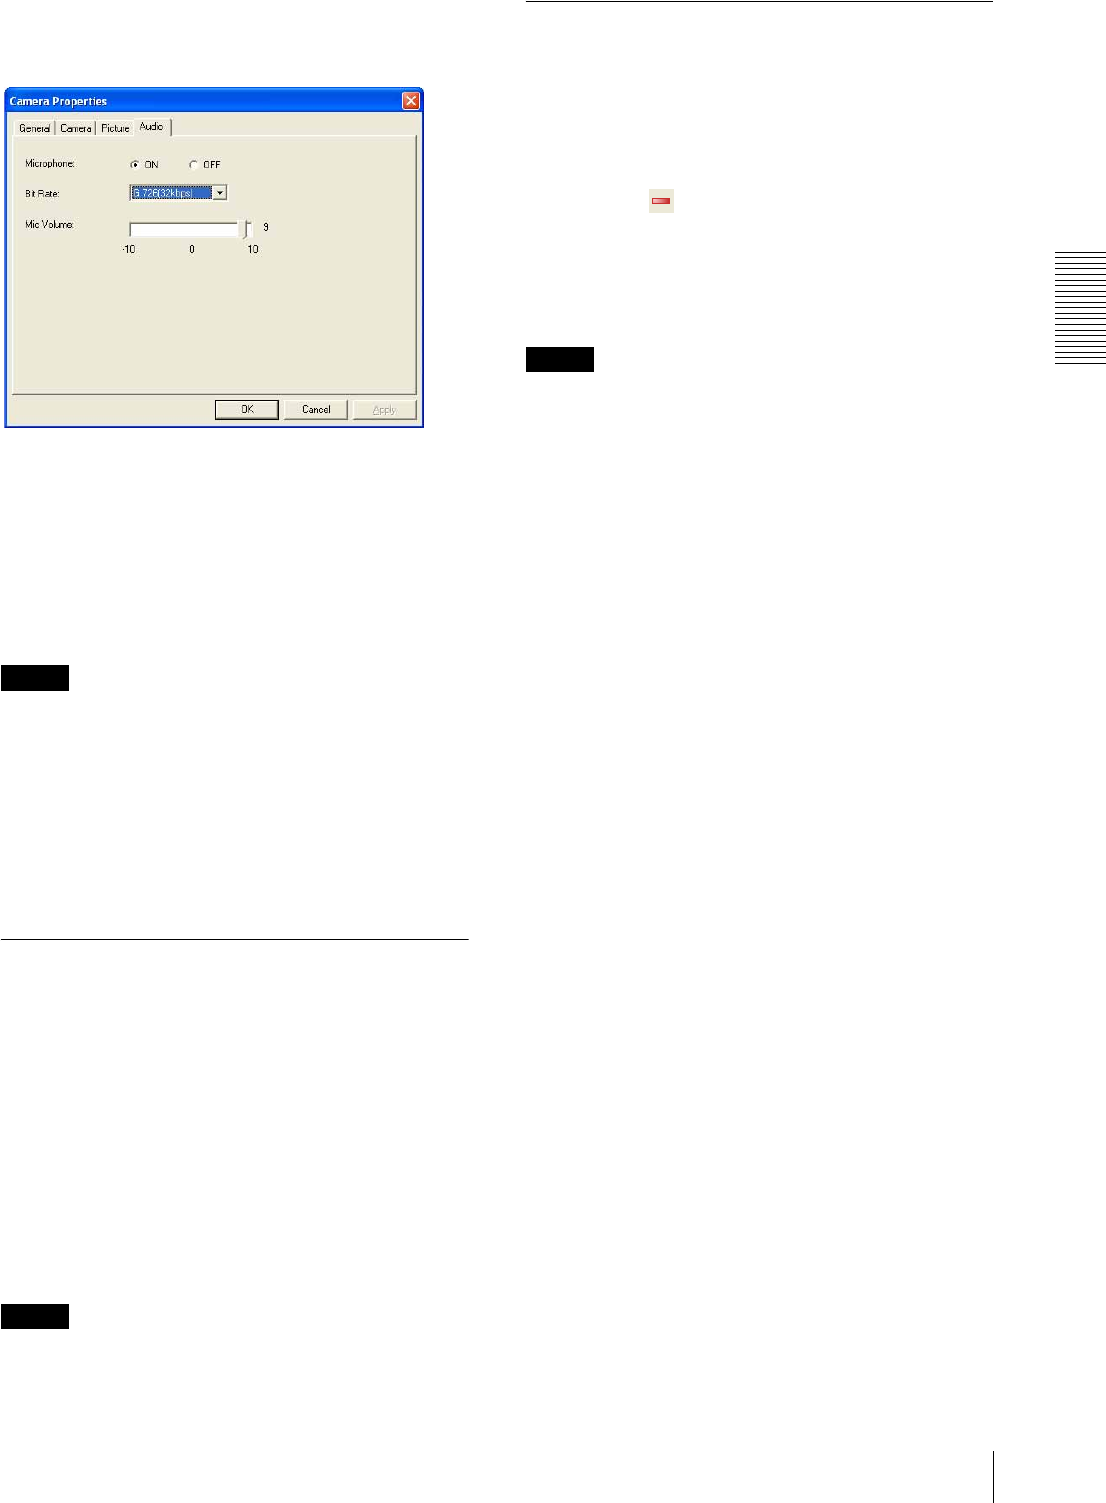
Audio tab
Perform the settings relating to the microphone
connected to the camera.
Microphone
Select ON to transmit the audio signal input from the
microphone connected to the camera.
Bit Rate
Select the bit rate to transmit the audio signal input from
the microphone connected to the camera.
G.726 (16kbps), G.726 (24kbps), G.726 (32kbps) and
G.726 (40kbps) are available.
Note
When 16 kbps is selected, audio may delay to image in
about three seconds maximum during monitoring.
Audio and video are almost synchronized when they are
played back.
Mic Volume
Set the volume input from the microphone connected to
the camera. Maximum volume is obtained with the 10
setting.
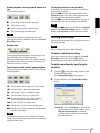
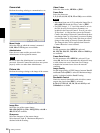
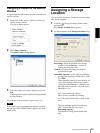
Changing the Camera Properties
1
Select the camera whose properties you want to
change from the camera tree or the camera list in
the Camera Manager window.
The Camera Properties dialog appears.
2
Change the parameters in the Camera Properties
dialog.
For details on each parameter, see “Setting the
Camera Properties” on page 25.
3
Click the Apply button in the Camera Properties
dialog to save the changed settings.
Note
The camera properties cannot be changed while the
camera is in recording mode.
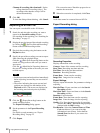
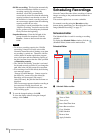
Deleting a Camera
To delete the registered camera, proceed as follows:
1
Select the camera you want to delete from the
camera tree or the camera list in the Camera
Manager window.
2
Click the (Delete Camera(s)) button on the
Camera Manager toolbar.
A confirmation dialog appears.
3
Click Ye s .
The selected camera is deleted.
Note
The recordings associated with the camera will remain,
but cannot be displayed. If you want to delete the
recordings, delete them before deleting the camera.