


73
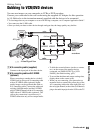
Dubbing, Printing
You can print out still images using a
PictBridge compliant printer without
connecting the camcorder to a computer.
Connect your camcorder to the wall socket
using the supplied AC Adaptor for this
operation.
Turn on the power of the printer.
• To print still images after having copied them onto
a computer, see “Computer Application Guide”.
1 Slide the POWER switch to turn on.
• You can perform this operation, whichever
position of the (Movie) / (Still) /
(PLAY/EDIT) is lit.
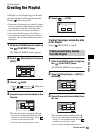
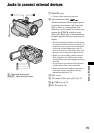
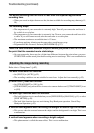
2 Connect the (USB) jack of your
camcorder to the printer using the
USB cable (supplied).
[USB SELECT] screen appears on the
LCD screen.
3 Touch [PictBridge PRINT].
The still image appears.
• You can also display [USB SELECT] screen by
touching t [SETUP] t
PICT. APPLI. t [USB SELECT].
• We cannot guarantee the operation of models that
are not PictBridge compatible.
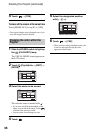
1 Select the image to be printed with
/.
2 Touch [SET] t [COPIES].
3 Select the number of copies to be
printed with / .
You can set a maximum of 20 copies of
one image to be printed.
4 Touch t [END].
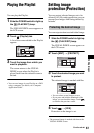
To print the date on the image, touch
[SET] t [DATE/TIME] t [DATE] or
[DAY&TIME] t .
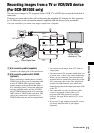
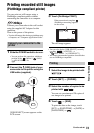
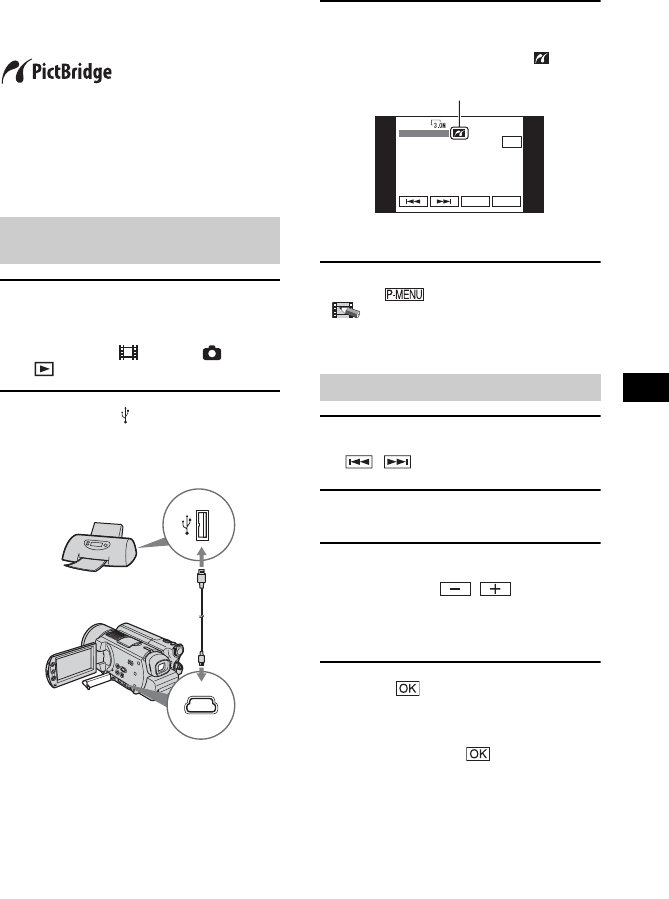
Printing recorded still images
(PictBridge compliant printer)
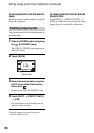
Connect your camcorder to the
printer
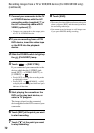
Printing
SET
END
EXEC
1/10
PictBridge
PRINT
100-0002
When connection is complete,
(PictBridge connecting) appears
on the screen.
Continued
,