


39
Recording
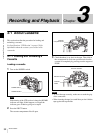
Chapter 3 Recording and Playback
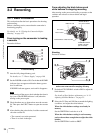
Shot mark recording
When SHOT MARK 1 and SHOT MARK 2 are set to ON
on the ESSENCE MARK page, good shot marks (shot
mark 1 and shot mark 2) are recorded when you press the
RET button of the lens. (If LTC UP-MARKER is set to
OFF, the marks are recorded only in the system area. If
LTC UP-MARKER is set to ALL, the marks are recorded
in the LTC UBIT area even when SHOT MARK 1 and
SHOT MARK 2 are set to OFF.)
To record a shot mark 1: Press the RET button on the lens
once.
On the viewfinder screen, z and the time code of the
marked point are displayed for about 3 seconds.
To record a shot mark 2: Press the RET button on the lens
twice.
On the viewfinder screen, X and the time code of the
marked point are displayed for about 3 seconds.
For detailed information on shot mark operations, refer to
the manual supplied with your VTR.
When you perform the setting to confirm the image of the
return video signal in the viewfinder (see page 84), shot
mark 1 and shot mark 2 cannot be recorded by operating
the RET button of the lens.
Recording start mark recording
When REC START MARK set to ON on the ESSENCE
MARK page, a recording start mark is recorded at the
beginning of recording. (If LTC UP-MARKER is set to
OFF, the mark is recorded only in the system area. If LTC
UP-MARKER is set to ALL, the mark is recorded in the
LTC UBIT area even when REC START MARK is set to
OFF.)
For detailed information on recording start mark
operations, refer to the manual supplied with your VTR.
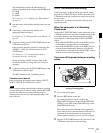
3-2-4 Starting a Shoot with a Few
Seconds of Pre-Stored Picture Data
(Picture Cache Function: with CBK-
MB01)
By installing the optional CBK-MB01 extension board in
the camcorder, the camcorder is able to constantly store a
few seconds (up to 8 seconds) worth of the most current
picture and sound data in the boards memory.
Thus, when you press the VTR START button or the VTR
button on the lens, the recording starts with the data stored
a few seconds before.
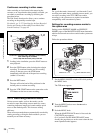
Setting the Picture Cache time/Picture
Cache mode
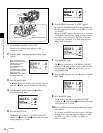
To record in Picture Cache mode, you need to turn on
Picture Cache mode and set the picture data storage time
(Picture Cache time) using the USER menu.
The Picture Cache time and VTR SAVE/STBY switch
settings determine the number of seconds of picture data
that will be stored in memory and recorded when you press
the VTR START button or VTR button on the lens.
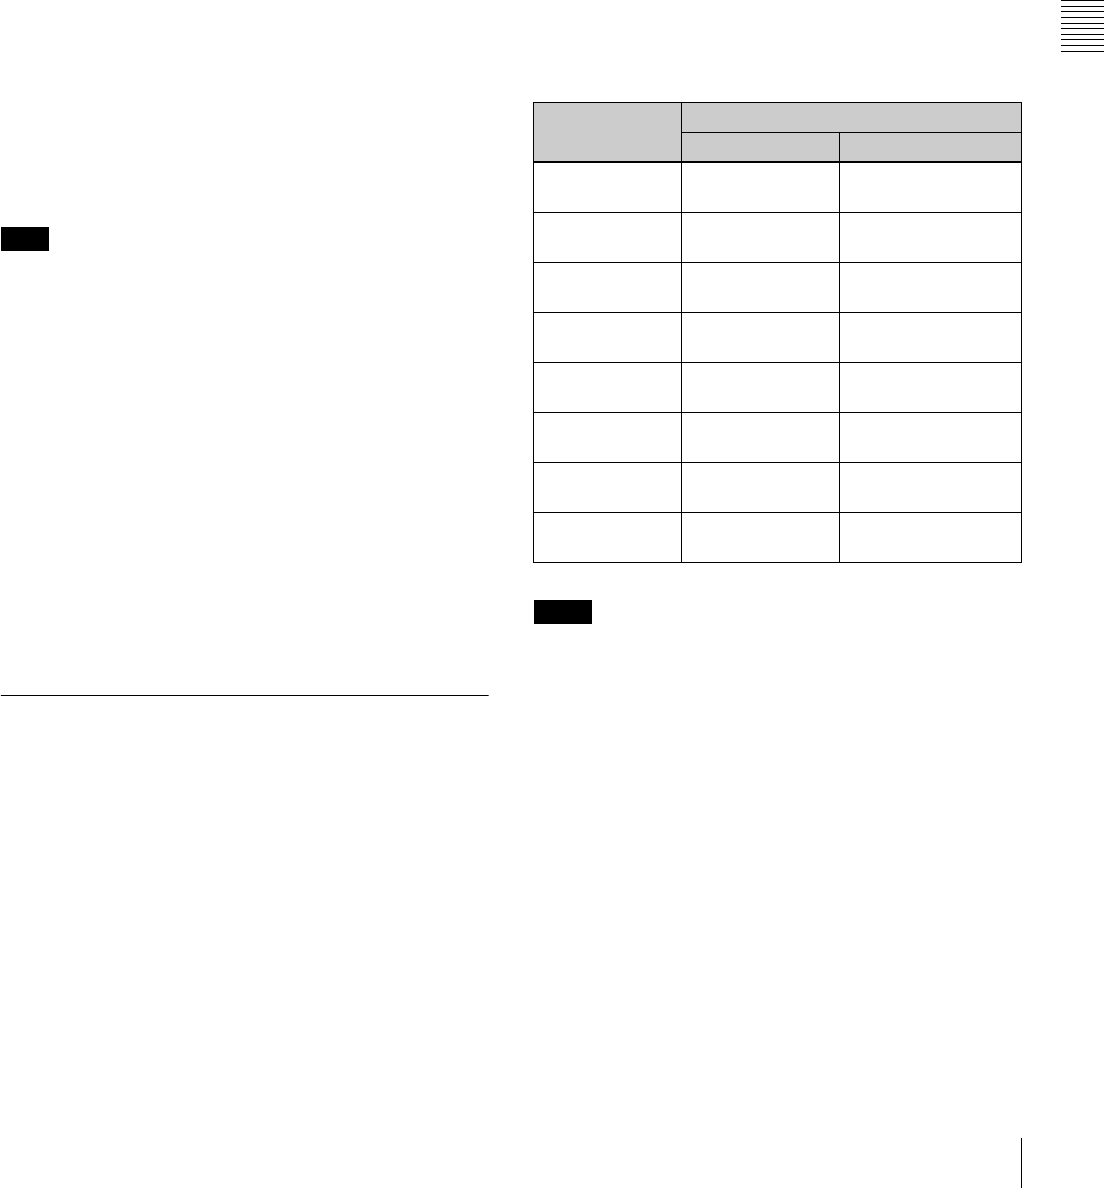
The following table shows the approximate number of
seconds worth of picture data (counting back from the time
you begin recording) that will be recorded from memory.
However, when changing from SAVE to STBY, or under
the special situations explained in the notes on this page,
the actual amount of data recorded may be shorter.
• After selecting the Picture Cache mode, immediately
changing the Picture Cache time or performing playback
or recording review, the picture data stored in memory
before this operation are made to be unrecordable. This
means that when you press the VTR START button or
VTR button on the lens, the previously stored picture
data will not be recorded.
• During playback or recording review, the picture data is
not stored in the MSDW-903s memory. Picture data
corresponding to the duration of playback or recording
review will not be in memory and will not be recorded to
tape.
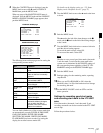
Setting procedure
To turn Picture Cache mode on, proceed as follows:
Note
Picture Cache time setting and recording start point
Picture Cache
time
Recording start point
VTR STBY mode VTR SAVE mode
8 (seconds) About 8 seconds
before
About 4 seconds
before
6 (seconds) About 6 seconds
before
About 4 seconds
before
5 (seconds) About 5 seconds
before
About 4 seconds
before
4 (seconds) About 4 seconds
before
About 4 seconds
before
3 (seconds) About 3 seconds
before
About 3 seconds
before
2 (seconds) About 2 seconds
before
About 2 seconds
before
1 (seconds) About 1 seconds
before
About 1 seconds
before
0 (seconds) About 0 seconds
before
About 0 seconds
before
Notes