


71
Menu Organization and Operation
Chapter 5 Menu Displays and Detailed Settings
number, push the CANCEL/PRST / ESCAPE switch
to ESCAPE.
A ? mark appears in front of the page number. The
camcorder is now in page selecting mode.
2
Turn the MENU knob until the desired page appears.
3
Press the MENU knob when the desired page appears.
To end menu operations
You can end menu operations using the following two
methods:
• Turn the MENU ON/OFF switch to OFF.
• Close the cover of the menu operating section. When you
close the cover, the MENU ON/OFF switch is set to OFF
automatically.
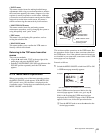
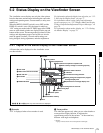
The menu disappears from the viewfinder screen, and the
display indicating the current status of the camcorder
appears along the top and bottom of the screen (when the
viewfinder DISPLAY switch is set to ON or the VF DISP
item on the VF DISP 1 page of the USER menu is set to
“ON”).
For details of the viewfinder display, see “5-2-2 Selecting
the Display Items” on page 77.
5-1-3 Editing the USER Menu
The USER MENU CUSTOMIZE menu allows you to
configure a USER menu that consists only of pages and
items that you need by adding, deleting or replacing the
pages.
Adding a new page
The USER MENU CUSTOMIZE menu allows you to add
a new page to the USER menu.
While the EDIT page contains factory-preset items, the
USER 1 EDIT to USER 19 EDIT pages and the ASSIGN
SEL EDIT page are all blank in their initial state. You can
register up to 10 items, including blank lines, on each of
these pages.
To add a new page, proceed as follows:
1
While holding down the MENU knob, move the
MENU ON/OFF switch from the OFF position to the
ON position.
The TOP menu appears.
2
Turn the MENU knob to move the b mark to “USER
MENU CUSTOMIZE,” then press the MENU knob.
If this is the first time the USER MENU CUSTOMIZE
menu has been displayed, the CONTENTS page of the
menu appears.
If the USER MENU CUSTOMIZE menu has been
used before, the last accessed page appears.
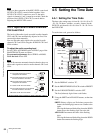
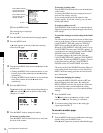
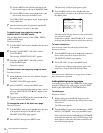
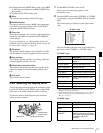
3
If the CONTENTS page is displayed, turn the MENU
knob to move the
b mark to one of USER 1 EDIT to
USER 19 EDIT and ASSIGN SEL EDIT, then press
the MENU knob to display the page.
If a different page is displayed, turn the MENU knob
until the desired page appears, then press the MENU
knob to select the page.
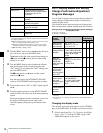
Example: When you select the USER 2 EDIT page
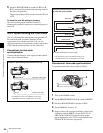
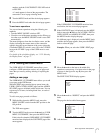
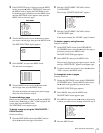
4
Move the b mark to the item to be added (this
operation is unnecessary, if no item exists on the page
as shown in the figure for step 3), then press the
MENU knob.
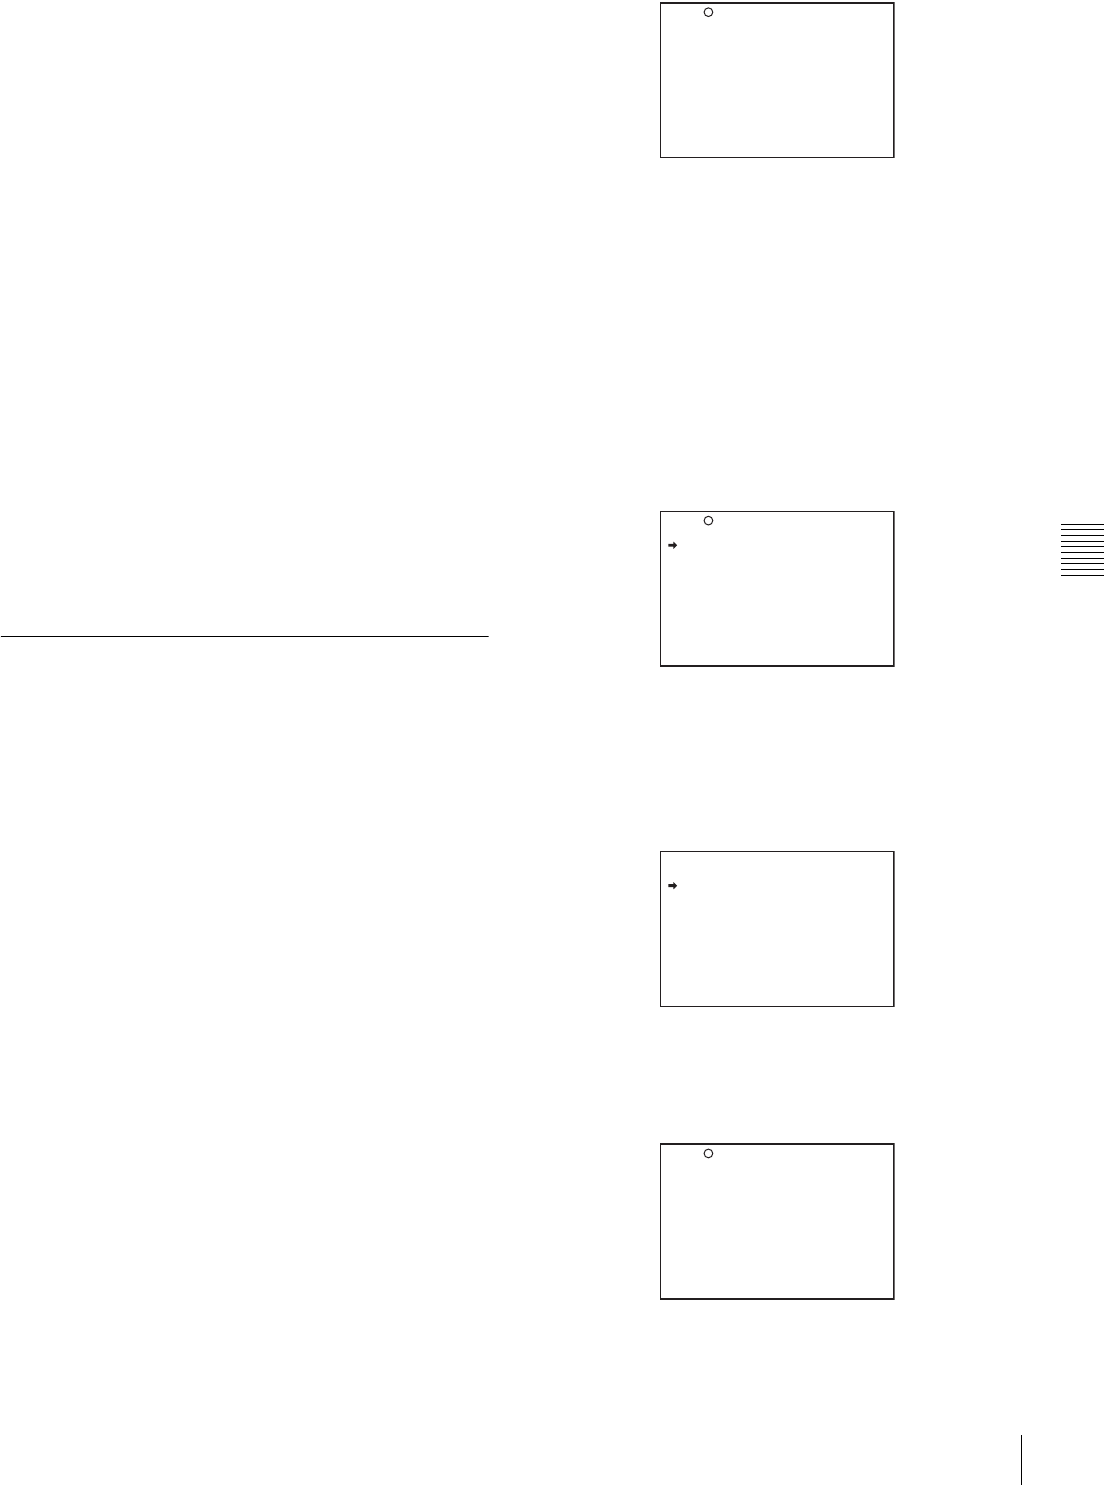
The EDIT FUNCTION display appears.
5
Move the b mark to “INSERT,” and press the MENU
knob.
The page for the last added item appears.
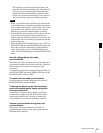
6
Add the items.
E00 CONTENTS
01.EDIT PAGE
02.USER 1 EDIT
03.USER 2 EDIT
04.USER 3 EDIT
05.USER 4 EDIT
06.USER 5 EDIT
07.USER 6 EDIT
08.USER 7 EDIT
09.USER 8 EDIT
10.USER 9 EDIT
TOP
E02 USER 2 EDIT
TOP
EDIT FUNCTION
INSERT
MOVE
DELETE
BLANK
ESC
P25 BLACK/FLARE
MASTER BLACK : 0
R BLACK : 0
B BLACK : 0
MASTER FLARE : 0
R FLARE : 0
G FLARE : 0
B FLARE : 0
FLARE : ON
TEST OUT SELECT : ENC
ESC